 STITCH ROUND
Bobble Stitch Crochet Vest With Sweet Bow Detail
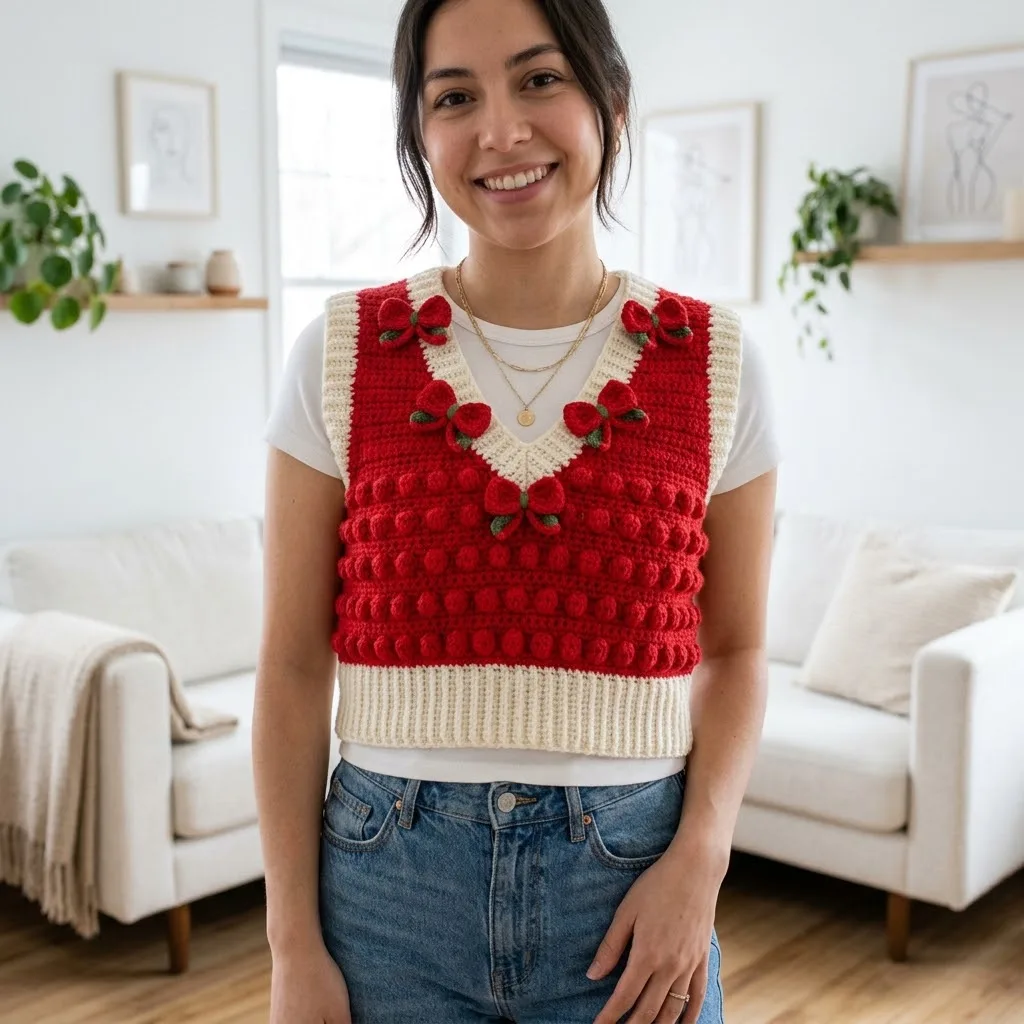
Two fronts and a back panel in bobble stitch build this crochet vest with a cream bow trim.
- Skill
- Intermediate
- Rounds
- 3 rounds
- Yarn weight
- Worsted
- Hook
- 5.0 mm
- Time
- 4-6 hours

Intermediate
What the original page called it. Nothing here is graded a second time.

3 rounds
Each one gets its own line, with a box beside it to tick as you go.

Worsted
What the sample was made in. Any weight works — the size moves with it.
About this pattern
This vest comes together in panels: a right front, left front, and back, each built row by row until the bobble pattern takes over. Six plain rows in single crochet set up the base before the bobble row starts the texture that carries through the body. Tick off one panel at a time and the piece stays manageable, even with armhole and neckline shaping still ahead.
The shaping starts once the plain rows are done and the bobble pattern is established. Slow down at the bobble row itself, since placing bob stitches in the wrong spot throws off the 3-stitch repeat for every row after it. Armhole shaping and the bow leaves added later in olive green also deserve full attention, since both change the silhouette and the finished look.
- Chain and work base rows in single crochet to set the right front panel width.
- Mirror the construction for the left front and work the back panel to match.
- Shape the armholes on each panel once the body length is reached.
- Seam the three panels together at the shoulders and sides.
- Add the cream bow and olive green leaves as a finishing accent.
What goes wrong
- Losing the bobble repeat placement Count sc stitches between bobbles carefully on every bobble row. A stitch marker at the start of each repeat keeps the 3-stitch spacing consistent.
- Skipping the gauge swatch Work a swatch in single crochet with the H/8 hook before starting the panels. Adjust hook size up or down until the swatch matches the stated gauge.
- Rushing the armhole shaping Work the armhole shaping slowly and check both front panels match the back panel shape. Uneven shaping here shows clearly once the vest is seamed.
Yarn, hook and the rest
Copied from the source pattern's own materials list.
Yarn
- Main Color (MC): Approximately 250-300 yards of worsted weight yarn in red
- Contrast Color (CC): Approximately 100-150 yards of worsted weight yarn in cream or off-white
- Small amounts of olive green worsted weight yarn for bow leaves
- A smooth acrylic or cotton blend works beautifully for this project. Look for yarn with good stitch definition so your bobbles really pop. I recommend something like Paintbox Yarns Simply Aran or Lion Brand Vanna’s Choice.
Hook
- Size H/8 (5.0 mm) crochet hook for main body
- Size G/6 (4.0 mm) crochet hook for ribbing (optional, for tighter ribbing)
Notions
- Tapestry needle for weaving ends and sewing
- Stitch markers
- Scissors
- Measuring tape
Gauge
- 16 stitches and 18 rows = 4 inches in single crochet with H/8 hook
- Always make a gauge swatch before starting. This ensures your vest will fit properly. If your swatch is too small, go up a hook size. If it’s too large, go down a hook size.
- Finished Measurements
Bust
- 34-36 inches
- Length from shoulder to hem: 18 inches
Armhole depth
- 8 inches
Progress tracker
0 of the 3 rounds on this page are ticked.
The pattern, round by round
Kept in the order and the wording the source used. Tick a round as you finish it; the ticks stay on this device.
Right Front
With MC and H/8 hook, ch 37.
Round 1
Sc in 2nd ch from hook and in each ch across. (36 sts)
Rounds 2–6
Ch 1, turn. Sc in each st across. (36 sts)
Round 7
Bobble Row Ch 1, turn. Sc in first 3 sts, *bob in next st, sc in next 3 sts* rep across. (36 sts)Continue in established bobble pattern, matching the back panel, until piece measures 10 inches.
Skill Level
This vest requires you to be comfortable with garment construction, working in rows, shaping for armholes and necklines, and creating bobble stitches. If you’ve made a few scarves and blankets and want to try your first wearable, this is a great challenge project. Don’t worry, I’ll walk you through every step.
Hook
Size H/8 (5.0 mm) crochet hook for main body Size G/6 (4.0 mm) crochet hook for ribbing (optional, for tighter ribbing)
Notions
Tapestry needle for weaving ends and sewing Stitch markers Scissors Measuring tape
Gauge
16 stitches and 18 rows = 4 inches in single crochet with H/8 hook
Always make a gauge swatch before starting. This ensures your vest will fit properly. If your swatch is too small, go up a hook size. If it’s too large, go down a hook size.
Next Row
Continue in established bobble pattern without further decreases until armhole measures 7-8 inches.
Armhole Shaping
At beginning of right side row, sl st in first 5 sts, ch 1, sc in same st and across. (31 sts)
Decrease 1 st at armhole edge every row twice. (29 sts)
V-Neck Shaping: At the same time as armhole shaping, begin decreasing at neck edge.
At the end of wrong side rows, sc2tog over last 2 sts.
Continue decreasing 1 st at neck edge every other row until 18 sts remain for shoulder.
Work even until armhole matches back. Fasten off.
Left Front
Work as for Right Front, reversing all shaping. Armhole decreases happen at the opposite edge, and neck decreases happen at the beginning of wrong side rows instead of the end.
Check your count
- Right Front · Round 1: 36 sts
- Right Front · Rounds 2–6: 36 sts
- Right Front · Round 7: 36 sts
Finish
- Weave in every yarn end from color changes and panel starts with a tapestry needle before seaming.
- Seam the right front, left front, and back panels together at the shoulder and side seams.
- Sew the cream bow and olive green leaves onto the front panel once seaming is complete.
Bigger or smaller
- Smaller
- Drop down to the optional G/6 hook for the main body instead of just the ribbing, tightening every stitch and shrinking the overall fit.
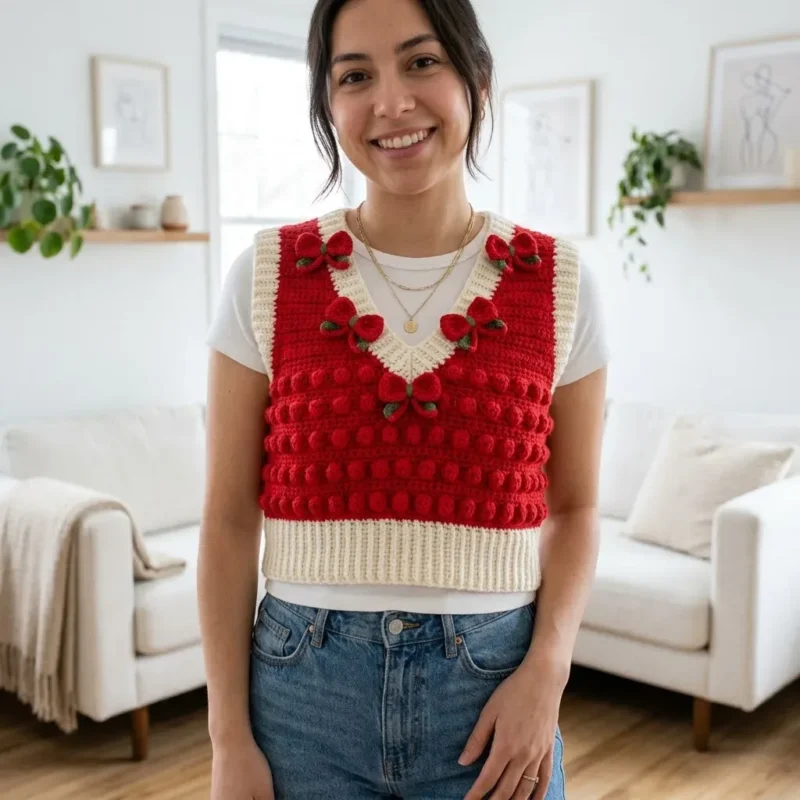
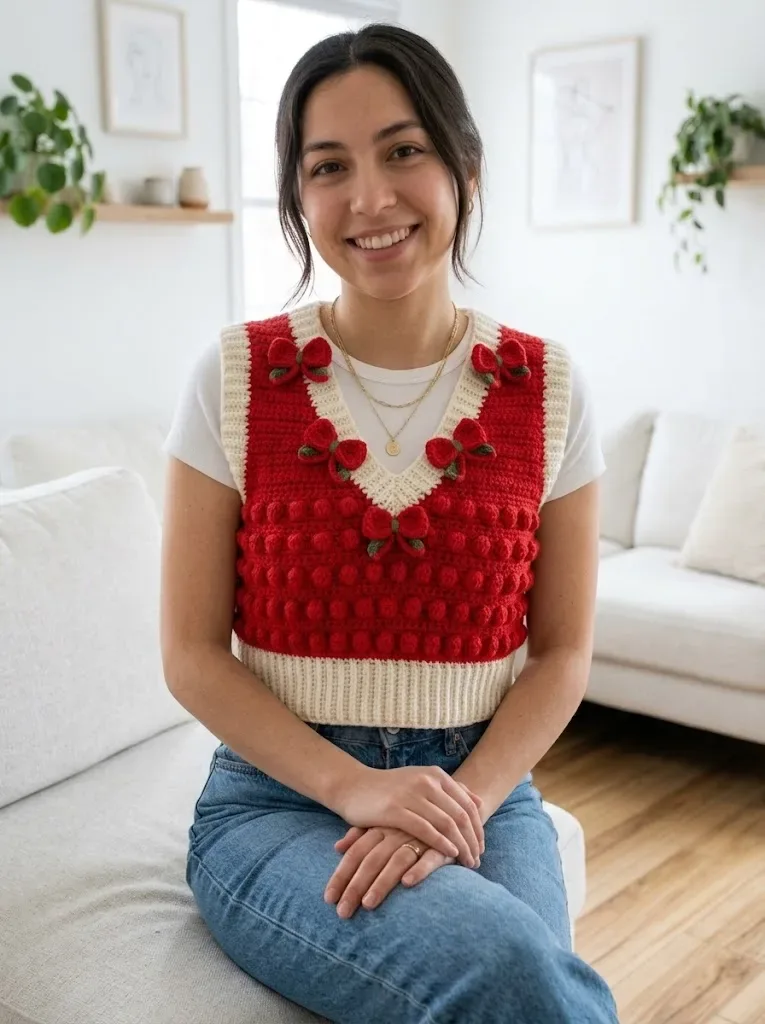
Photographs of this one
Every photograph on this page was taken by whoever published the pattern, and they are printed in the order the source listed them.
FAQs
Asked and answered
These answers came from whoever first published the pattern, kept word for word.
What makes the bobble stitch rows tricky?
The bobble row repeats a 3-stitch pattern across the whole panel, so one miscount shifts every bobble after it. Use a stitch marker at the start of each repeat to stay on track.
Why use two different hook sizes?
The H/8 hook handles the main body for proper drape, while the smaller G/6 hook is there for anyone who wants tighter ribbing. Skip the G/6 entirely if ribbing is not part of the plan.
How much contrast color yarn is really needed?
The cream or off-white contrast color covers the bow detail and runs 100-150 yards. The olive green for the bow leaves is used in small amounts only.