 STITCH ROUND
 A two-panel crochet sweater vest pattern with textured rows
Five rounds tick off this two-panel crochet sweater vest with textured ridges and a split neckline.
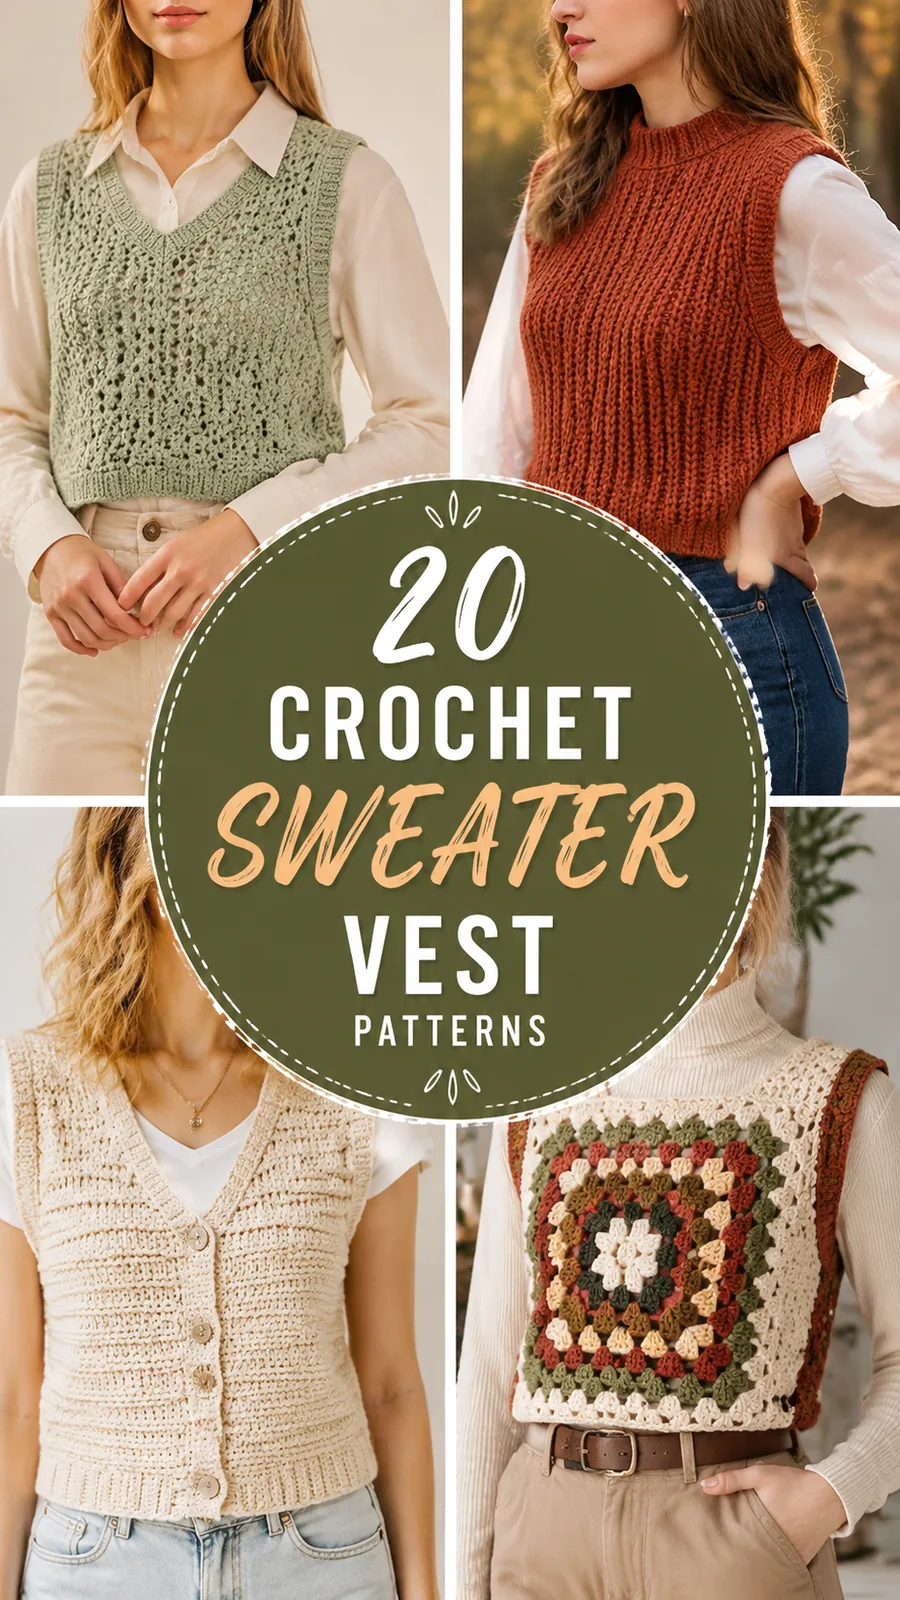
- Skill
- Intermediate
- Rounds
- 7 rounds
- Yarn weight
- Worsted
- Hook
- 5 mm
- Time
- 6-10 hours

Intermediate
What the original page called it. Nothing here is graded a second time.

7 rounds
Each one gets its own line, with a box beside it to tick as you go.

Worsted
What the sample was made in. Any weight works — the size moves with it.
About this pattern
This crochet sweater vest is a flat-worked layering piece built from two rectangular panels and a single edging round. The back panel covers three rounds on the checklist, the front panel adds two more with a split neckline, and the edging closes the project in one pass of single crochet. Each part is quick to confirm against the pattern, so progress is easy to track panel by panel rather than guessing at a shapeless piece of fabric.
Shaping happens only at the front panel, where the stitches split partway up to open the neckline and each shoulder is finished separately to its own width. That split is the one place to slow down, since miscounting which stitches belong to which side throws off the shoulder match before the panels are joined. The rest of the vest is straight rows of textured half double crochet, worked evenly until each panel hits its target length.
- Chain a long foundation and work the back panel upward in straight rows of textured half double crochet until it reaches full length.
- Repeat the same base rows for the front panel, stopping short of the back panel to leave room for the neckline shaping.
- Divide the front panel stitches partway up and finish each shoulder section separately to open the neckline.
- Join the front and back panels at the shoulders, then seam the sides while leaving the arm openings free.
- Finish the raw edges with a single round of single crochet around the neckline, arm openings, and bottom.
- Wet-block the joined vest and let it dry flat before wearing or gifting.
What goes wrong
- Losing track of third loop hdc Working into the wrong loop flattens the ridge texture the pattern relies on. Check which loop the row calls for before starting each row, not partway through.
- Uneven split at the neckline Miscounting stitches when dividing the front panel for the shoulders causes mismatched sides. Place a stitch marker at the center point before dividing to keep both shoulders even.
- Seaming before blocking the panels Joining the shoulders and sides before blocking locks in uneven edges and a curled bottom. Block each panel flat first, then seam once it has dried.
Yarn, hook and the rest
Copied from the source pattern's own materials list.
Worsted weight yarn
- approximately 850 yards (777 meters)
- 5 mm US H-8 crochet hook
- Yarn needle for sewing seams
- Scissors
- Stitch markers
- Tape measure
Progress tracker
0 of the 7 rounds on this page are ticked.
The pattern, round by round
Kept in the order and the wording the source used. Tick a round as you finish it; the ticks stay on this device.
Back Panel
Ch 81.
Round 1
Hdc in second ch from hook and across. Turn. (80 sts)
Round 2
Ch 1, hdc in each stitch across. Turn. (80 sts)
Round 3
Ch 1, work third loop hdc across. Turn. (80 sts) Repeat Rows 2 and 3 until the panel measures approximately 18 inches (46 cm).Continue working even until the panel measures 21 inches (53 cm) total length.Fasten off.
Front Panel
Repeat the back panel instructions until the piece measures approximately 17 inches (43 cm).
Round 1
Work across first 30 stitches using third loop hdc. Turn.
Round 2
Ch 1, hdc across. Turn. (30 sts) Repeat Rows 1 and 2 until the shoulder section measures 4 inches (10 cm).Fasten off.Attach yarn to the opposite side of the neckline opening.Repeat the same shoulder instructions.The front neckline creates a simple V-shaped opening. For a deeper neckline, begin shaping two to three rows earlier. For a higher neckline, continue additional rows before dividing the shoulders.
Edging
Attach yarn at the bottom edge.
Round 1
Work one round of single crochet evenly around the neckline, arm openings, and bottom edge.
Round 2
Join with a slip stitch.Fasten off and weave in ends.
Join
Step 1Blocking helps relax the crochet stitches and gives the sweater vest a professional finish. Gently wet the completed garment, reshape it according to the measurements, and allow it to dry flat.
Step 2Care instructions depend on the yarn chosen. Many acrylic blends can be machine washed on a gentle cycle, while natural fibers may require hand washing. Always follow the yarn label recommendations.
Check your count
- Back Panel · Round 1: 80 sts
- Back Panel · Round 2: 80 sts
Finish
- Sew the shoulder seams first, then close the side seams, leaving gaps open for the arms.
- Work single crochet evenly around the neckline, arm openings, and bottom edge, join with a slip stitch, and weave in the tail.
- Wet the finished vest, pin it out to the intended shape, and let it dry flat before wearing.
Bigger or smaller
- Smaller
- Drop to a smaller hook or a lighter yarn to tighten the fabric, narrowing both panels and shortening the overall drape; stopping the straight rows earlier before the neckline split shortens the body to suit a smaller frame.
FAQs
Asked and answered
These answers came from whoever first published the pattern, kept word for word.
Can this vest be made with cotton yarn instead of a wool blend?
Yes, cotton works as long as it holds a similar worsted weight and gauge. Expect less stretch and a slightly heavier drape than wool or acrylic blends.
How is the neckline shaped without short rows?
The front panel stitches are divided partway up and each shoulder section is finished separately. That split opens a simple neckline without any short-row shaping.
What does the third loop hdc actually create?
Working into the third loop of each half double crochet stitch builds a subtle ridge that runs vertically. It gives the fabric its soft, knit-like texture while keeping it flexible.
Do the arm openings need separate shaping?
No, the arm openings are left open when the side seams are sewn rather than shaped during the panel rows. This keeps the construction simple and avoids extra counting.