 STITCH ROUND
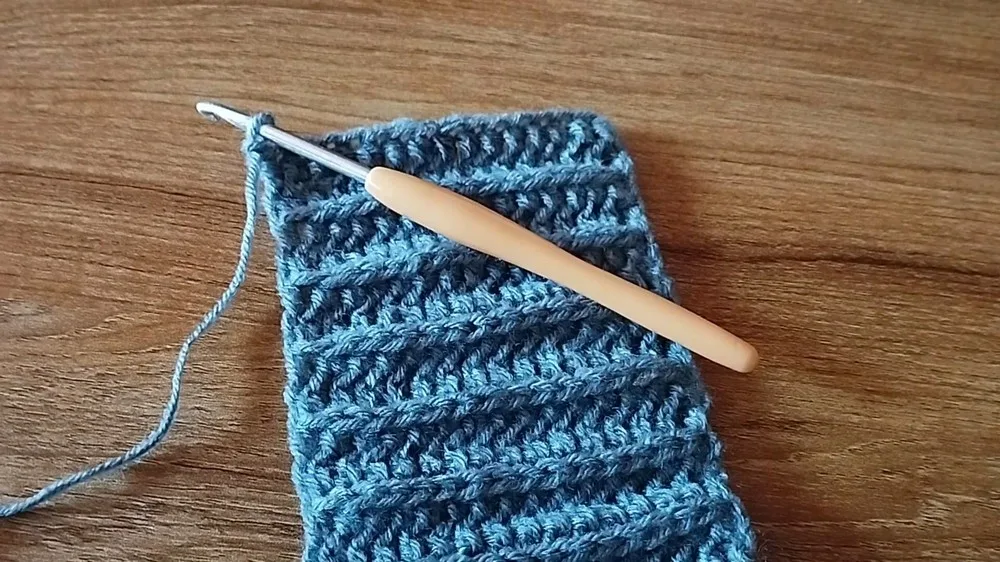
 Camel stitch crochet guide for a textured swatch
Tick off 3 rounds to crochet a stretchy camel stitch swatch with braided ridges.
- Skill
- Intermediate
- Rounds
- 3 rounds
- Yarn weight
- Worsted
- Hook
- 4 mm
- Time
- 1-2 hours

Intermediate
What the original page called it. Nothing here is graded a second time.

3 rounds
Each one gets its own line, with a box beside it to tick as you go.

Worsted
What the sample was made in. Any weight works — the size moves with it.
About this pattern
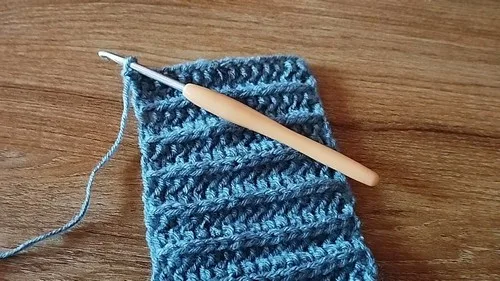
This guide builds a camel stitch swatch worked flat in half double crochet, with 3 rounds to tick off before the piece is done. Each round adds a row of the signature braided ridge, so progress is easy to see and easy to count as the fabric grows.
The shaping here is less about increases and more about loop placement, since every stitch after the first row goes into the third loop rather than the usual top two. Slow down at the start and end of each row, where the stitch count and loop choice decide whether the edge stays straight.
- Chain a foundation row and work half double crochet across to set the base row.
- Turn the work and chain one to begin the next row without adding extra height.
- Locate the third loop sitting below the usual two loops on the front of the stitch.
- Work half double crochet into that third loop across the row to build the ridge.
- Repeat the loop-and-turn sequence for the remaining rounds until the swatch is complete.
What goes wrong
- Working the third loop on every stitch Skip the third loop on the very last stitch of each row and use the top two loops instead. This keeps the side edges straight instead of wavy.
- Losing track of the third loop Turn the work toward a light source and look below the top two loops on the front side. The third loop sits just under them and is easy to miss on a first pass.
- Skipping the turning chain Chain 1 and turn after every row before starting the next set of half double crochets. Missing this step throws off the stitch height and loop alignment.
- Treating rows and rounds the same way Remember the braided ridge sits on the outside differently when working in rows versus rounds. Check which side is facing out before continuing a long stretch of stitches.
Yarn, hook and the rest
Copied from the source pattern's own materials list.
- Medium weight yarn (the brand mentioned is 'Winter King')
- 4 mm crochet hook
Progress tracker
0 of the 3 rounds on this page are ticked.
The pattern, round by round
Kept in the order and the wording the source used. Tick a round as you finish it; the ticks stay on this device.
Main Pattern
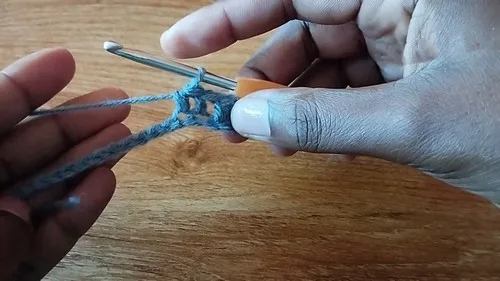
Getting Started Make a slip knot. Chain a number to start (in the example, 18 chains are made).
Row 1
Skip the first chain from the hook. Make a half double crochet in the next chain. Continue to half double crochet in each chain until the end of the row.
Row 2
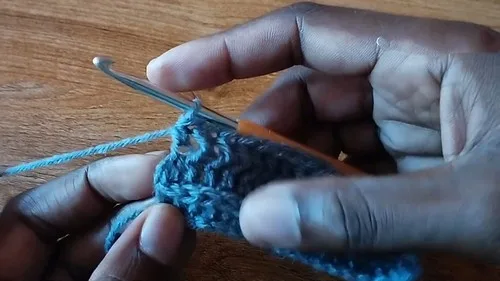
Chain 1 and turn your work. Identify the loops of the stitches: the front loop, the back loop, and the third loop (found below the top two loops on the front side of the work when working in rows). Yarn over and make half double crochets into the third loop for each stitch across until you reach the last stitch.
Last Stitch, Every Row On the last stitch of every row, make a half double crochet into the top two loops instead of the third loop to keep edges straight and firm.
Row 3
And all subsequent rows Chain 1 and turn your work. Making the first stitch can reveal the third loops more easily for the rest of the row. Repeat the pattern of half double crochets into the third loop for each stitch across to the last stitch. Make the last half double crochet into the top two loops. Chain 1 and turn to continue with the next row.
Working in Rounds When working in rounds, the third loop is found on the inside of the project. You would work into the third loop on the inside for each stitch, pushing the top two loops to the outside and creating a different texture compared to working in rows.
Once completed with the round, slip stitch to the first stitch to join the round.
Finish
- Weave in the starting and ending yarn tails along the firm edge stitches worked in the top two loops.
- Block the finished swatch lightly to relax the ridges and let the stretch of the fabric settle evenly.
- Check both edges for firmness and tuck in any loose ends that worked loose during blocking.
Bigger or smaller
- Smaller
- Drop to a finer yarn with a smaller hook so the stitches sit tighter, shrinking the overall swatch while keeping the same 3 rounds.
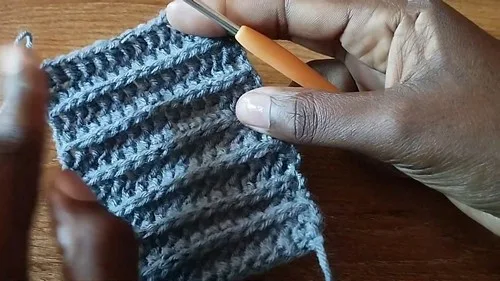
Photographs of this one
Every photograph on this page was taken by whoever published the pattern, and they are printed in the order the source listed them.
FAQs
Asked and answered
These answers came from whoever first published the pattern, kept word for word.
What makes camel stitch different from regular half double crochet?
Camel stitch uses the third loop found below the top two loops instead of the usual loops most rows are worked into. This loop placement is what creates the raised, braided-looking ridge across the fabric.
Does camel stitch look different worked in rows versus in rounds?
Yes, the braided ridges sit on the outside of the fabric when working in rows. When working in rounds, the ridges lie closely knit and still face outward, giving a slightly denser appearance.
What is this stitch best suited for once learned?
The stretchy texture created by the third-loop technique works well for blankets, sweaters, and scarves. The same braided effect can be scaled up or down by changing hook and yarn weight.