 STITCH ROUND
 Crisscross stitch scarf pattern for beginners
3 rounds to tick off for a textured crisscross scarf perfect for first-time crocheters.
- Skill
- Beginner
- Rounds
- 3 rounds
- Yarn weight
- Worsted
- Hook
- 5 mm
- Time
- 4-6 hours

Beginner
What the original page called it. Nothing here is graded a second time.

3 rounds
Each one gets its own line, with a box beside it to tick as you go.

Worsted
What the sample was made in. Any weight works — the size moves with it.
About this pattern
This scarf builds on one setup row plus a repeating crisscross section, so there are 3 rounds total to check off before the piece is done. The whole design leans on a single skipped-and-crossed double crochet move repeated down the length of the fabric, which keeps the project approachable even for a first attempt at anything beyond single crochet.
The shaping comes entirely from the crisscross technique itself: skipping a chain, working ahead, then circling back to fill the gap creates the woven look without any increases or decreases to track. Slow down on that very first row, since setting the crisscross correctly there determines whether the rest of the rows line up cleanly.
- Start with a slip knot and chain an even number plus two for the foundation.
- Work double crochet into the fifth chain from the hook to set up the first stitch.
- Skip a chain, double crochet into the next one, then circle back to fill the skipped chain.
- Repeat that skip-and-cross move across the row to build the woven texture.
- Continue the crisscross rows to build up the length of the scarf.
What goes wrong
- Losing track of the skipped chain Mark the skipped chain with a stitch marker or a finger hold before working the next stitch, so it is easy to find when circling back.
- Miscounting the turning chain as a stitch Remember the first 3 chains count as the first double crochet, and treat them that way at both the start and end of every row.
- Uneven crisscross tension Keep the crossed stitch and the skipped-then-filled stitch at the same tension by pulling the working yarn snug before moving to the next repeat.
- Forgetting the closing single crochet row Do not stop at the last crisscross repeat; add the final row of single crochet for a stable, non-curling edge.
Yarn, hook and the rest
Copied from the source pattern's own materials list.
- Yarn (The example used: Royal Gorge from Hobby Lobby)
- Crochet hook (Recommended size: 5mm; Tutorial uses: 7mm)
- Scissors
- Darning, weaving, or tapestry needle
Progress tracker
0 of the 3 rounds on this page are ticked.
The pattern, round by round
Kept in the order and the wording the source used. Tick a round as you finish it; the ticks stay on this device.
Starting the Scarf
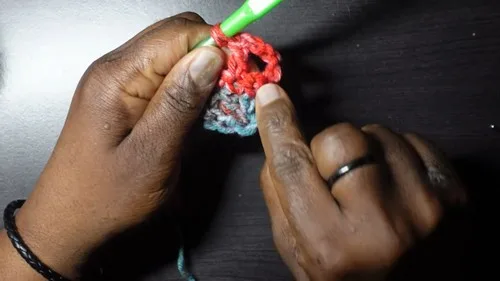
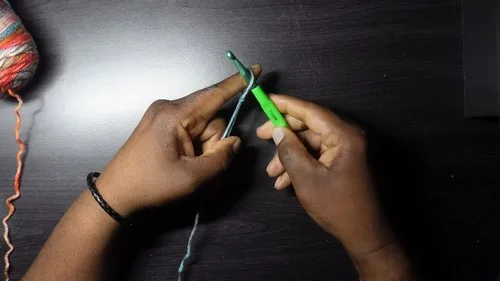
Begin with a slip knot.
Chain an even number of stitches (+2 for the foundation chain). For example, chain 16 (an even number), then add 2 more chains for a total of 18 chains.
Round 1
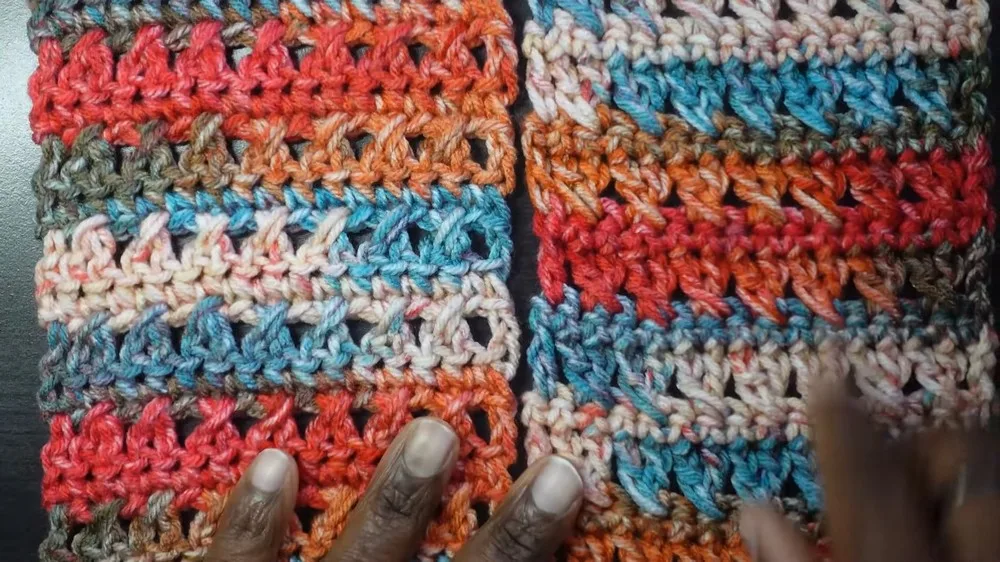
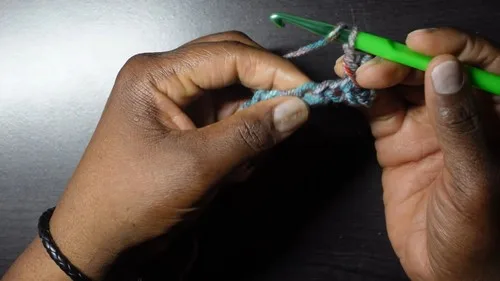
Setup for Crisscross Pattern Double crochet (DC) into the 5th chain from the hook. The first 3 chains count as your first DC.Skip the next chain (the 4th chain from your hook), then DC into the next chain (5th from hook). Once done, go back and DC into the chain you skipped. This creates your first "crisscross."Repeat from to until you reach the end of the row.To end the row symmetrically, DC in the last chain.
Round 2
(Single Crochet Row): Chain 1 and turn your work. Single crochet (SC) in every stitch across the row.This row aims to create a smooth edge and prepare for the next set of crisscross stitches.In Row 3 (Repeat of Crisscross Pattern): Chain 3 (counts as your first DC) and turn your work.Skipping the first SC (directly beneath the chain 3), DC into the next SC. Then, DC into the skipped SC, creating a crisscross.Continue the crisscross pattern across the row.DC in the last SC to complete the row symmetrically.
Round 4
and Beyond: Repeat rows 2 and 3 for the pattern. Alternate between a row of single crochet (to keep the scarf's edges smooth and neat) and a row of the crisscross double crochet pattern until you reach your desired scarf length.
Join
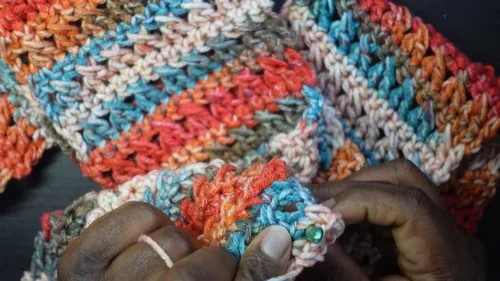
Step 1To finish, after your last repeat of the crisscross pattern, do a final row of single crochet for a clean edge.
Step 2Cut your yarn, leaving a long tail for weaving in.
Step 3Use your needle to weave in all ends securely.
Finish
- Weave in the starting tail and the tail left after the final single crochet row using a darning or tapestry needle.
- Check both short ends of the scarf for stray loops before trimming any excess yarn.
- Give the finished scarf a light steam or press if the yarn allows, to help the crisscross pattern sit flat.
Bigger or smaller
- Smaller
- Use a finer yarn with the recommended 5mm hook instead of the 7mm size, which tightens the crisscross pattern and shrinks the overall dimensions.
Photographs of this one
Every photograph on this page was taken by whoever published the pattern, and they are printed in the order the source listed them.
FAQs
Asked and answered
These answers came from whoever first published the pattern, kept word for word.
Why does the pattern call for a 7mm hook when 5mm is recommended?
The larger 7mm hook is what the tutorial actually uses to create a looser, more open crisscross texture. The 5mm size is offered as the standard recommendation for a tighter fabric.
Does the foundation chain need to be an exact number?
The chain just needs to be an even number, plus two extra chains for the foundation. Any even count works, so the scarf width is flexible.
What if the crisscross stitches look uneven at first?
Uneven crossing is common while learning the skip-and-return motion. Tension evens out after a few repeats, so keep going before judging the whole row.
Is a single crochet edge necessary at the end?
Yes, the final single crochet row gives the scarf a clean, stable edge instead of leaving the crisscross pattern exposed. Skipping it can leave the end looking unfinished.