 STITCH ROUND
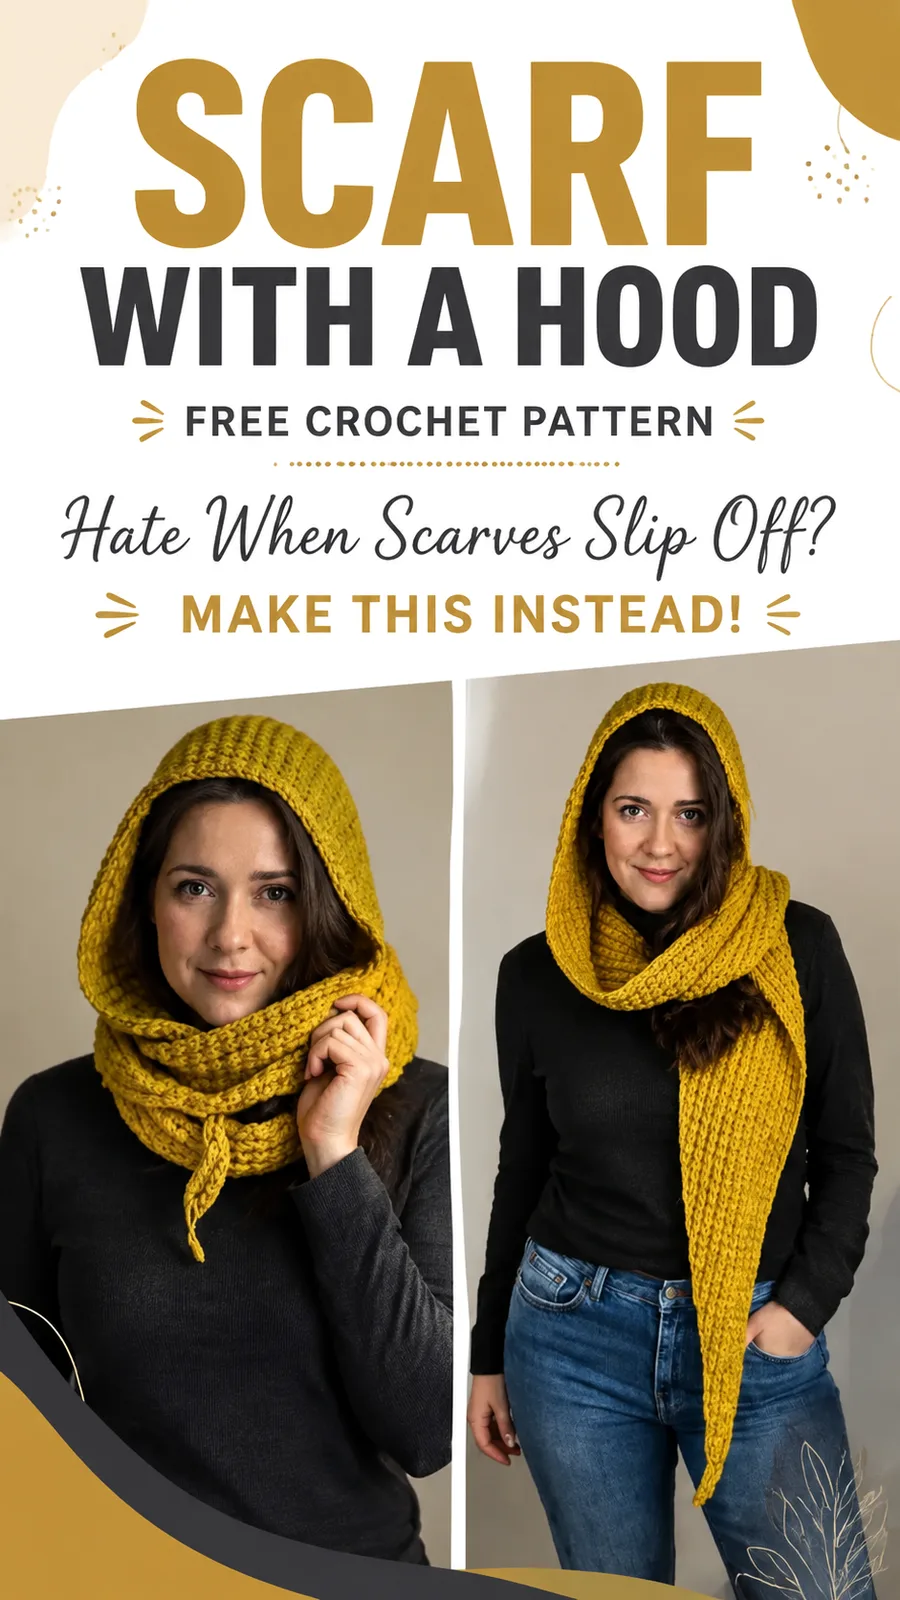
 Cozy crochet hooded scarf with a textured hood panel
4 rounds for the hood, 2 for each scarf side, make this cozy crochet hooded scarf.
- Skill
- Confident Beginner
- Rounds
- 8 rounds
- Yarn weight
- Worsted (Category 4)
- Hook
- 5.5 mm
- Time
- 6-9 hours

Confident Beginner
What the original page called it. Nothing here is graded a second time.

8 rounds
Each one gets its own line, with a box beside it to tick as you go.

Worsted (Category 4)
What the sample was made in. Any weight works — the size moves with it.
About this pattern
This is a crochet hooded scarf built from one large hood panel and two long scarf panels, so the whole make breaks into clear, countable chunks. The hood panel ticks off in 4 rows, worked flat before folding. Each scarf panel adds its own short block of rows once attached at the hood opening, so progress stays easy to track from one panel to the next.
Shaping stays minimal: the hood is a plain rectangle until the fpdc accent row breaks up the hdc fabric with a raised texture. Slow down on that row, since placing the front post stitches correctly keeps the texture lined up across the panel. The other point to go carefully is the fold and seam that turns the flat rectangle into a wearable hood shape.
- Chain a long foundation and work straight hdc rows to build one flat rectangle for the hood.
- Fold the finished hood rectangle and seam it to form the wearable hood shape before adding panels.
- Attach yarn at the hood opening and work straight hdc rows down to build the first scarf panel.
- Repeat the same hdc rows on the opposite side of the hood to create the matching second panel.
- Finish the raw edges with the border edging round so both scarf ends and the hood look tidy.
What goes wrong
- Losing stitch count across hdc rows Count stitches at the end of every row against the stated total so the hood panel stays an even rectangle.
- Working fpdc into the wrong stitch Insert the hook around the post of the stitch below, not into the top loops, so the texture row sits raised and even.
- Seaming the hood panel off-center Fold the rectangle in half and match edges before seaming so the hood sits straight on the head rather than twisted.
- Counting the turning chain as a stitch Skip the turning chain when counting stitches across every row, since it is not included in the stitch total here.
Yarn, hook and the rest
Copied from the source pattern's own materials list.
- Category 4 medium weight yarn: approximately 900 yards (823 meters)
- 5.5 mm (US I-9) crochet hook
- Yarn needle for weaving ends
- Scissors
- Stitch markers
- Measuring tape
Progress tracker
0 of the 8 rounds on this page are ticked.
The pattern, round by round
Kept in the order and the wording the source used. Tick a round as you finish it; the ticks stay on this device.
Hood Panel
Chain 52.
Round 1
Hdc in the second chain from hook and in each chain across. Turn. (51 hdc)
Round 2
Ch 1, hdc in each stitch across. Turn. (51 hdc)
Round 3
Ch 1, hdc in each stitch across. Turn. (51 hdc)
Round 4
Ch 1, hdc in first 5 stitches, fpdc around next stitch, hdc in next 5 stitches, repeat across ending with hdc stitches. Turn. (51 stitches)Rows 5-48: Repeat Rows 2-4, ending after a Row 2 repeat. (51 stitches) The hood panel should measure approximately 18 inches tall by 20 inches wide (46 x 51 cm).
Scarf Panels
Attach yarn at the bottom corner of the hood opening.
Round 1
Ch 1, work 45 hdc evenly along the side edge. Turn. (45 hdc)
Round 2
35 Ch 1, hdc across. Turn. (45 hdc) Fasten off. Repeat the same instructions on the opposite side of the hood to create the second scarf panel.
Cozy Willow Hooded Scarf
Project Description: This original crochet hooded scarf pattern creates a soft, oversized hood connected to long scarf panels. The design is inspired by cozy winter accessories and uses beginner-friendly stitches with subtle texture.
Skill Level Confident Beginner Finished Size Approximately 10 inches wide x 70 inches long (25 x 178 cm)
Yarn Category 4 medium weight yarn, approximately 900 yards (823 meters)
Hook 5.5 mm US I-9 crochet hook Gauge 14 hdc x 10 rows = 4 x 4 inches (10 x 10 cm)
Terminology US crochet terms
Creating the Hood Shape
Fold the rectangle in half so the shorter edges meet.
Using a yarn needle and matching yarn, seam the top edge using mattress stitch or whip stitch.
Turn the hood right side out.
Border Edging
Join yarn at one scarf corner.
Round 1
Work one round of single crochet around the outer edge of both scarf panels and the hood opening.
Round 2
Join with a slip stitch to the first single crochet.Fasten off and weave in all ends.
Join
Step 1After completing the crochet hooded scarf, gently block the finished piece to help the stitches relax and create a smoother shape. Lightly dampen the scarf, arrange it to the finished measurements, and allow it to dry completely before wearing.
Step 2Pro Tip: Avoid stretching the scarf aggressively during blocking. The goal is to improve stitch definition while keeping the natural softness and flexibility of the crochet fabric.
Step 3For care, follow the yarn label recommendations. Many handmade crochet accessories benefit from gentle washing, reshaping while damp, and storing folded rather than hanging.
Check your count
- Hood Panel · Round 1: 51 sts
- Hood Panel · Round 2: 51 sts
- Hood Panel · Round 3: 51 sts
- Hood Panel · Round 4: 51 sts
- Scarf Panels · Round 1: 45 sts
Finish
- Weave in every yarn tail from the hood panel and each scarf panel before seaming or blocking.
- Seam the folded hood rectangle along its edge, then attach each scarf panel securely at the hood opening.
- Dampen the finished piece lightly, shape it to size, and let it air dry flat before wearing it.
Bigger or smaller
- Smaller or Longer
- Add or remove rows within the scarf panels to shorten or lengthen the tails, or add rows to the hood rectangle before seaming for a deeper hood, as noted in the pattern.
FAQs
Asked and answered
These answers came from whoever first published the pattern, kept word for word.
Can this hooded scarf be made deeper around the face?
Yes, add extra rows to the hood rectangle before folding and seaming it. This builds a deeper hood without changing the scarf panels at all.
Do the two scarf panels need to match exactly?
They should, since both are worked with the same row count straight from the hood opening. Keep tension even across both sides so the finished scarf hangs evenly.
What is the fpdc row actually for?
It breaks up the plain hdc fabric with a raised, textured line across the hood panel. It is purely decorative and does not change the hood's shape or size.
Is this pattern suitable as a first hooded project?
Yes, it only uses hdc and a simple fpdc accent, with no shaping beyond folding and seaming a rectangle. The construction method keeps it approachable for a confident beginner.