 STITCH ROUND
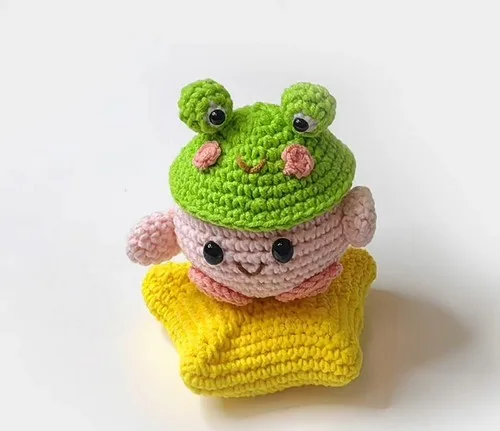
 Crochet frog hat pattern with 3D eyes and blush cheeks
11 rounds tick off a crochet frog hat with 3D eyes and blush cheeks.
- Skill
- Beginner
- Rounds
- 11 rounds
- Yarn weight
- Worsted
- Hook
- 5.0 mm
- Time
- 3-5 hours

Beginner
What the original page called it. Nothing here is graded a second time.

11 rounds
Each one gets its own line, with a box beside it to tick as you go.

Worsted
What the sample was made in. Any weight works — the size moves with it.
About this pattern
This frog hat builds from a handful of small, countable pieces: a four-round hat base worked in green from a magic circle, an optional two-round brim, two three-round frog eyes, and two two-round blush cheeks, all stitched separately before they go on the hat. The mouth needs no rounds at all, since it is embroidered straight onto the finished hat. Each piece ticks off fast, so the whole project reads as a short list of small wins rather than one long round count to push through.
- Start the crown with a magic circle in green yarn and build outward through increase rounds to shape the hat base.
- Add an optional flared brim worked in the front loop only for a ridged, structured edge finishing the hat.
- Crochet two matching frog eyes separately in white yarn, shaping each from a tight circle into a rounded dome.
- Stuff the eyes lightly before closing them so they hold their shape once attached to the hat.
- Position both eyes on the top-front of the hat and sew them securely in place.
- Finish with pink cheeks below the eyes and an embroidered mouth centered beneath for the frog's expression.
What goes wrong
- Loose magic circle center Pull the starting tail tight before working the first round so no gap shows at the center of the hat crown or eyes.
- Overstuffed or underfilled eyes Add fiberfill a little at a time and check both eyes side by side so they match in size and firmness before closing.
- Eyes placed off-center Pin both eyes to the top-front of the hat before sewing and step back to check alignment, since uneven placement is hard to fix once stitched down.
Yarn, hook and the rest
Copied from the source pattern's own materials list.
- Worsted weight yarn (green, white, pink, black, optional red)
- 5.0 mm crochet hook
- Tapestry needle
- Scissors
- Stitch marker (optional)
- Fiberfill (optional for stuffing eyes)
Progress tracker
0 of the 11 rounds on this page are ticked.
The pattern, round by round
Kept in the order and the wording the source used. Tick a round as you finish it; the ticks stay on this device.
Hat Base
Start with a magic circle or chain 4 and sl st to form a ring
Round 1
10 hdc into the ring
Round 2
2 hdc in each stitch around (20)
Round 3
1 hdc in next, 2 hdc in next repeat around (30)
Round 4
1 hdc in next 2, 2 hdc in next repeat around (40)Continue increasing evenly until the circle is wide enough for the crown of the head Work even (1 hdc in each stitch) in rounds without increasing until desired hat length is reachedOptionally work in back loops only (blo) for added texture
Brim (Optional)
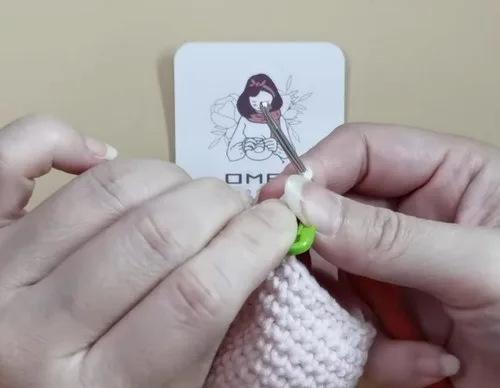
Switch to front loop only (flo)
Round 1
2 hdc in each stitch for slight flare
Rounds 2–3
1 hdc in each stitch around (no increases) for brim depth
Frog Eyes (Make 2)
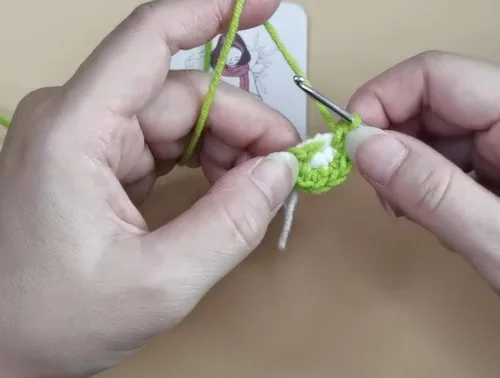
With white yarn, make a magic circle
Round 1
6 sc into the circle
Round 2
2 sc in each stitch around (12)
Round 3
1 sc, 2 sc in next repeat around (18)
Optional Round 4: 1 sc in each stitch around Fasten off and stuff lightly Cut black felt circles or embroider black yarn for pupils
Kirby Cheeks (Make 2)
With pink yarn, make a magic circle
Round 1
6 sc into the circle
Round 2
2 sc in each stitch (12)Fasten off and weave in ends
Mouth
Using red or black yarn, embroider a small curved line for the mouth between the cheeks
Join
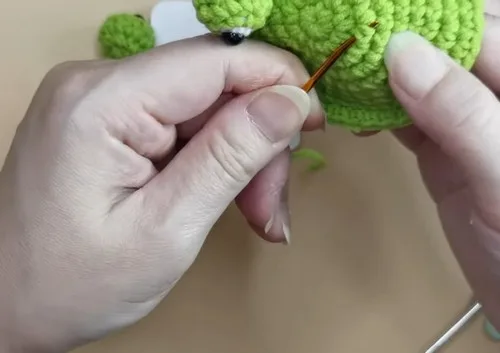
Step 1Position the eyes on the top-front of the hat and sew in place
Step 2Attach the cheeks just below the eyes on each side
Step 3Embroider the mouth centered below the eyes
Step 4Weave in all yarn ends securely
Check your count
- Hat Base · Round 2: 20 sts
- Hat Base · Round 3: 30 sts
- Hat Base · Round 4: 40 sts
- Frog Eyes (Make 2) · Round 2: 12 sts
- Frog Eyes (Make 2) · Round 3: 18 sts
- Kirby Cheeks (Make 2) · Round 2: 12 sts
Finish
- Weave in every yarn end from the hat base, brim, eyes, and cheeks before assembly begins.
- Stuff each eye lightly with fiberfill, or leave them flat, before closing the last round.
- Sew the eyes, cheeks, and embroidered mouth onto the hat, then weave in any remaining ends.
Bigger or smaller
- Larger
- Work the hat base and brim with a bulkier yarn and a larger hook than the 5.0 mm specified, which opens the gauge and grows the whole hat to fit a bigger head.
- Longer brim
- Repeat the brim's no-increase round an extra time before fastening off, adding extra depth to cover the ears without affecting the hat base above it.
Photographs of this one
Every photograph on this page was taken by whoever published the pattern, and they are printed in the order the source listed them.
FAQs
Asked and answered
These answers came from whoever first published the pattern, kept word for word.
Can the eyes be made without stuffing?
Yes, the pattern lists fiberfill as optional, so the eyes can be left flat and simply sewn on for a softer, lower-profile look. Stitching them with yarn or felt pupils instead of stuffing also keeps the finished hat lighter.
Is the brim necessary for the hat to fit?
No, the brim is marked optional and only adds a flared, ridged edge worked in the front loop only. Skipping it still leaves a complete hat base ready for the eyes, cheeks, and mouth.
What's the best way to keep both eyes identical?
Work both eyes back to back using the same yarn and hook so tension stays consistent across all three rounds. Lay them side by side before stuffing or attaching to catch any size difference early.
Can felt replace embroidered pupils?
Yes, the eye instructions mention cutting black felt circles as an alternative to embroidering black yarn pupils. Either option works once the eye is stuffed and ready to attach.