 STITCH ROUND
 Chunky ribbed beanie crochet pattern for winter
Tick off 6 rounds to crochet a chunky ribbed beanie in super bulky yarn.
- Skill
- Intermediate
- Rounds
- 8 rounds
- Yarn weight
- Super Bulky
- Hook
- 8 mm
- Time
- 2-4 hours

Intermediate
What the original page called it. Nothing here is graded a second time.

8 rounds
Each one gets its own line, with a box beside it to tick as you go.

Super Bulky
What the sample was made in. Any weight works — the size moves with it.
About this pattern
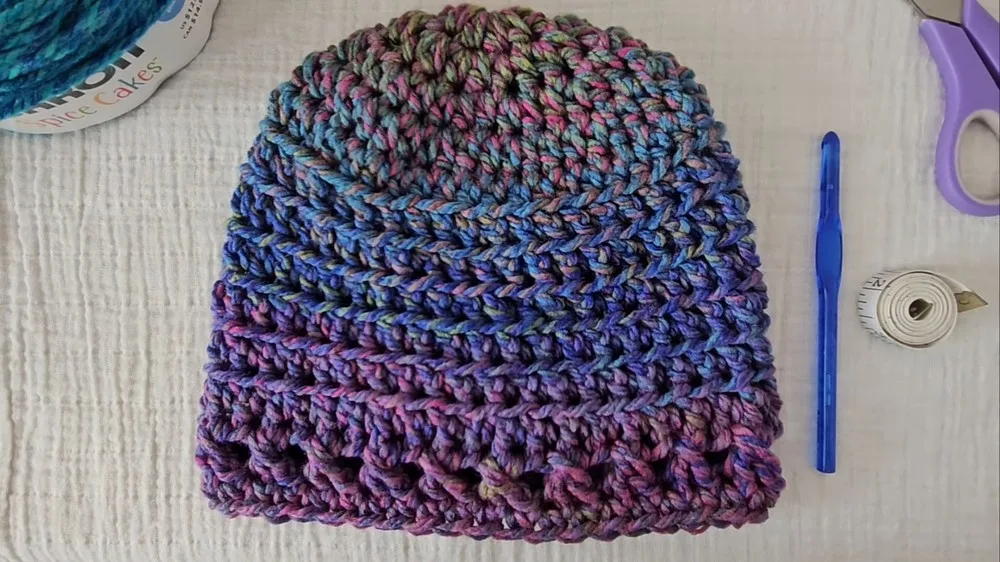
This beanie starts as a flat crown and grows into a slouchy, ribbed cap, with 6 rounds standing between a magic ring and a finished hat. Super bulky yarn and a large hook mean each round builds up fast, so the shape reads clearly after just a few passes. The result is a thick, textured hat suited to cold weather and quick weekend makes.
The crown handles all the shaping through a run of increase rounds, spreading the stitch count wider with each pass before the hat settles into straight ribbing. Slow down through those increase rounds, since skipping or misplacing an increase throws off how flat the crown sits. Once the hdc count evens out, the back-loop-only ribbing and the closing cross-stitch round are steady, repetitive work.
- Build the crown from a magic ring, working half double crochet increases until the circle lies flat.
- Work the ribbed body by crocheting into the back loop only, round after round, for that stretchy ribbed texture.
- Finish the ribbing with a decorative round of crossed double crochet stitches for a textured edge at the brim.
- Close everything out with a single crochet round worked over the crossed stitches to neaten the bottom edge.
- Fasten off and weave in any loose tails to leave a clean, wearable beanie.
What goes wrong
- Losing count during crown increases Mark the start of each increase round with a stitch marker and count stitches before moving to the next round. A crown that comes out uneven usually traces back to a missed or doubled increase.
- Crocheting into both loops for ribbing Check that each stitch in the ribbed body rounds goes into the back loop only, not both loops. Working into both loops flattens the ribbing and removes the stretchy texture the pattern is built around.
- Skipping the wrong stitch in the cross round Keep track of which stitch was skipped so the double crochet worked into it lands correctly to form the cross. Working the crossed stitches out of order leaves the design element looking uneven.
- Pulling the magic ring closed too loosely Pull the tail firmly after the first round of half double crochet so no gap remains at the very top of the crown. A loose ring leaves a visible hole once the hat is finished.
Yarn, hook and the rest
Copied from the source pattern's own materials list.
Yarn
- Super bulky (6) weight yarn (e.g., Karen Spice Cakes recommended, shades used in tutorial: Puddle, Silver Steel, and Indigo Go)
Hook
- L (8 mm) hook, Susan Bates recommended
Tools
- Scissors
- Tape measure
Progress tracker
0 of the 8 rounds on this page are ticked.
The pattern, round by round
Kept in the order and the wording the source used. Tick a round as you finish it; the ticks stay on this device.
Starting with the Crown
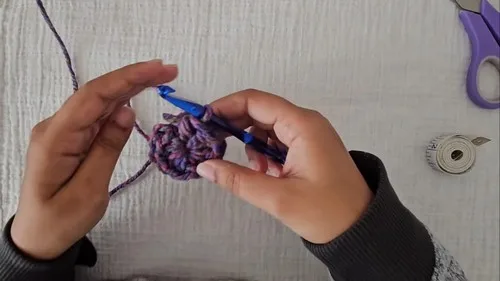
Begin with a magic ring (alternative: chain 3, slip stitch into the first chain to form a ring).
Round 1
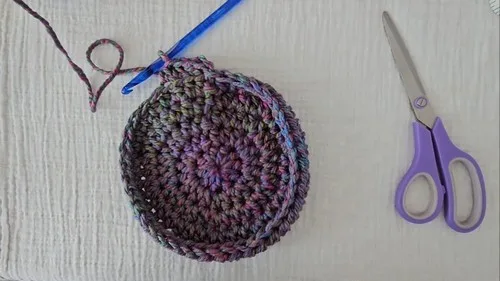
Half double crochet (hdc) 10 times into the ring. Pull the tail to close the ring.
Round 2
Increase Round Slip stitch into the first stitch from Round 1, chain 1. Make 2 hdc in each stitch around (20 hdc total).
Round 3
Increase Round Slip stitch and chain 1. 1 hdc in the first stitch, 2 hdc in the next stitch (increase). Repeat - around (30 hdc total).
Round 4
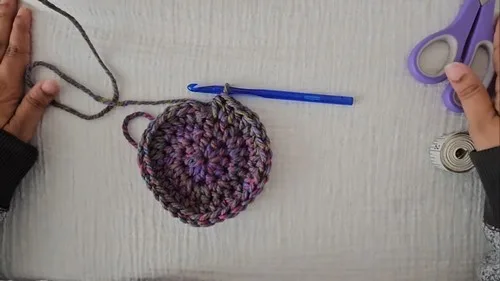
Final Increase Round Slip stitch and chain 1. 1 hdc in the first stitch, 1 hdc in the second stitch, 2 hdc in the third stitch (increase). Repeat - around (40 hdc total).
Body of the Hat
Round 5
Slip stitch and chain 1. Make 1 hdc in each stitch around (40 hdc).
Rounds 6–11
Slip stitch and chain 1. Half double crochet in the back loop only (BLO) of each stitch around. This forms a ribbed texture. Repeat for a total of 6 rounds.
Design Element at the Bottom:
Round 12
(Double Crochet Cross Stitch): Slip stitch and chain 1. Skip 1 stitch, double crochet (dc) in the next stitch. Then, dc in the stitch you skipped (forming a cross-stitch). Repeat - around.
Finishing Touches
Final Round
Slip stitch to the first stitch of Round 12 and chain 1. Single crochet (sc) in each stitch around.Fasten off and weave in the ends.
Join
Step 1Final Round: Slip stitch to the first stitch of Round 12 and chain 1. Single crochet (sc) in each stitch around.
Step 2Fasten off and weave in the ends.
Check your count
- Starting with the Crown · Round 2: 20 sts
- Starting with the Crown · Round 3: 30 sts
- Starting with the Crown · Round 4: 40 sts
- Body of the Hat · Round 5: 40 sts
Finish
- Work the final single crochet round evenly over the crossed double crochet stitches to firm up the brim edge.
- Fasten off with a secure knot once the last stitch of the finishing round is complete.
- Weave in every loose end, including the magic ring tail at the crown, and trim tails close to the fabric.
Bigger or smaller
- Larger
- Move up to a heavier yarn or a larger hook than the L (8 mm) called for, which loosens the gauge and widens every round without changing the stitch pattern.
- Smaller or Larger
- Add or remove a repeat of the back-loop-only ribbed round in the body section to shorten or lengthen the hat, since those rounds are worked in an even repeat.
- Finished Size
- After finishing, the hat should measure approximately 8 inches across. The pattern is customizable for different sizes.
Photographs of this one
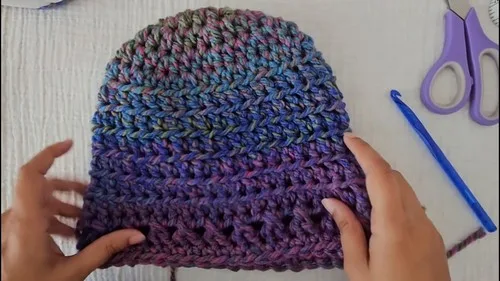
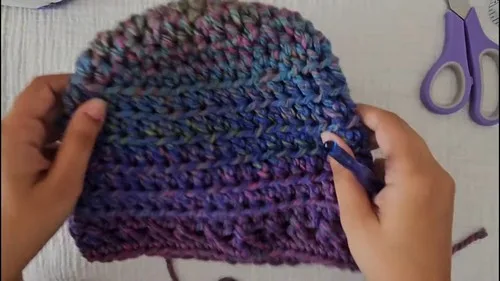
Every photograph on this page was taken by whoever published the pattern, and they are printed in the order the source listed them.
FAQs
Asked and answered
These answers came from whoever first published the pattern, kept word for word.
Can this beanie be made without a magic ring?
Yes, the crown can start with a chain 3 joined into a ring with a slip stitch instead of a magic ring. Both methods give the same starting point for the first round of half double crochet.
Why does the ribbing look different from regular half double crochet?
The ribbed rounds are worked into the back loop only instead of both loops, which leaves a raised ridge from the unused front loop. That ridge is what creates the stretchy, ribbed texture through the body of the hat.
What does the crossed stitch round add to the hat?
The crossed double crochet round sits right above the finishing single crochet edge and adds a textured, woven-looking band at the brim. It is worked once, after the ribbed body rounds are complete.
How is the hat sized to fit different heads?
The pattern is worked to a set width based on the yarn weight and hook size used, and it is noted as customizable for different sizes. Adjusting the hook, yarn weight, or number of ribbed rounds changes the finished fit.