 STITCH ROUND
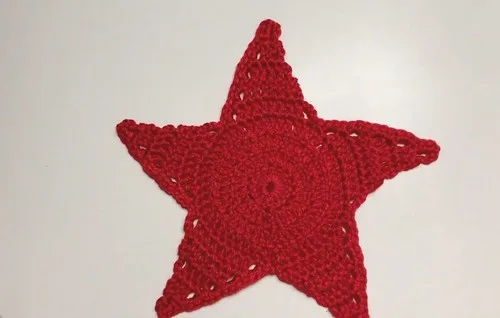
 Flat crochet star pattern worked in six rounds
Tick off 6 rounds to build a flat crochet star with five defined points.
- Skill
- Intermediate
- Rounds
- 6 rounds
- Yarn weight
- Worsted
- Hook
- 3 mm
- Time
- 4-6 hours

Intermediate
What the original page called it. Nothing here is graded a second time.

6 rounds
Each one gets its own line, with a box beside it to tick as you go.

Worsted
What the sample was made in. Any weight works — the size moves with it.
About this pattern
This flat star starts life as a simple magic ring and builds outward over six rounds into a five-pointed shape. Each round is a clear checkpoint, so progress is easy to track as the circle grows and the points begin to emerge. It works up in double crochet throughout, which keeps the rhythm steady from the first ring to the last point.
The shaping hinges on working into the back loops only and spacing increases evenly so the disc lies flat instead of cupping. Round 3 is where the star pattern first shows itself, alternating plain stitches with an increase to set the rhythm for later rounds. Slow down when marking sections before the points are shaped, since even spacing here decides how symmetrical the finished star looks.
- Begin with a magic ring and build a small flat circle in double crochet.
- Increase every stitch on the next round to double the stitch count evenly.
- Work a round that alternates plain stitches with increases to introduce the star shape.
- Add one more increase round to widen the disc before dividing it into sections.
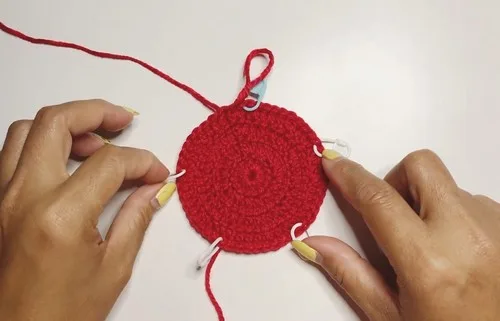
- Place stitch markers to split the round into equal sections for the star points.
- Shape each marked section into its own point before fastening off.
What goes wrong
- Working into both loops Check each increase round for the back-loops-only instruction before starting. Working into both loops removes the ridge that helps the star lie flat.
- Losing the increase pattern Count stitches in groups as instructed in the round that alternates plain stitches with increases. A single missed increase throws off the spacing for every point that follows.
- Misplacing the section markers Count carefully before placing each stitch marker so the sections split evenly. Uneven sections lead to points of different sizes.
- Skipping the join at each round Always slip stitch to the top of the starting chain before moving to the next round. Skipping the join twists the rounds and distorts the star's shape.
Yarn, hook and the rest
Copied from the source pattern's own materials list.
- 8 ply acrylic yarn
- Crochet hooks (3 mm and another size for size comparison)
- Stitch markers
Progress tracker
0 of the 6 rounds on this page are ticked.
The pattern, round by round
Kept in the order and the wording the source used. Tick a round as you finish it; the ticks stay on this device.
Main Pattern
Round 1
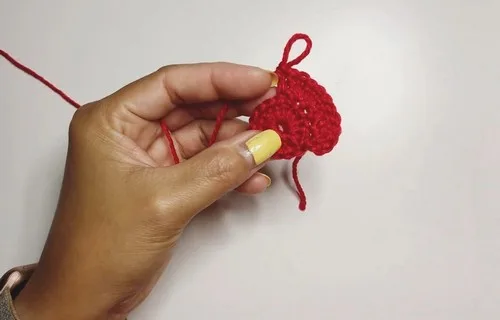
Create a magic ring; Chain 3 (counts as first double crochet); Work 14 double crochets (dc) into the ring; Pull ring tight to close; Slip stitch (sl st) to the top of the initial chain 3 to join. (14 dc)
Round 2
Increase Round Chain 3 (counts as dc); Work in back loops only, place 2 dc in each stitch around; Sl st to the first chain to join. (30 dc)
Round 3
Establishing the Star Pattern Chain 3 (counts as dc); In the back loops only, 1 dc in next stitch, 1 dc in next stitch, 2 dc in next stitch (increase by placing 2 dc in the same loop); Repeat around – this should create the pattern "1 dc, 1 dc, 2 dc". (40 dc)
Round 4
Chain 3 (counts as dc); Work 1 dc in each of the next 3 stitches, then 2 dc in the following stitch (increase); Repeat all around. (50 dc)
Round 5
Preparation for Star Points Mark every 10th stitch with a stitch marker to separate the sections for points of the star; In this pattern, you should have 5 sections of 10 dc each due to the 50 stitches from Round 4.
Round 6
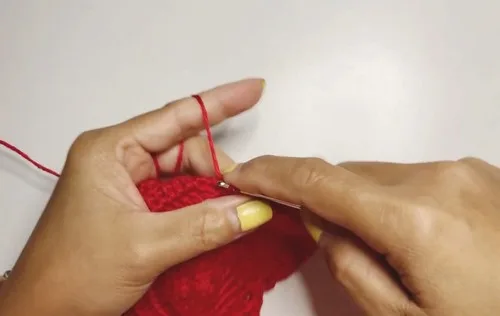
Star Points Chain 3 (counts as dc); Work 1 dc in each stitch up to the stitch marker; Decrease and shape each point by skipping the first and last stitch of the section, working down to 1 stitch; Use slip stitches between the points to decrease; Work single crochets (sc) around the edges of the star for a cleaner finish, placing 2 sc in the gaps and 1 sc on the top of the points; Repeat this process for each of the 5 points of the star.
Join
Step 1After completing all points, cut the yarn and pull through the loop to fasten off.
Step 2Weave in all ends.
Check your count
- Main Pattern · Round 1: 14 sts
- Main Pattern · Round 2: 30 sts
- Main Pattern · Round 3: 40 sts
- Main Pattern · Round 4: 50 sts
Finish
- Cut the yarn once every point is complete and pull it through the last loop to fasten off.
- Weave in the tail from the magic ring and the fastening-off tail so no loose ends show.
- Lay the star flat and check that all five points sit even before setting it aside.
Bigger or smaller
- Smaller
- Use the smaller of the two hook sizes with the same weight of yarn to tighten the stitches and shrink the finished piece.
Photographs of this one
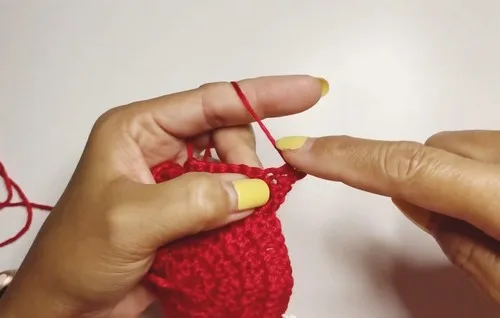
Every photograph on this page was taken by whoever published the pattern, and they are printed in the order the source listed them.
FAQs
Asked and answered
These answers came from whoever first published the pattern, kept word for word.
What yarn weight suits this star best?
An 8 ply acrylic yarn is the weight used throughout the pattern. Any similar weight will produce comparable results with the listed hook size.
Why does the pattern mention two hook sizes?
The second hook is listed for size comparison rather than for a separate part of the pattern. Comparing swatches on both hooks helps decide which gives the preferred tension before starting the star.
Why work in the back loops only?
Working into the back loops only during the increase rounds leaves the front loops free, forming the ridge lines that help define the star's shape. Skipping this step results in a flatter, less textured disc.
How are the star points kept even?
Stitch markers divide the round into equal sections once the base disc reaches its full width. Working each section the same way keeps the five points balanced against one another.