 STITCH ROUND
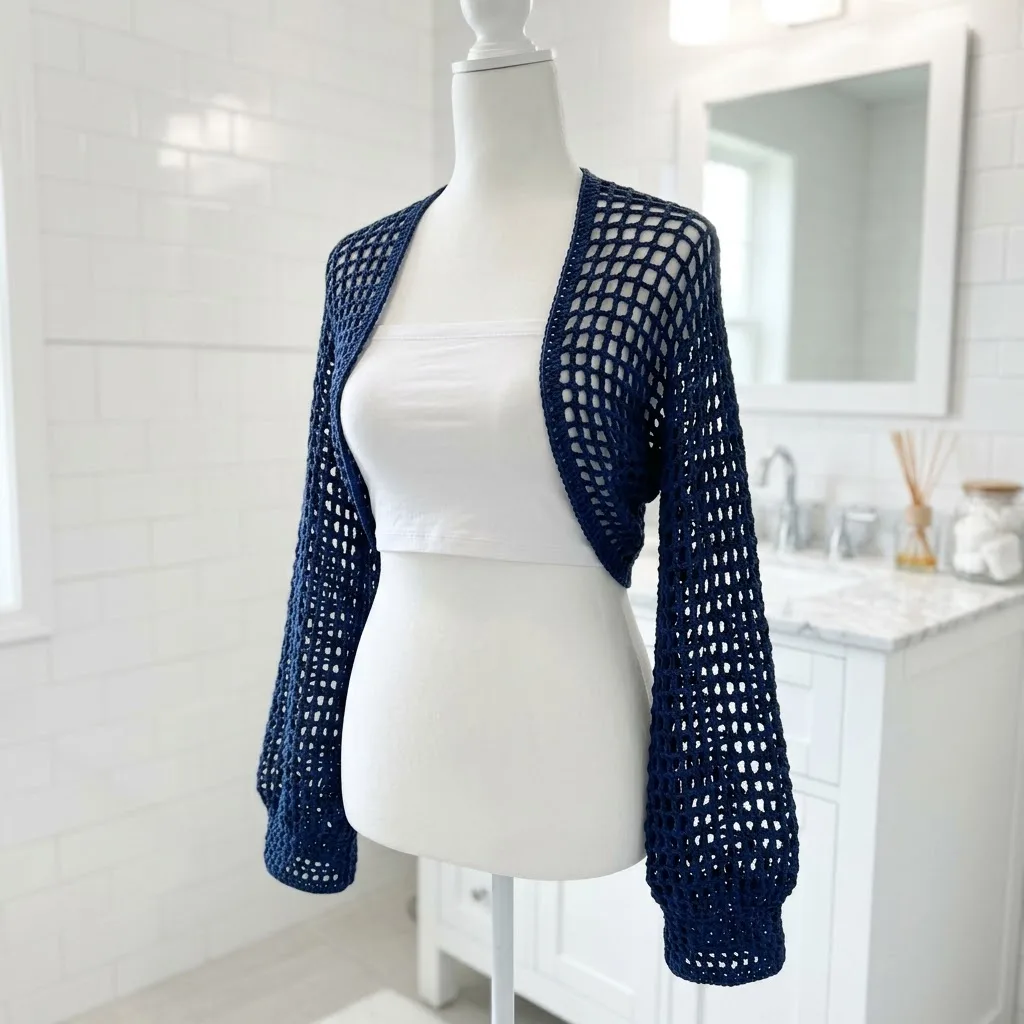
 Navy open weave crochet shrug made from one folded rectangle
Five parts to tick off for a navy mesh rectangle folded into a cuff-to-cuff shrug.
- Skill
- Intermediate
- Rounds
- 3 rounds
- Yarn weight
- DK
- Hook
- 5.0 mm
- Time
- 4-6 hours

Intermediate
What the original page called it. Nothing here is graded a second time.

3 rounds
Each one gets its own line, with a box beside it to tick as you go.

DK
What the sample was made in. Any weight works — the size moves with it.
About this pattern
This shrug starts life as a single open-weave rectangle, built in five parts: the foundation chain, the first row of spaced double crochet, the row that locks the mesh into vertical lines, a long stretch of repeats to bring the piece to length, and a single crochet border that squares it off. Nothing about the stitch count changes once the mesh is set, so each part is really just a tick-box toward a finished panel.
The only real shaping happens off the hook, when the finished rectangle gets folded and seamed into sleeves. Slow down at the border round, since the 3-sc corners are what keep the rectangle from curling once it's folded. Slow down again when marking seam lines, because the sleeve openings depend on even folds rather than any stitch count.
- Chain a long foundation row and check that it lies flat and measures correctly before turning.
- Work the first double crochet row into the chain, leaving a small gap between each stitch.
- Turn and repeat the mesh row so the double crochets stack directly above the ones below.
- Keep repeating that same row until the rectangle reaches the desired cuff-to-cuff length.
- Finish with a single crochet border around all four sides, working extra stitches into each corner.
- Fold the short ends of the rectangle toward the center to set up the sleeves and back panel.
What goes wrong
- Starting in the wrong chain Count back four chains from the hook before placing the first double crochet, since the three skipped chains already count as a stitch. Starting one chain off throws off the whole mesh count.
- Uneven ch-1 spaces Keep the chain between double crochets consistent in height so the mesh gaps match across the row. Tight or loose chains show up clearly in open-weave work.
- Skipping corner stitches on the border Work all three single crochet stitches into each corner on the final round, not just one or two. Missing corner stitches makes the rectangle curl instead of lying flat.
- Uneven fold sections Measure both folded ends against each other before marking seam lines, since mismatched folds throw off the sleeve lengths. Use stitch markers to pin the fold before seaming.
Yarn, hook and the rest
Copied from the source pattern's own materials list.
Yarn
- Approximately 800 to 1000 yards of DK weight yarn (weight category 3)
- The sample uses a cotton or cotton blend yarn in navy blue
- Look for yarn with good stitch definition. Avoid anything too fuzzy or textured since that will hide your beautiful mesh work
- Recommended yarn qualities: Cotton, cotton blends, bamboo blends, or smooth acrylic. These fibers will show off the open weave pattern and provide nice drape for a garment.
Hook
- Size H/8 (5.0mm) crochet hook
- Adjust hook size as needed to meet gauge
Notions
- Tapestry needle for weaving ends and seaming
- Stitch markers
- Measuring tape
- Scissors
- Gauge
- 14 stitches and 8 rows = 4 inches in the mesh pattern after blocking.
- Gauge matters for garments. Please take time to make a swatch. If your swatch is too small, go up a hook size. If it’s too large, go down a hook size. This step will save you from making a shrug that doesn’t fit.
- Finished Measurements
Back width
- 18 inches
- Total length (cuff to cuff when laid flat): 54 inches
- Sleeve length from fold: 18 inches each side
Body depth
- 16 inches
Progress tracker
0 of the 3 rounds on this page are ticked.
The pattern, round by round
Kept in the order and the wording the source used. Tick a round as you finish it; the ticks stay on this device.
Main Pattern
Beginner note: That "4th chain from hook" part trips people up. Count back from your hook: 1, 2, 3, 4. Stick your hook in that 4th chain. The 3 chains you skipped count as your first double crochet.
What you should see (Row 1): A row of double crochet posts with small gaps between them. The posts should be evenly spaced and your work should lay flat without curling.
What you should see (Row 2): Your mesh pattern starting to form. The double crochets should stack directly above each other, creating vertical lines.
Counting tip: Place a stitch marker every 10 rows. Trust me on this. Counting 72 rows of mesh after the fact is nobody's idea of fun.
Tension check: Every 10 rows or so, measure your width. It should remain consistent at about 16 inches. If your work is getting wider or narrower, your tension is changing and you may need to adjust.
The mesh stitch in this shrug uses a simple formula: double crochet, chain 1, skip 1. This creates evenly spaced "windows" throughout the fabric. The double crochet posts form the vertical lines of your grid while the chain spaces form the horizontal openings.
You make a double crochet, then chain 1 and skip the next stitch. The chain bridges the gap while the skipped stitch creates the hole. When you stack these rows, the chains and spaces align to form that gorgeous lattice effect.
Practice tip: If you've never worked mesh before, chain 25 and practice a few rows before starting your shrug. Getting comfortable with the rhythm will make the full project much more enjoyable.
Gauge: 14 stitches and 8 rows = 4 inches in the mesh pattern after blocking. Gauge matters for garments. Please take time to make a swatch. If your swatch is too small, go up a hook size. If it's too large, go down a hook size. This step will save you from making a shrug that doesn't fit.
Finished Measurements (Size Small/Medium, relaxed oversized fit): Back width: 18 inches; Total length (cuff to cuff when laid flat): 54 inches; Sleeve length from fold: 18 inches each side; Body depth: 16 inches.
For larger sizes, add chain stitches in multiples of 4 to increase width. Add additional rows to increase length.
Foundation Row: Ch 58 (or any multiple of 4 plus 2 for different sizing). This chain should measure approximately 16 inches when gently stretched. Don't pull it tight. Measure it laying naturally.
Round 1
Right Side Dc in 4th ch from hook (the skipped chains count as your first dc), *ch 1, sk 1 ch, dc in next ch*, repeat from * to * across. (56 sts including chains)
Round 2
Ch 4 (counts as dc plus ch 1), turn, sk first dc, dc in next dc, *ch 1, sk ch-1 sp, dc in next dc*, repeat from * to * across, ending with dc in top of turning chain. (56 sts)
Round 3
through 72: Repeat Row 2 until your piece measures approximately 54 inches in length, or your desired cuff-to-cuff measurement.Final Row: After your last row, ch 1, do not turn. Work 1 round of single crochet evenly around the entire rectangle, working 3 sc in each corner to keep them flat. Sl st to first sc to join. Fasten off and weave in this end.
Join
Step 1Step 1: Fold Your Rectangle - Lay your rectangle flat on a clean surface with the right side facing up. Fold both short ends toward the center. Each folded section should be approximately 18 inches. This leaves about 18 inches in the center unfolded. This center section becomes the back of your shrug.
Step 2Step 2: Mark Your Seam Lines - Using stitch markers, mark where you'll seam. Each sleeve seam runs from the folded edge inward for approximately 16 to 17 inches, leaving a small opening at the end for the armhole. Visual check: When you fold it, the shape should roughly resemble a shrug laid flat, with two tube shapes for arms connected by a back panel.
Step 3Step 3: Seam the Sleeves - Thread your tapestry needle with a long length of matching yarn (about 36 inches per sleeve). Using whip stitch or mattress stitch, seam each sleeve closed along the marked lines. Work from the cuff edge toward the body, stopping about 1 inch before the fold to create a comfortable armhole. Whip stitch how-to: Insert needle through both layers from back to front, then move over about 1/4 inch and repeat. Keep your stitches even and not too tight. Mattress stitch alternative: This creates an invisible seam. Insert needle under one bar on the first piece, then under the corresponding bar on the second piece. Pull gently to close the seam.
Step 4Step 4: Weave in Remaining Ends - Weave all yarn tails through several inches of stitches, changing direction once or twice to secure them. Trim close to the fabric.
Step 5Finishing and Blocking: For the best results, wet block your finished shrug. 1. Fill a basin with cool water and a drop of wool wash or gentle soap; 2. Submerge your shrug and let it soak for 15 minutes; 3. Gently press out water without wringing; 4. Roll in a clean towel to remove excess moisture; 5. Lay flat on blocking mats, gently stretching to measurements; 6. Allow to dry completely before wearing. Blocking opens up the mesh pattern, evens out your stitches, and gives the finished piece a professional look.
Finish
- Weave in the foundation chain tail and the fasten-off end from the single crochet border using a tapestry needle.
- Fold the rectangle as planned and seam each marked sleeve line, leaving the small opening for the arm.
- Block the finished shrug flat so the mesh gaps sit even and the corners stay square before wearing.
Bigger or smaller
- Longer or shorter cuff-to-cuff length
- Repeat the mesh row in multiples of two rows to add or remove length before working the single crochet border. More repeats lengthens the sleeves; fewer repeats shortens them for a cropped fit.
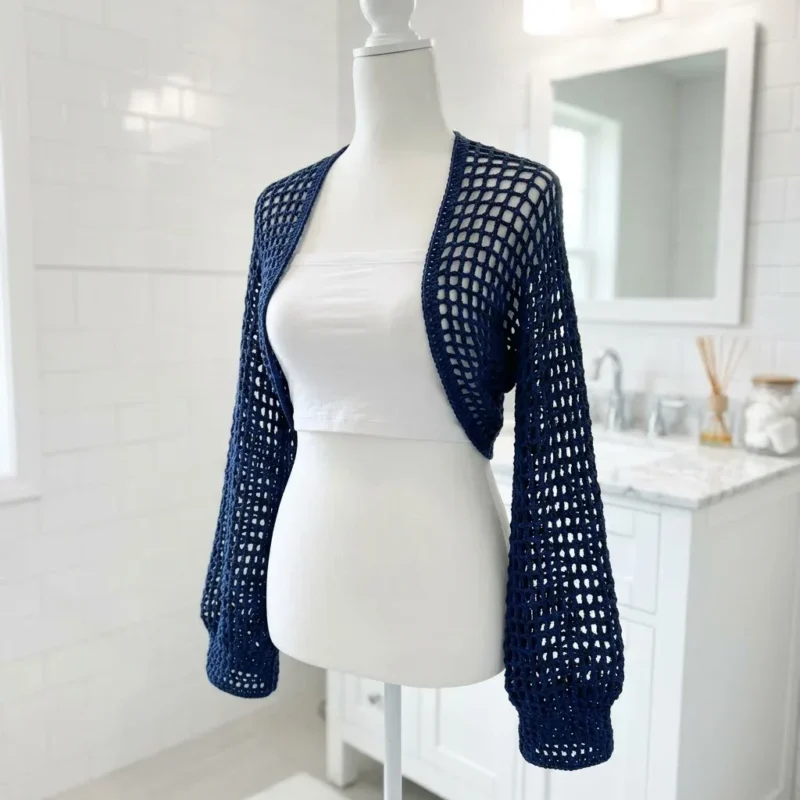
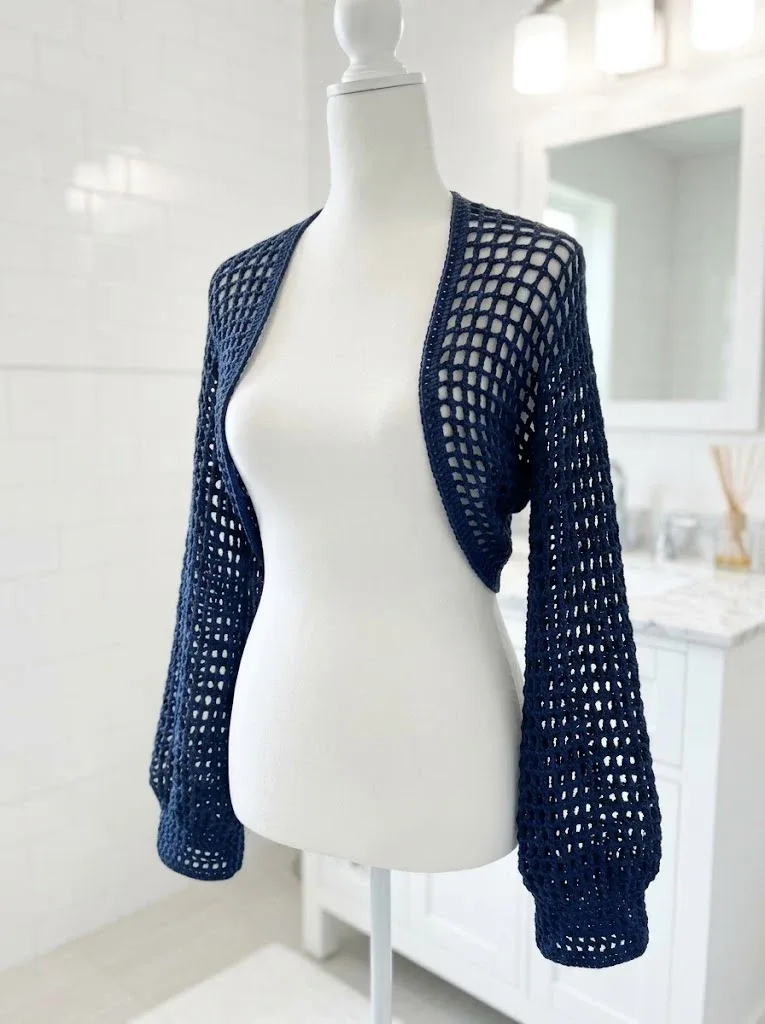
Photographs of this one
Every photograph on this page was taken by whoever published the pattern, and they are printed in the order the source listed them.
FAQs
Asked and answered
These answers came from whoever first published the pattern, kept word for word.
What yarn works best for this shrug?
Cotton or a cotton blend in DK weight gives the open mesh enough structure to hold its shape without feeling heavy. Around 800 to 1000 yards is enough to complete the full rectangle in navy blue.
Why does the chain need to measure a specific length?
The foundation chain sets the final width of the rectangle, so checking it against the target measurement before starting row 1 avoids reworking the whole piece later. Measure it laying naturally, not stretched.
How is the shrug shaped without any increases or decreases?
The entire piece is worked as a flat rectangle with no shaping built into the stitches. All of the shrug's shape comes from folding the finished panel and seaming the marked sleeve lines.
Can the cuffs be adjusted after the rectangle is finished?
Yes, additional rows of single crochet worked in the back loop only at each cuff add a fitted ribbed edge. This is done after the main rectangle and border are complete.