 STITCH ROUND
 A no-sew amigurumi cat pattern for beginners
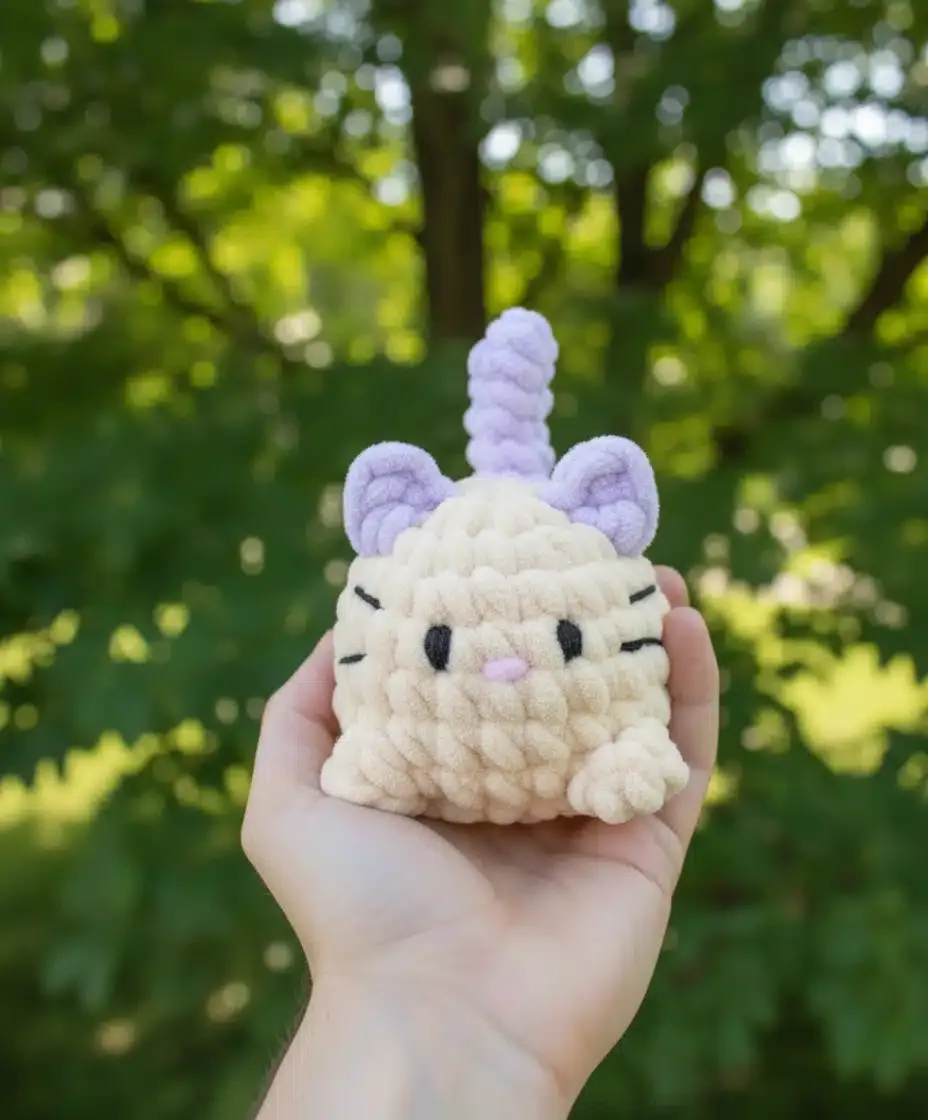
8 quick rounds build a no-sew amigurumi cat with tail and ears worked right in.
- Skill
- Beginner
- Rounds
- 10 rounds
- Yarn weight
- Super Bulky
- Hook
- 6 mm
- Time
- 2-4 hours

Beginner
What the original page called it. Nothing here is graded a second time.

10 rounds
Each one gets its own line, with a box beside it to tick as you go.

Super Bulky
What the sample was made in. Any weight works — the size moves with it.
About this pattern
This little cat starts as a magic ring of six single crochet stitches and grows through a short, satisfying checklist: two rounds shape the base, two more open a gap for the tail, one round closes the body, one shapes each paw, and two build the head. Eyes and nose need no extra rounds — they're added at the finishing stage. The whole project ticks off fast, making it a solid one-sitting amigurumi for anyone who wants a finished toy without hours of counting stitches.
- Begin with a magic ring in white yarn to form the tight, seamless center of the body.
- Increase steadily over the base rounds so the flat circle flares out into a rounded shape.
- Chain across a gap and skip stitches to build a small opening that becomes the tail.
- Add short rounds for the paws and shape the head before stuffing and closing everything up.
- Finish with embroidered eyes and a small pink nose instead of stitching on separate pieces.
What goes wrong
- Loose magic ring center Pull the starting tail tight before working the first stitches, or a visible hole will sit at the base of the body.
- Uneven tail opening gap Count the skipped stitches carefully when chaining across the gap so the opening stays a consistent width for the tail later.
- Visible white-to-orange color jump Change yarn colors at the same point in the round each time so the join line stays hidden along one edge.
- Chenille yarn splitting on the hook Work with firm, even tension and a smooth 6mm hook, since chenille yarn snags easily if pulled too fast.
Yarn, hook and the rest
Copied from the source pattern's own materials list.
- For this No-Sew Crochet Cat Pattern project, you’ll need super bulky chenille yarn, which creates a wonderfully soft and cuddly texture. The recommended yarn is Hobbii Baby Snuggle (approximately 50g) or a similar weight yarn in the following colors:
- White (main body color)
- Orange (for ears and tail details)
- Light pink (small amount for the nose)
- Black sports weight yarn (for embroidering facial features)
- 6mm crochet hook
- Tapestry or sewing needle
- Hypoallergenic polyester stuffing
- Scissors
- Stitch marker
Progress tracker
0 of the 10 rounds on this page are ticked.
The pattern, round by round
Kept in the order and the wording the source used. Tick a round as you finish it; the ticks stay on this device.
Starting the Base
Begin with white yarn and create a magic ring containing 6 single crochet stitches. This technique creates a tight, seamless center for your work.
Round 2: Work 6 increases for a total of 12 stitches
Round 3
Work (1 single crochet, 1 increase) repeated 6 times for a total of 18 stitches
Round 4
Work (2 single crochet, 1 increase) repeated 6 times for a total of 24 stitches
Creating the Tail Opening
Round 5
Chain 2, skip 2 stitches, work 22 single crochet
Round 6
Work 2 single crochet on the chains, then 22 single crochet At this point, you’ll have created a small opening of 4 stitches total. This is where the magic happens! Don’t cut your yarn—simply pause here and add a stitch marker to secure your work.
Working the Tail
Switch to orange yarn and introduce it into one of the remaining stitches around the opening.
Rounds 1–8
Create 8 rounds of 4 single crochet stitchesWhen complete, cut the yarn and fasten off, but leave a generous tail—you’ll need this later to create the characteristic curved tail.
Completing the Body
Return to your white yarn and continue:
Rounds 7–8
Work 24 single crochet stitches
Adding the Adorable Paws
The bobble stitch creates charming, dimensional paws that give your cat personality and texture.
Round 9
Work 3 single crochet, then repeat (1 front loop bobble stitch, 5 single crochet) 3 times, 1 bobble stitch, 2 single crochet
Important technique note: When working the bobble stitches, insert your hook through the front loop only. For single crochet stitches, work as usual through both loops.
Shaping the Head
Round 10
Work (2 single crochet, 1 decrease) repeated 6 times for a total of 18 stitches
Round 11
Work (1 single crochet, 1 decrease) repeated 6 times for a total of 12 stitches Cut the yarn and fasten off securely.
Creating the Ears
The ears add character and complete the feline appearance. Using orange yarn, introduce it into one stitch of the 3rd round of the head.
Each Ear
Chain 3, skip the first chain, then work 1 single crochet and 1 half double crochetFasten off by bringing the yarn inside the second round of the head. Repeat this process on the opposite side to create the second ear.Pro tip: Leave a small tail of yarn outside the cat—you’ll use this to secure the tail curve later.
Shaping the Tail Curve
This step transforms your straight crocheted tail into a gracefully curved feline tail that adds movement and charm to your finished piece.
Step by step Step by step: Thread the leftover yarn from the tail onto a tapestry needle. Bring the yarn from the top of the tail to approximately the center (around round 4), then bring it back inside the tail and out through the top of the body. Gently pull the yarn to create a slight curve in the tail. Secure by tying it together with the leftover yarn from the ear.
Eyes
Using black thread, embroider two simple eyes in round 5 of the head, leaving approximately 3 stitches of space between them. Keep the stitches small and tight for a neat appearance.
Whiskers
With the same black thread, add two whiskers extending outward from each eye, positioned about 2 stitches to the side.
Nose
Using a small amount of light pink plush yarn, create a tiny nose with a single stitch in length, centered between and slightly below the eyes.
Finish
- Weave in the starting tail from the magic ring and any color-change ends left from the orange details before stuffing.
- Stuff the body firmly through the tail opening, packing a little more filling into the head and body than the paws for a stable shape.
- Close the tail opening once stuffing is even, cinching it shut so the closure doubles as the base of the tail.
Bigger or smaller
- Larger
- Swap the super bulky chenille for a bulkier yarn and size up from the 6mm hook, scaling every round up while keeping the same stitch pattern.
- Longer tail or taller body
- Repeat the completing-the-body round once more before closing, adding extra length beyond the usual 12 cm total with the tail positioned out.
Photographs of this one
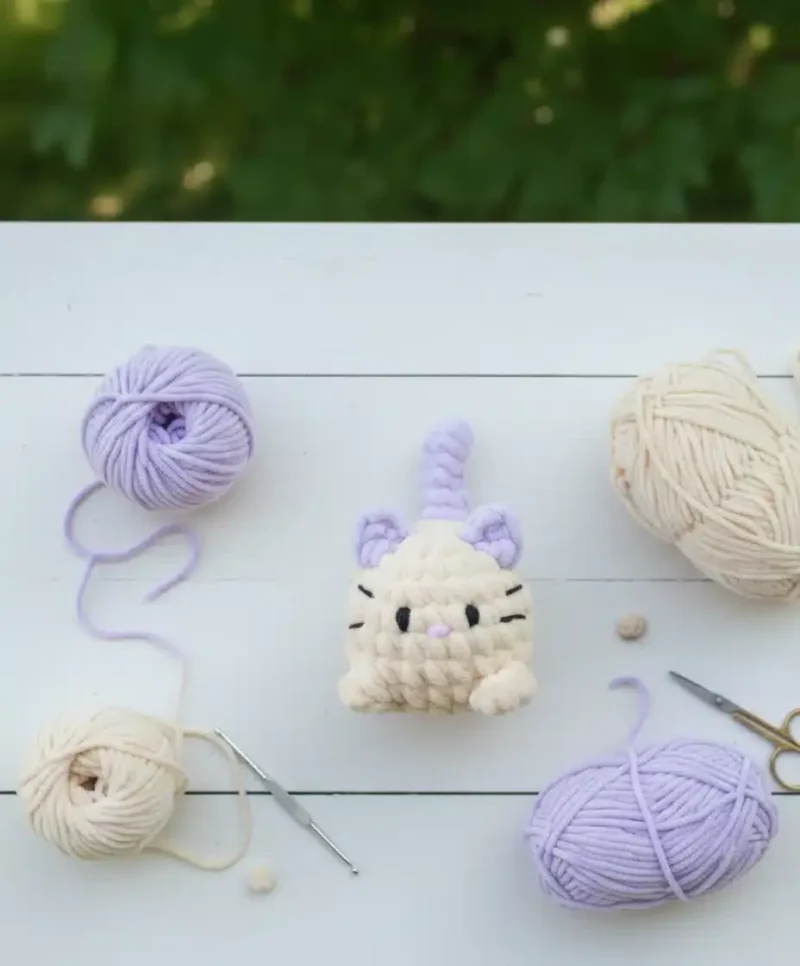
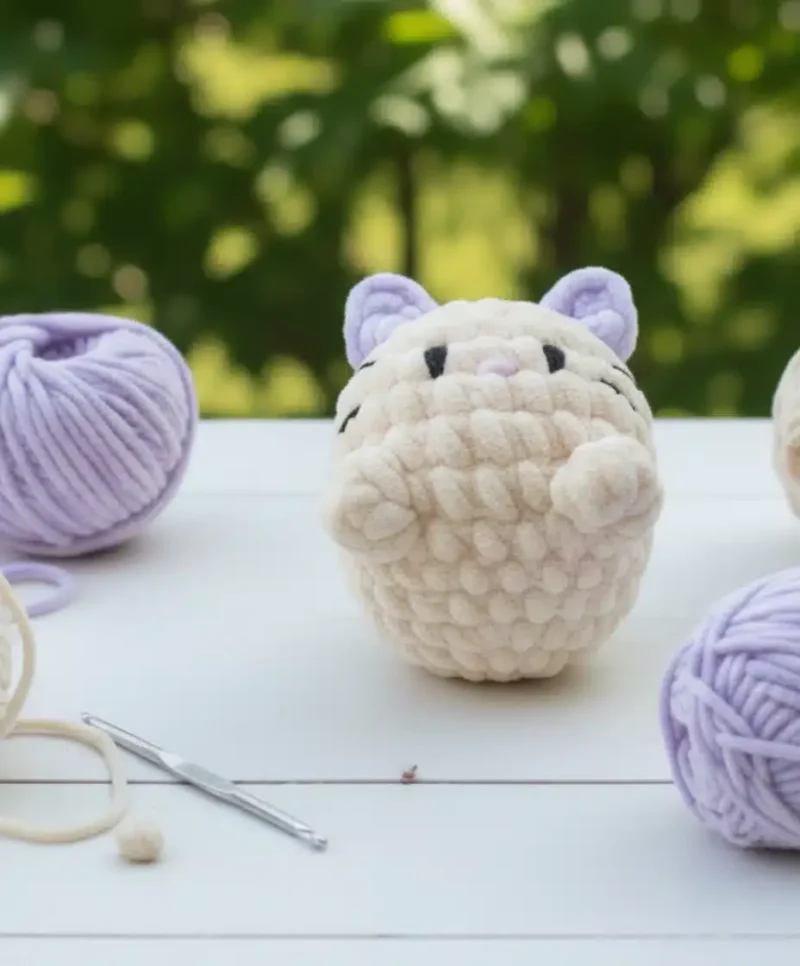
Every photograph on this page was taken by whoever published the pattern, and they are printed in the order the source listed them.
FAQs
Asked and answered
These answers came from whoever first published the pattern, kept word for word.
Does this pattern really need no sewing?
Yes — the tail and ears are built directly into the body rounds instead of crocheted separately and stitched on. Only the eyes and nose are added afterward with embroidery and a small appliqué.
What yarn works best for the soft texture?
Super bulky chenille, in skeins of roughly 50g, gives the finished cat its cuddly texture. A similar-weight yarn will work as long as it pairs well with a 6mm hook.
How is the tail opening used?
The small gap created in the tail opening rounds becomes the point where the tail is shaped and the body is later stuffed and closed. A stitch marker holds the spot while the white body rounds continue.
How big is the finished cat?
The finished cat measures about 7 cm tall, growing to around 12 cm when the tail is positioned out. Its small size makes it a quick amigurumi to finish in one sitting.