 STITCH ROUND
 Chunky Robot Plush Amigurumi Crochet Pattern
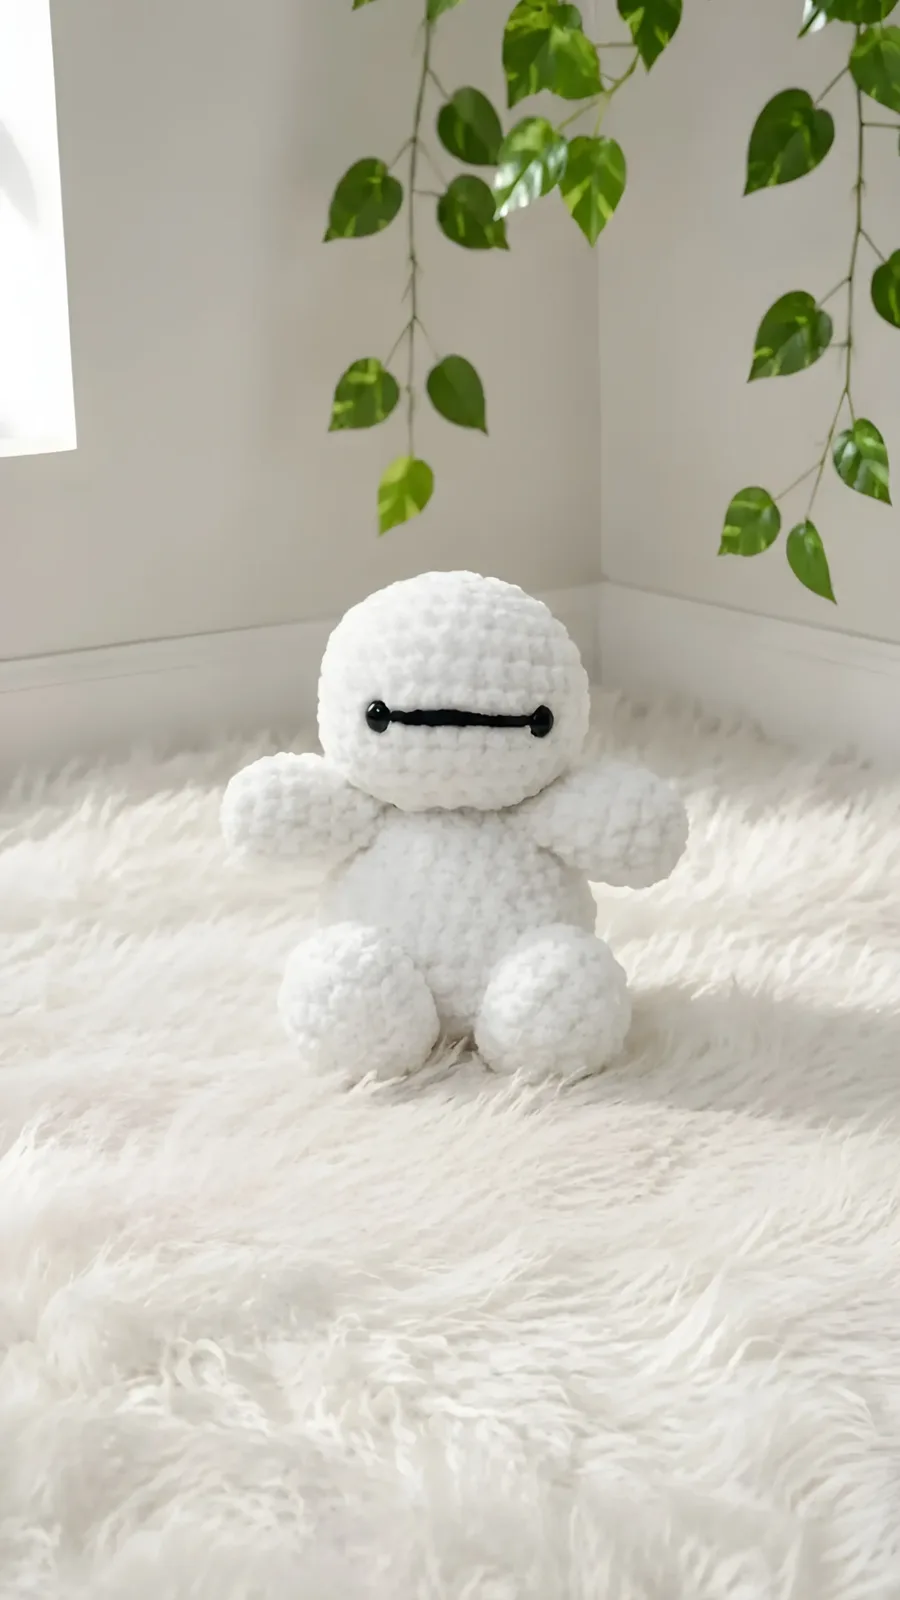
A chunky robot plush amigurumi crocheted in four parts: a 13-round head, a 15-round body, plus two arms and two legs, all from a
- Skill
- Intermediate
- Rounds
- 32 rounds
- Yarn weight
- Super Bulky
- Hook
- 6.50 mm
- Time
- 4-6 hours

Intermediate
What the original page called it. Nothing here is graded a second time.

32 rounds
Each one gets its own line, with a box beside it to tick as you go.

Super Bulky
What the sample was made in. Any weight works — the size moves with it.
About this pattern
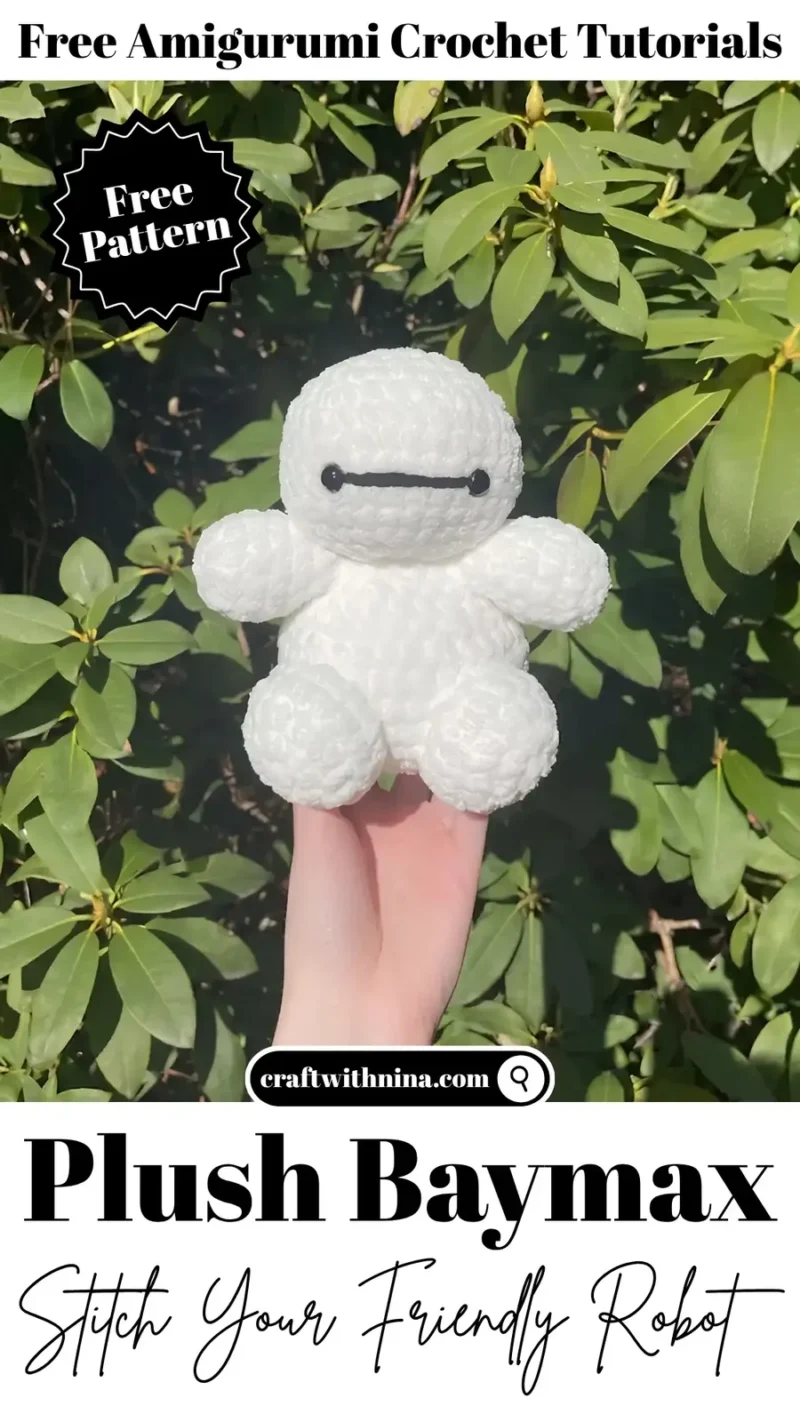
This robot plush comes together in four crocheted parts: a head worked over 13 rounds, a body worked over 15 rounds, and two arms and two legs worked in fewer rounds each. All four start from a magic ring and build outward in plain single crochet, so the stitch itself never changes, only the count around each round. The thick chenille-style yarn works up fast, making this a satisfying weekend amigurumi rather than a multi-week project.
Shaping happens entirely through increase and decrease rounds that turn a flat magic ring into a rounded shape for each part of the robot. Increases build width quickly near the start of each part, so watch the stitch count as it climbs. Slow down on the decrease rounds near the end of the head, where the count drops fast and it is easy to lose a stitch without noticing.
- Crochet the head from a magic ring, increasing in single crochet to round out the shape.
- Embroider the black eye line onto the head before any stuffing goes in, then attach the safety eyes.
- Crochet the body separately from its own magic ring, working the same increase-then-decrease shaping.
- Crochet two arms and two legs, working each pair identically.
- Stuff the head firmly, the arms lightly, and the body and legs firmly enough to help the plush sit upright.
- Sew the arms and legs onto the body, then join the finished head to the body to complete the plush.
What goes wrong
- Losing the start of the round Place a stitch marker in the first stitch of each round, since thick blanket yarn makes the seam hard to spot.
- Embroidering eyes after stuffing Stitch the black eye line onto the head before adding fiberfill so the knots stay hidden inside.
- Loose, gappy single crochets Keep tension firm and even throughout, since chenille-style yarn shows gaps quickly when stitches are too loose.
- Same stuffing firmness everywhere Stuff the arms lightly but pack the legs and body firmly, so the finished plush sits without tipping over.
- Miscounting decrease rounds Rounds 11, 12, and 13 of the head each end with a different final count, so pause and count your stitches at the end of those rounds.
Yarn, hook and the rest
Copied from the source pattern's own materials list.
- Black and white yarn (I used Bernat Blanket)
- Crochet Hook (I used a size 6.50 mm)
- Saftey eyes (I used 12mm)
- Stuffing (I use Poly-fil)
- Darning needle
- Scissors
Progress tracker
0 of the 32 rounds on this page are ticked.
The pattern, round by round
Kept in the order and the wording the source used. Tick a round as you finish it; the ticks stay on this device.
Head
Round 1
6sc in mr (6)
Round 2
inc in every stitch around (12)
Round 3
(1sc, inc) x6 (18)
Round 4
(2sc, inc) x6 (24)
Round 5
(3sc, inc) x6 (30)Place safety eyes 8 stitches apart between rows 8 and 9
Round 6
9sc, inc, 14sc, inc, 5sc (32)
Rounds 7–10
sc in every stitch around (4 rows) (32)Sew line with black yarn 8 stitches apart, between rows 8 and 9 of head
Round 11
(3sc, dec) x6,sc2 (26)
Round 12
(2sc, dec) x6,sc2 (20)
Round 13
(5sc, dec) x6, Dec (13)Finish off no need to leave long tail
Body
Round 1
6sc in mr (6)
Round 2
inc in all (12)
Round 3
(1sc, inc) x6 (18)
Round 4
(2sc, inc) x6 (24)
Round 5
(3sc, inc) x6 (30)
Round 6
(4sc, inc) x6 (36)
Rounds 7–9
Sc in all (3 rows) (36)
Round 10
(4sc, dec) x6 (30)
Round 11
(3sc, dec) x6 (24)
Round 12
sc in all (24)
Round 13
(2sc,dec) x6 (18)
Round 14
Sc in all (18)
Round 15
(1 sc, dec) x6 (12)Stuff firmly throughout the decreasing process, then leave a long tail for sewing and sew the body to the head.
Arms
(Make two).
Round 1
6sc in mr (6)
Round 2
inc in all (12)
Rounds 3–6
sc in all (4 rows) (12)
Round 7
(1sc, dec) x6 (9)Stuff lightly. Fold together and sc 4 along the top. Finish off leaving a long tail for sewing.Sew arms between rows 13 and 14 of body, sewing in the 1st stitch right where the eyes end and the line starts, then sew the last three stitches of arm going away from the face (My arms were 8 stitches apart in the front)
Legs
(Make Two).
Round 1
6sc in mr (6)
Round 2
inc in all (12)
Round 3
(1sc, inc) x6 (18)
Round 4
Sc in all (18)
Round 5
(1sc, dec) x6 (12)Stuff firmly. Finish off leaving long tail for sewing.Sew bottom of the legs between rows 4 and 5 of body, having the top of the legs touching row nine (I sewed the legs 2 stitches apart from each other so there is a little gap in between them)
Check your count
- Head · Round 3: 18 sts
- Head · Round 6: 32 sts
- Head · Round 12: 20 sts
- Head · Round 13: 13 sts
- Body · Round 4: 24 sts
- Body · Round 10: 30 sts
Finish
- Weave in the yarn tail from the magic ring and any other loose ends before adding stuffing, since chenille yarn is harder to hide once the piece is packed tight.
- Stuff the head to a full, rounded shape, stuff the arms lightly, and stuff the body and legs firmly enough to keep the plush stable and sitting upright without tipping over.
- Close the final decrease round on each part with a needle, then sew the arms and legs onto the body before joining the head on top to finish the plush.
Bigger or smaller
- Smaller
- Swap the blanket yarn for standard worsted weight acrylic and drop down to a 3.5mm or 4.0mm hook, which shrinks the finished robot noticeably.
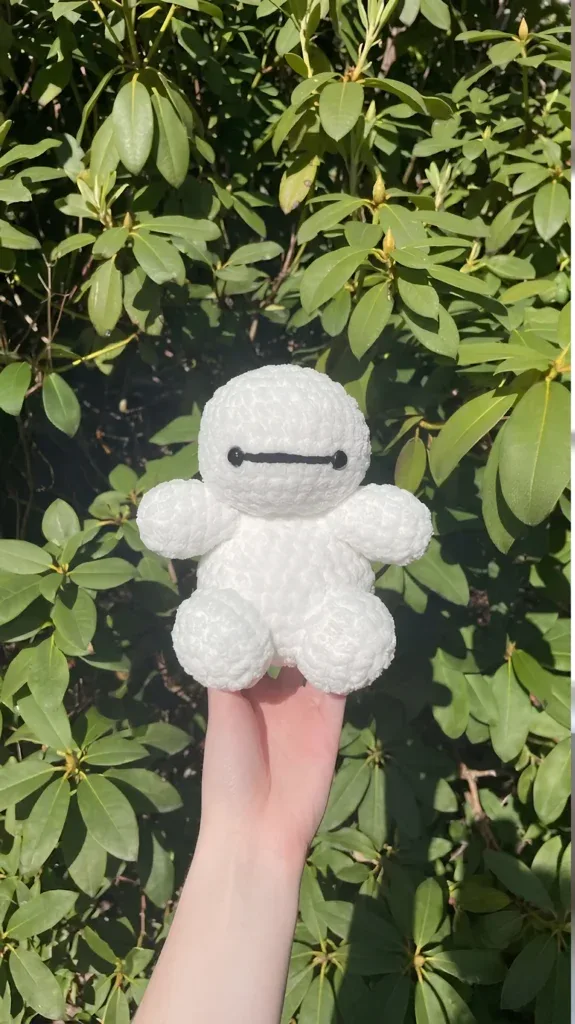
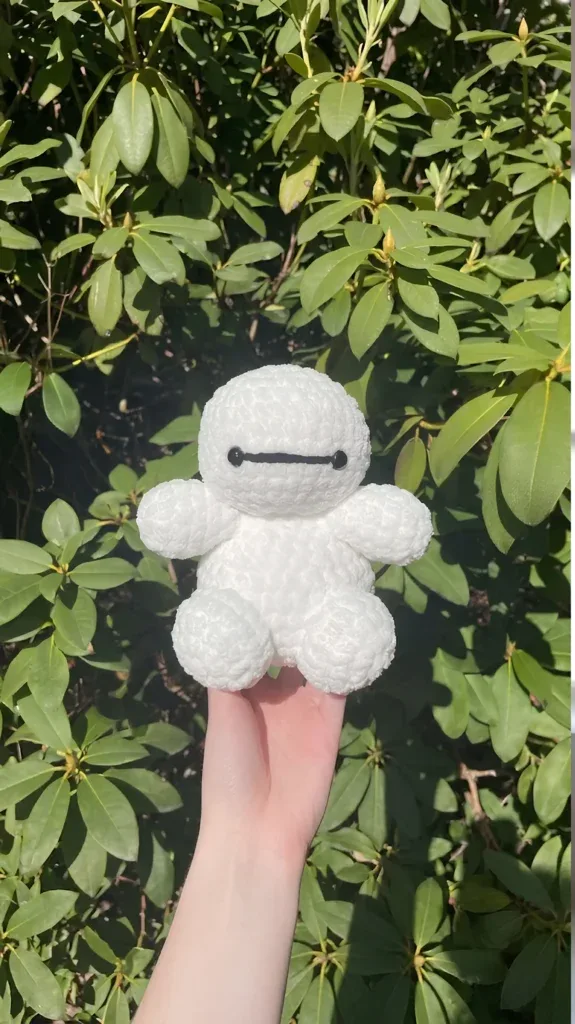
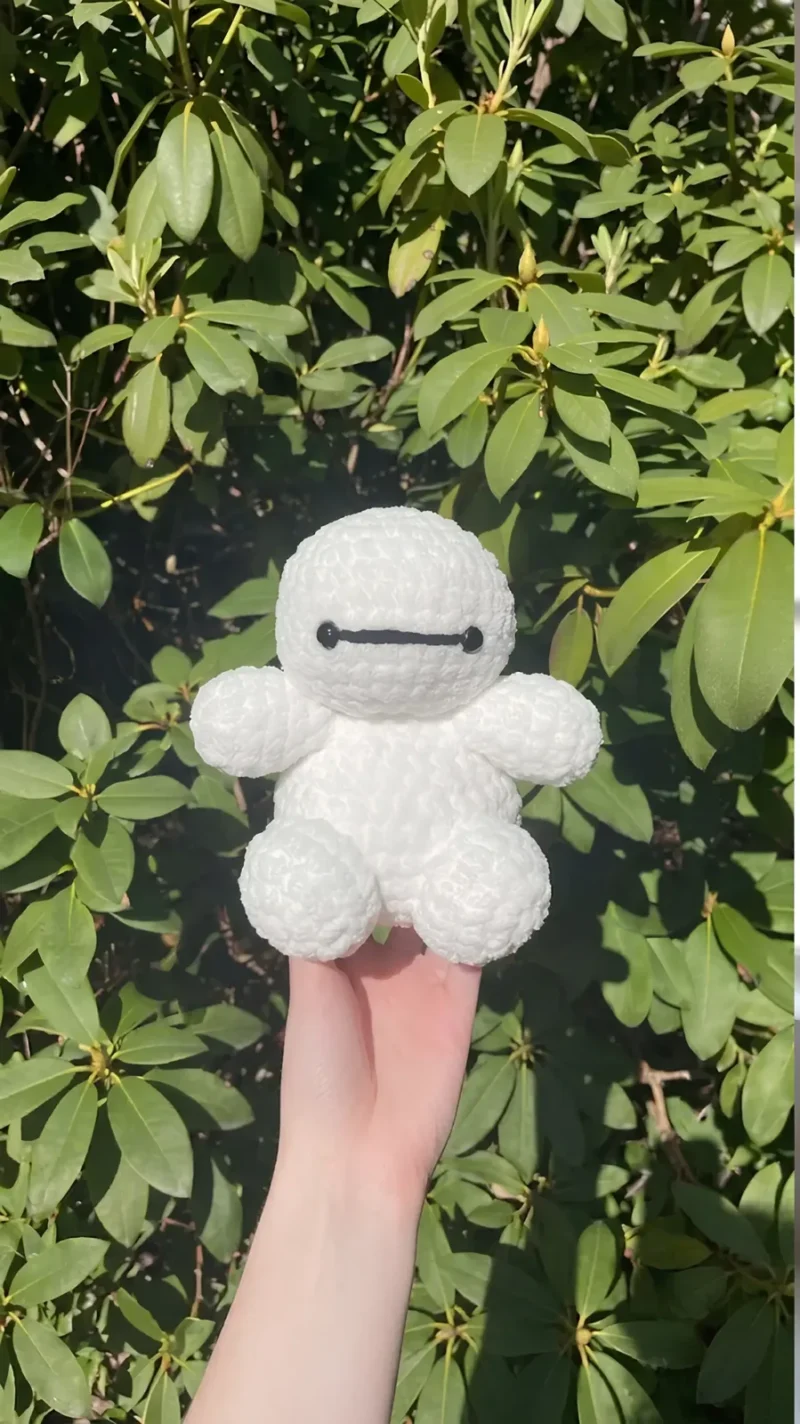
Photographs of this one
Every photograph on this page was taken by whoever published the pattern, and they are printed in the order the source listed them.
FAQs
Asked and answered
These answers came from whoever first published the pattern, kept word for word.
What hook size does this pattern need?
The pattern calls for a 6.5mm hook with the thick blanket-style yarn. Drop to a 6.0mm hook if stitches tend to come out loose, so the stuffing does not peek through.
Can regular worsted weight yarn be used instead?
Yes, standard worsted weight acrylic works with a smaller 3.5mm or 4.0mm hook. The finished robot will turn out much smaller than the blanket yarn version.
Why embroider the eyes before stuffing?
It is much easier to secure the black yarn and hide the knots inside the head while it is still open. Doing this after stuffing makes the knots harder to bury neatly.
Is it okay to sell the finished plush?
Yes, selling a finished plushie made from this pattern is allowed. The pattern itself should not be sold, redistributed, modified, reposted, or claimed as original work.
How do I keep the embroidered eye line straight?
Map it out first using straight pins between rounds 8 and 9, then run the black yarn directly across the surface from one safety eye to the other, securing it tightly inside the head.
Why does the blanket yarn shed when cut?
Chenille and blanket yarns tend to shed at raw ends. Tie a tiny knot at the very end of the cut yarn tail to stop the fibers from sliding off the central thread.
What is the best way to attach the limbs?
Use the long tails left over from crocheting each limb and a sturdy darning needle. Whipstitch through both loops of the limb and the stitches of the body, pulling tight and weaving the ends deep inside the plush.