 STITCH ROUND
 A velvet bunny amigurumi pattern for an 11 cm rabbit
36 rounds shape this 11 cm velvet bunny amigurumi, from stubby legs to floppy ears.
- Skill
- Intermediate
- Rounds
- 36 rounds
- Yarn weight
- Worsted (Velvet/Chenille)
- Hook
- 3.5 mm
- Time
- 4-6 hours

Intermediate
What the original page called it. Nothing here is graded a second time.

36 rounds
Each one gets its own line, with a box beside it to tick as you go.

Worsted (Velvet/Chenille)
What the sample was made in. Any weight works — the size moves with it.
About this pattern
This velvet bunny comes together from five separate pieces, each with its own short round count to tick off. The head and body is one continuous piece worked over 12 rounds, the legs and arms each take just 4 and 5 rounds and are made twice, the tail is a quick 2-round piece made once, and the ears take the longest at 13 rounds each, also made in pairs. Nothing here runs long, which makes it easy to finish a piece in a single sitting.
The pattern is written in US crochet terms and worked in a continuous spiral — no joining, no turning chain — for the head, body, legs, arms, and tail; use a stitch marker to track the first stitch of each round. The ears are the only piece worked flat in rows, with a turning chain at the end of every row.
Exact gauge isn't critical here, but work tightly — especially with slippery chenille or velvet yarn — so the fiberfill doesn't peek through the stitches once the pieces are stuffed.
- Start the head and body as one continuous spiral, shaping it through increases and decreases into the rabbit's rounded form.
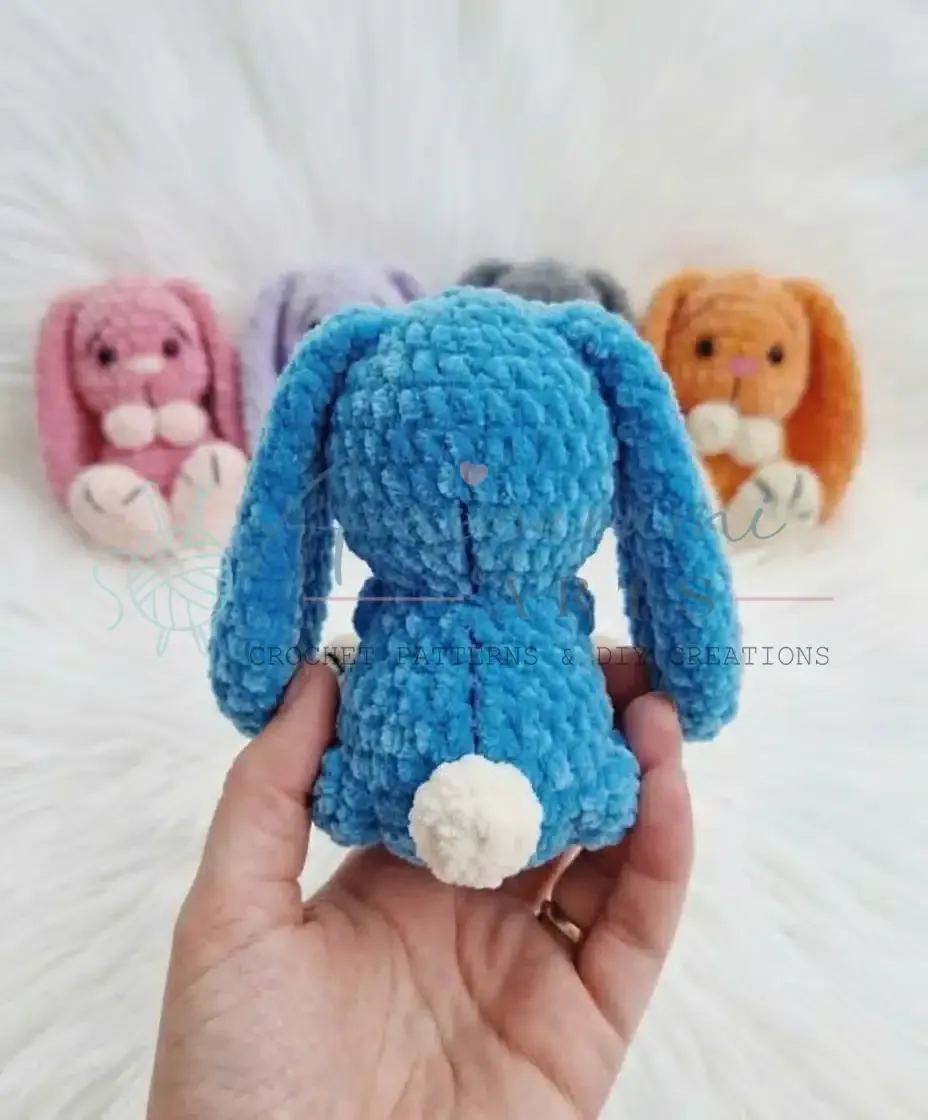
- Crochet two legs separately in the contrasting color, gathering the top of each into a neat pom-pom shape.
- Work the tail as a small separate piece, drawing the opening closed with a tapestry needle for a rounded pouf.
- Crochet two ears flat in rows instead of in the round, using a turning chain to keep each edge straight.
- Assemble the piece by sewing the legs, arms, ears, and tail onto the body, then add the safety eyes and face details.
What goes wrong
- Treating the ears like the body The ears are worked flat in rows with a turning chain, not in a continuous spiral like the head and body. Add the turning chain at the end of every row or the edges will curl.
- Pulling the tail gather too tight Draw the yarn tail through the front loops gently rather than yanking it closed. A hard pull will pucker the opening instead of rounding it into a pom-pom shape.
- Inserting safety eyes after stuffing Push the safety eyes into place while the head is still soft and open, before fiberfill is packed in. They cannot be adjusted once backed and the piece is firmly stuffed.
Yarn, hook and the rest
Copied from the source pattern's own materials list.
Yarn
- Himalaya Velvet (or equivalent velvet/chenille weight yarn) — approximately ¼ skein in the main color, plus a small amount in a contrasting color for the legs and arms
Hook
- E-4 / 3.5 mm (or whichever size suits your yarn)
Eyes
- 8 mm bead-style safety eyes × 2
Stuffing
- Polyester fiberfill
Stitch markers
- To track the beginning of each round
Tapestry needle
- Wide-eye needle for sewing parts together and weaving in ends
- Scissors
- Embroidery thread or yarn: In black (or a matching tone) for the nose, eyebrows, and toe details
Progress tracker
0 of the 36 rounds on this page are ticked.
The pattern, round by round
Kept in the order and the wording the source used. Tick a round as you finish it; the ticks stay on this device.
Legs (Make 2)
Work entirely in the contrasting color.
Round 1
MR, 6 sc into ring. Pull ring closed. (6)
Round 2
Inc in each st around. (12)
Rounds 3–6
Sc in each st around. (12) [Work 4 rounds total.]
Round 7
Dec. (11)Do not stuff the legs. Fasten off, leaving a long yarn tail for sewing. Embroider toes onto the tip of each leg using embroidery thread or a length of yarn.
Tail
Round 1
MR, 6 sc into ring. Pull ring closed. (6)
Round 2
Inc in each st around. (12)Fasten off, leaving a long yarn tail. To shape the tail, thread the yarn tail onto a tapestry needle and run it through the front loops of the stitches around the opening, then pull gently to gather and close the edges — like a drawstring. This creates the rounded pom-pom shape. Secure and leave the tail for sewing on.
Head & Body (1 Piece)
Round 1
MR, 8 sc into ring. Pull ring closed. (8)
Round 2
Inc in each st around. (16)
Round 3
[sc, inc] × 8. (24)
Rounds 4–10
Sc in each st around. (24) [Work 7 rounds total.]
Round 11
Dec × 12. (12)
Round 12
[sc, dec] × 4. (8)This completes the head. Before moving on, create a pinching pull between Rounds 7 and 8 (across 8 stitches) to shape the muzzle area — use a yarn length in a matching or contrasting tone threaded on a needle and draw the fabric inward. Then attach the 8 mm bead eyes 4 stitches apart, and embroider the eyebrows and nose. Stuff the head firmly with fiberfill.
Round 13
Inc in each st around. (16)
Rounds 14–15
Sc in each st around. (16) [Work 2 rounds total.]
Round 16
5 sc, inc × 6, 5 sc. (22)
Rounds 17–20
Sc in each st around. (22) [Work 4 rounds total.]
Round 21
Dec × 11. (11)
Round 22
Dec × 5, sc. (6)Rnd 23: Add a little fiberfill to the body. Fasten off and close the opening.
Arms (Make 2)
Begin in the contrasting color.
Round 1
MR, 4 sc into ring. Pull ring closed. (4)
Round 2
[sc, inc] × 2. (6)
Round 3
[sc, dec] × 2. (4)
Rounds 4–6
Sc in each st around. (4) Switch to main color at the end of Rnd 4.
Round 7
Do not stuff. Flatten the arm so the edges align, then work 2 sc through both layers to close. Leave a long yarn tail for sewing.
Ears (Make 2)
Worked flat in rows. The turning chain counts as a stitch.
Round 1
Ch 6, starting in the 2nd ch from hook: sc in next 4 sts. (4 sc)
Round 2
Ch 1, turn. 4 hdc. t-ch. (4 hdc + t-ch)
Round 3
Ch 1, turn. Inc (hdc), 2 hdc, inc (hdc). t-ch. (6 hdc + t-ch)
Round 4
Ch 1, turn. 6 hdc. t-ch. (6 hdc + t-ch)
Round 5
Ch 1, turn. Inc (hdc), 4 hdc, inc (hdc). t-ch. (8 hdc + t-ch)
Rounds 6–9
Ch 1, turn. 8 hdc. t-ch. (8 hdc + t-ch) [Work 4 rows total.]
Round 10
Ch 1, turn. Dec (hdc), 4 hdc, dec (hdc). t-ch. (6 hdc + t-ch)
Round 11
Ch 1, turn. 6 hdc. t-ch. (6 hdc + t-ch)
Round 12
Ch 1, turn. Dec (hdc), 2 hdc, dec (hdc). t-ch. (4 hdc + t-ch)
Round 13
Ch 1, turn. 4 hdc. t-ch. (4 hdc + t-ch)
Round 14
Ch 1, turn. Dec (hdc) × 2. t-ch. (2 hdc + t-ch)
Round 15
Ch 1, turn. Dec (hdc). t-ch. (1 hdc + t-ch)
Round 16
Work a row of sc edging along one long side of the ear to bring the working yarn back to the starting edge. Fasten off and leave a tail for sewing.
Join
Step 1Arms: Sew the arms onto the body at Rounds 12–13, just below the head join. Position them at the sides and angle them slightly forward before securing.
Step 2Ears: Sew the ears onto the top of the head between Rounds 2 and 3. Space them evenly and pin before sewing to check the position.
Step 3Legs: Sew the legs onto the body at Rounds 20–21 at the base. Make sure they are evenly placed so the bunny sits upright and balanced.
Step 4Tail: Sew the gathered tail onto the center back of the body at Rounds 18–19.
Step 5Weave in all remaining yarn ends securely.
Check your count
- Legs (Make 2) · Round 1: 6 sts
- Legs (Make 2) · Round 2: 12 sts
- Legs (Make 2) · Round 7: 11 sts
- Tail · Round 1: 6 sts
- Tail · Round 2: 12 sts
- Head & Body (1 Piece) · Round 3: 24 sts
Finish
- Weave in every color-change tail from the legs and arms before stuffing, since the contrasting yarn leaves extra ends to secure.
- Stuff the head and body firmly as the spiral closes, pushing fiberfill into the rounded sections so the shape holds without lumps.
- Sew the safety eyes in place through the head before closing the last round, then gather the final stitches to seal the opening.
Bigger or smaller
- Larger
- Use a heavier yarn than Himalaya Velvet, matching your hook size to that heavier weight — the same number of rounds worked in a bulkier yarn produces a larger finished bunny than the standard 11 cm size.
- Smaller
- Use a lighter yarn than Himalaya Velvet with a correspondingly smaller hook — the same number of rounds worked in a finer yarn produces a smaller finished bunny than the standard 11 cm size.
Photographs of this one
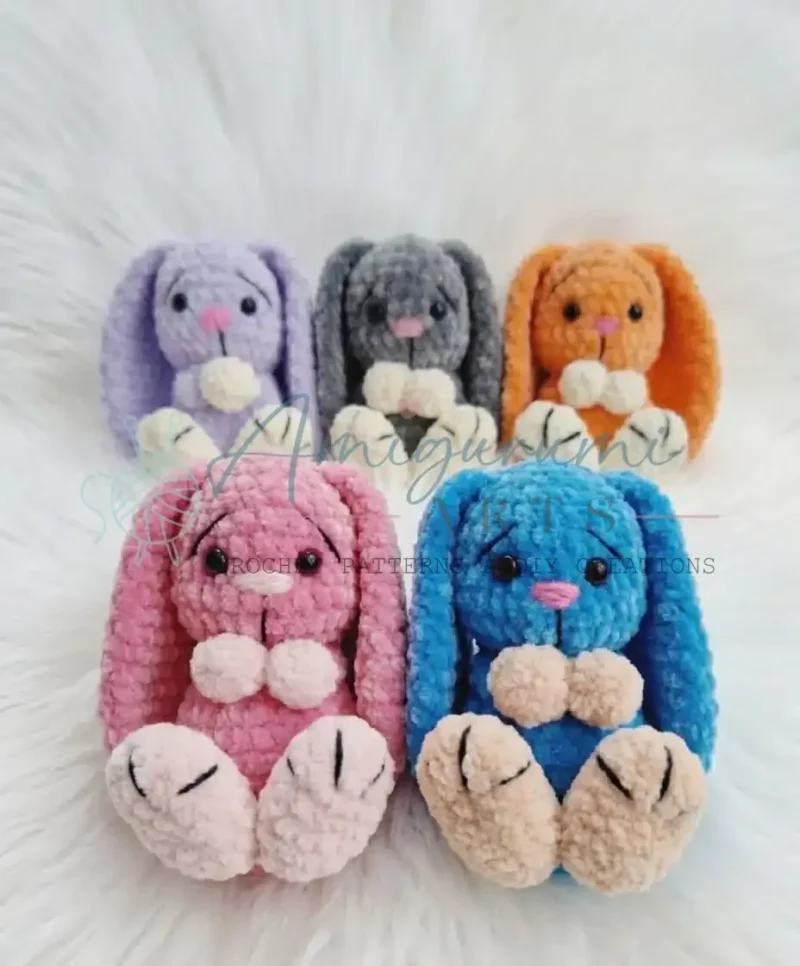
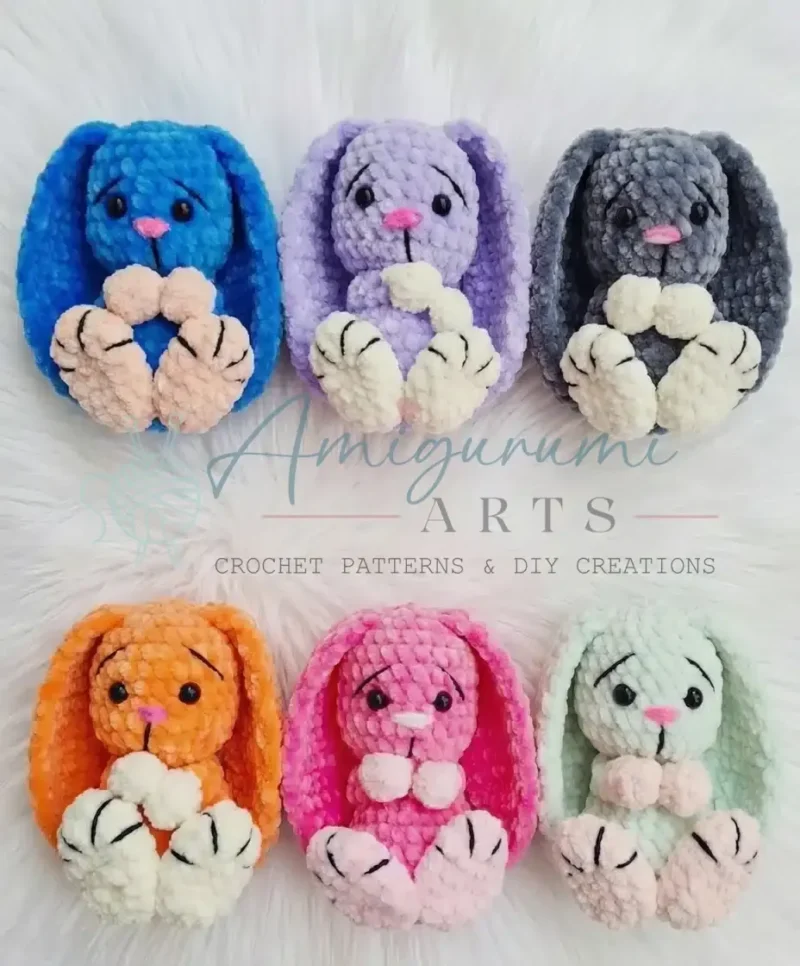
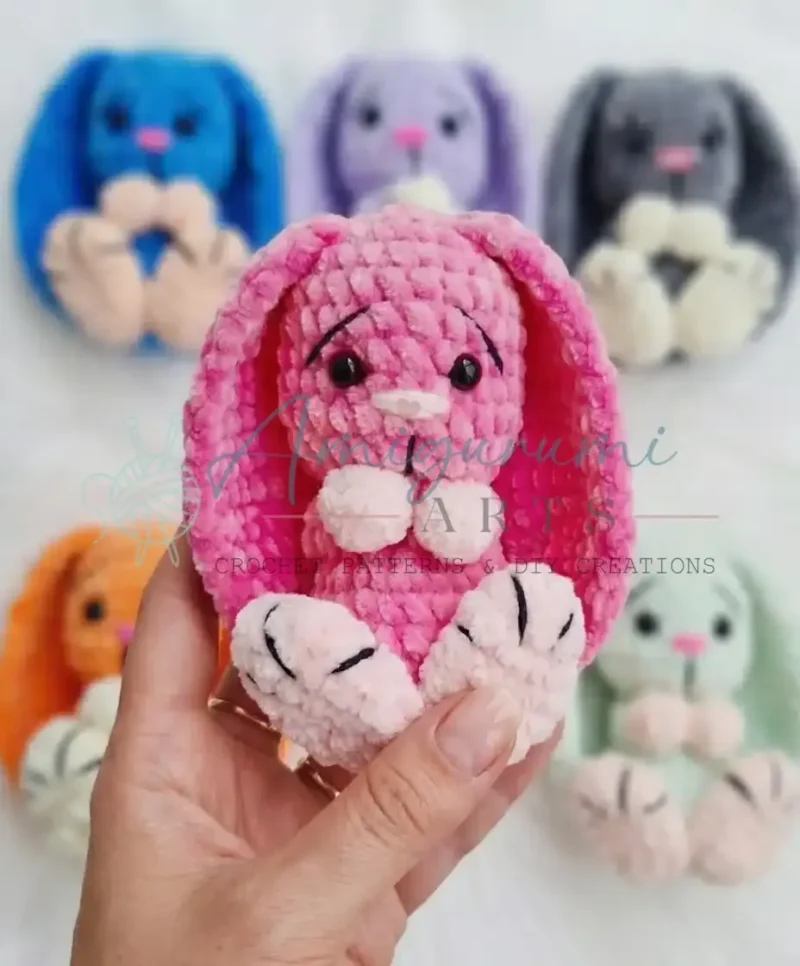
Every photograph on this page was taken by whoever published the pattern, and they are printed in the order the source listed them.
FAQs
Asked and answered
These answers came from whoever first published the pattern, kept word for word.
What skill level is this bunny pattern, and is it suitable for beginners?
This pattern is ideal for confident beginners and intermediate crocheters. You'll need to know the magic ring, single crochet increases and decreases, and how to sew parts together. If you've made amigurumi before, this bunny will feel very manageable.
How long does this project take to complete?
Most crafters finish in 2 to 4 hours — a great single-session project. The head-and-body piece takes the longest, but each individual part is quick on its own. Assembly adds around 20–30 minutes.
Can I use a different yarn, and will the size change?
Yes, but the finished size will vary. The 11 cm height is specific to Himalaya Velvet with a 3.5 mm hook. A lighter yarn will make it smaller; a heavier yarn will make it larger. Always match your hook size to your yarn weight.
Is this bunny safe for young children and babies?
The bunny is designed as a decorative soft toy. For very young children, replace bead eyes with embroidered eyes to eliminate any choking hazard. Always give sewn parts a gentle tug before gifting to ensure they're secure.