 STITCH ROUND
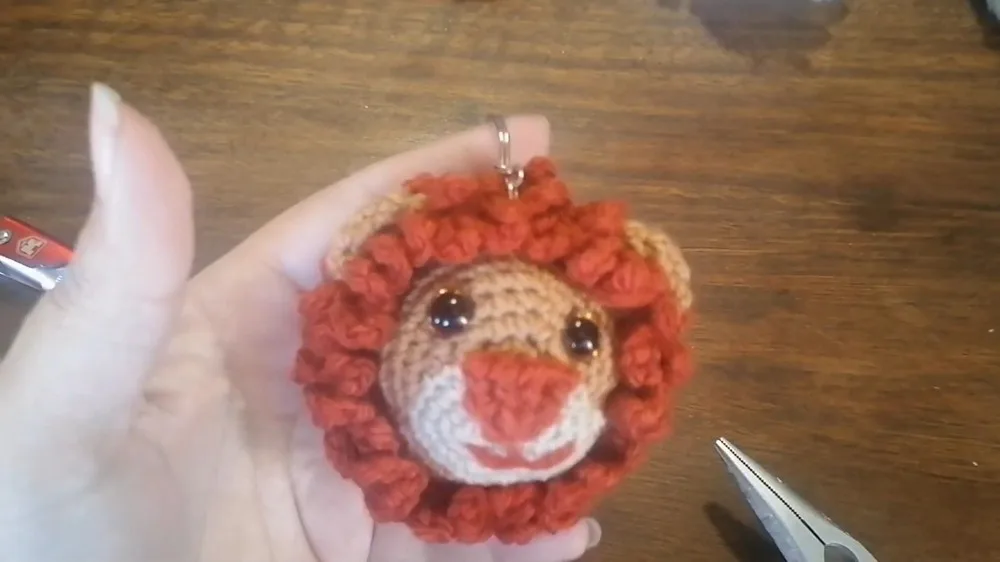
 Little lion amigurumi keychain crochet pattern
Four quick rounds shape the snout and ears before the head comes together into a tiny lion keychain.
- Skill
- Beginner
- Rounds
- 6 rounds
- Yarn weight
- DK
- Hook
- 10 mm
- Time
- 3-4 hours

Beginner
What the original page called it. Nothing here is graded a second time.

6 rounds
Each one gets its own line, with a box beside it to tick as you go.

DK
What the sample was made in. Any weight works — the size moves with it.
About this pattern
This little lion comes together in five pieces: a short main pattern for the snout, a small triangular nose, a pair of ears, chained mane loops, and the head itself. The main pattern starts with a chained base and builds through two increase rounds into its small rounded shape, and the ears follow the same quick pace over two rounds before folding flat. The head has no fixed round count listed, since it grows with single crochet rounds until it reaches the right size for the face, mane, and ears.
The shaping work happens in the increase rounds on both the main pattern and the ears, where stitch counts climb fast and skipped increases show up as lopsided curves. Slow down when placing the safety eyes on the head, since they need to line up evenly with the ears before locking into place. The same care applies when sewing the nose and snout onto the face, attaching the mane loops evenly around the head, and attaching the ears, where a few extra pins keep both sides matching.
- Begin with the main pattern piece, worked in quick increase rounds to build the lion's snout.
- Shape a small triangular nose from triple crochet stitches to set aside for the face.
- Crochet two matching ears, increase them open, then fold each one flat and seam the fold shut.
- Build the head from a magic ring, adding increases so it rounds out around the face.
- Chain loops into the front loops of a head round, working around to form the mane.
- Press in the safety eyes partway through the head, lining them up evenly with the ear placements.
- Crochet the ears directly into the head as you work past them, keeping both sides level.
- Work even rounds until the head reaches full size, then decrease and sew the nose and snout onto the face.
What goes wrong
- Loose magic ring on the ears Pull the ring's tail tight before single crocheting into it, or the ear's starting hole stays visible even after stuffing.
- Eyes placed off from the ears Check the eye spacing against the ear seams before pushing the safety eyes through, since a stray angle is hard to fix once they lock in.
- Ears sewn on crooked Pin both ears in place and compare them side by side before crocheting them into the head rounds.
- Snout not centered on face Pin the snout to the head and check it from the front before sewing, then attach with small stitches that hide in the seam.
Yarn, hook and the rest
Copied from the source pattern's own materials list.
- Yarn (double knit) in cognac, camel, and beige
- Pins and darning needles
- Scissors
- 10 mm safety eyes
- Stuffing
- Keychain rings
- 2 mm crochet hook
- Pliers for keychain assembly
Progress tracker
0 of the 6 rounds on this page are ticked.
The pattern, round by round
Kept in the order and the wording the source used. Tick a round as you finish it; the ticks stay on this device.
Main Pattern
Round 1
Chain 6 stitches. Starting from the second chain from the hook, make 4 single crochet stitches. In the last chain, make 3 single crochet stitches to turn the corner. Continue with 3 single crochets along the other side of the chain; make an increase in the last chain. You should have 12 stitches at the end.
Round 2
Perform 1 increase and 3 single crochets. Make 3 increases and then 3 single crochets. Finish with 2 increases to bring your total to 18 stitches.
Round 3
Follow this sequence: 2 single crochet stitches, 1 increase - repeat six times. You should have 24 stitches at the end of the row. Finish the last stitch neatly for an invisible close.Make a slip knot with cognac yarn. Pull up a loop and create a small triangle using triple crochets. Perform several stitches including double crochet and slip stitches forming the nose.
Ears
Round 1
Start with a magic ring and make 6 single crochets into the ring.
Round 2
Increase all stitches resulting in 12 stitches.
Rounds 3–4
Make 12 single crochet stitches for each row. Fold the ear in half and crochet the sides together (6 stitches).
Body (Head)
Start with a magic ring and follow a series of increases and single crochets (similar process as used for the snout, scaled appropriately for the head size).
Attach the safety eyes between designated rows, lining them up with the ears.
Attach the ears by crocheting them into place alongside rows on the head.
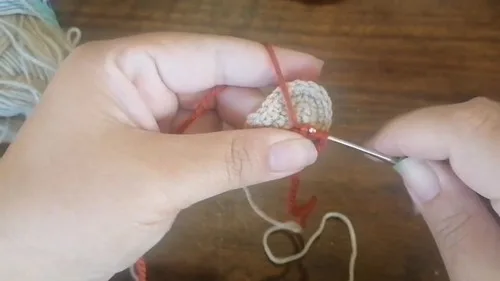
Mane Using cognac yarn, make a slip knot and attach it to a designated front loop from a previous row. Create loops by chaining 5 stitches and attaching with a single crochet into the next front loop, repeat around.
Continue with rounds of single crochets till you reach the desired size of the head, decreasing toward the bottom to close it off.
Attach the snout by sewing it onto the face.
Join
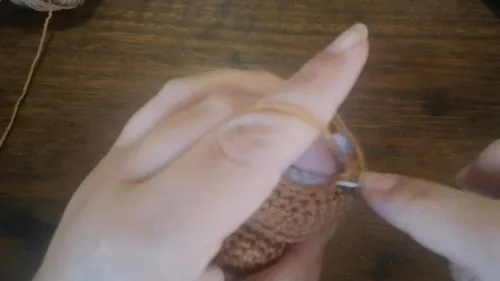
Step 1Attach the keychain link by opening a link with pliers, slipping it through a stitch at the top of the head (preferably between the ears), and closing securely.
Step 2Finish off all loose ends and add stuffing to the lion's head.
Check your count
- Main Pattern · Round 1: 12 sts
- Main Pattern · Round 2: 18 sts
- Main Pattern · Round 3: 24 sts
- Ears · Round 1: 6 sts
- Ears · Round 2: 12 sts
- Ears · Rounds 3–4: 6 sts
Finish
- Weave in all loose ends from the main pattern, ears and head so no tails show once assembled.
- Stuff the head evenly while the bottom is still open, pausing to add extra fill near the snout and ears.
- Close the bottom opening, then open a keychain link with pliers and attach it between the ears before clamping it shut.
Bigger or smaller
- Smaller
- Drop to a finer yarn and a smaller hook than the 2 mm specified, which shrinks the whole keychain and keeps it light enough to hang easily.
Photographs of this one
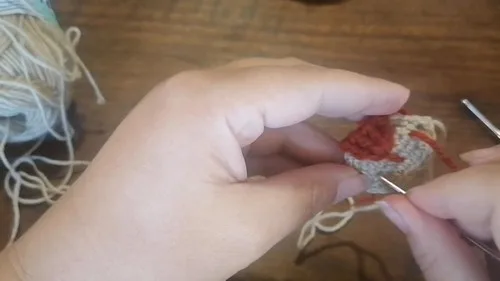
Every photograph on this page was taken by whoever published the pattern, and they are printed in the order the source listed them.
FAQs
Asked and answered
These answers came from whoever first published the pattern, kept word for word.
Which part should be made first?
Start with the main pattern piece, since it forms the snout that gets sewn onto the head later. Making it early lets it set before attaching.
Can the keychain ring be swapped for a different closure?
Yes, any ring that opens with pliers works in place of a dedicated keychain ring. Attach it the same way, through a stitch at the top of the head between the ears.
How much yarn is needed in each color?
The pattern calls for double knit yarn in cognac, camel and beige, with each shade covering a different part such as the head, ears and snout. Small amounts of each are enough for one keychain.
What size safety eyes fit this lion?
The pattern uses 10 mm safety eyes, placed between rounds on the head so they line up with the ears. Check the fit before locking them in place, since safety eyes cannot be repositioned once closed.