 STITCH ROUND
 Crochet strawberry cow amigurumi step by step
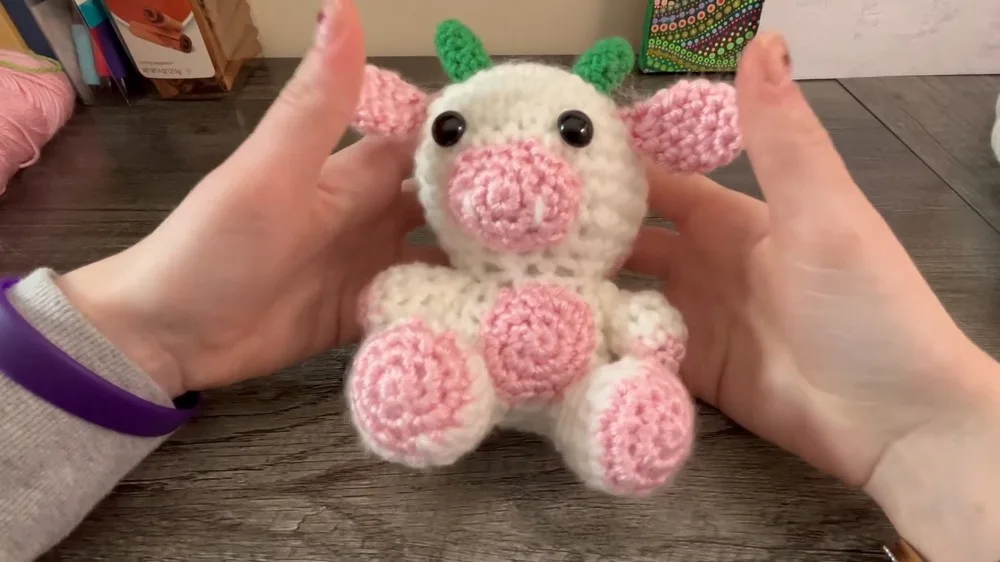
Tick off 3 rounds for the head and build the body in this strawberry cow amigurumi.
- Skill
- Intermediate
- Rounds
- 9 rounds
- Yarn weight
- Worsted
- Hook
- 5 mm
- Time
- 4-6 hours

Intermediate
What the original page called it. Nothing here is graded a second time.

9 rounds
Each one gets its own line, with a box beside it to tick as you go.

Worsted
What the sample was made in. Any weight works — the size moves with it.
About this pattern
This strawberry cow amigurumi builds from two main parts: a head worked over 3 rounds in white yarn, and a body that picks up the shaping where the head leaves off. The head is the shortest piece to tick off, making it a good warm-up before moving into the longer body section with its own increase and decrease rounds.
- Start the head in white yarn with a magic ring and close it tightly before building up.
- Increase around the head for a few rounds to widen it, then finish shaping across the full 3 rounds.
- Move straight into the body, increasing again in the same way as the head.
- Work several plain single crochet rounds around the body before any shaping starts.
- Decrease the body using the same approach used for the head decreases.
- Add pink and green yarn details and plastic eyes before sewing the head and body together.
What goes wrong
- Loose magic ring at the start Pull the magic ring closed firmly before working the first round of single crochets. A loose ring leaves a visible hole at the top of the head.
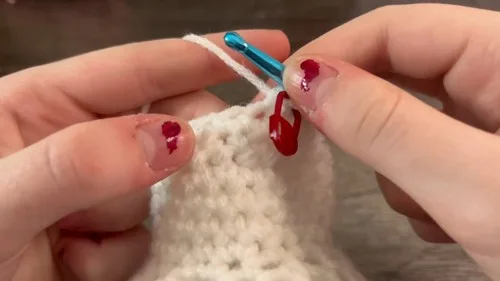
- Losing track of increase rounds Use a stitch marker at the start of each round while increasing on the head and body. Losing the round count here throws off the shaping that both parts rely on.
- Stuffing added too late Add stuffing in stages as the head and body narrow, not all at once at the very end. Stuffing after the opening is nearly closed makes it hard to pack evenly.
- Eyes placed before shaping settles Hold off on placing plastic eyes until the head has been stuffed and its shape has settled. Fitting them too early can leave them sitting unevenly once stuffing is added.
Yarn, hook and the rest
Copied from the source pattern's own materials list.
- White yarn
- Pink yarn
- Green yarn
- Crochet hook (5 mm recommended)
- Stuffing material
- Scissors
- Stitch marker
- Crochet needle
- Plastic eyes (or you can crochet your own)
Progress tracker
0 of the 9 rounds on this page are ticked.
The pattern, round by round
Kept in the order and the wording the source used. Tick a round as you finish it; the ticks stay on this device.
Head
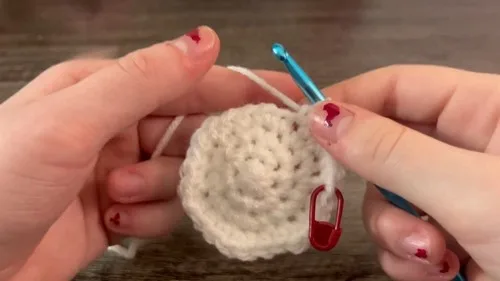
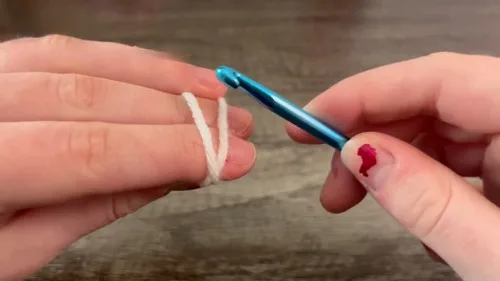
Start with white yarn in a magic ring.
Create a magic ring.
Crochet 6 single crochets (sc) into the ring.
Close the ring tightly.
Round 2
Increase in each stitch around. (12 stitches) Do two single crochets in each stitch around.
Round 3
[Increase, 1 sc] repeat around. (18 stitches) Alternate between two and one single crochets in each stitch (an increase followed by a single crochet).For Round 4: [Increase, 2 sc] repeat around.Alternate an increase with two single crochets in each stitch.
Round 5
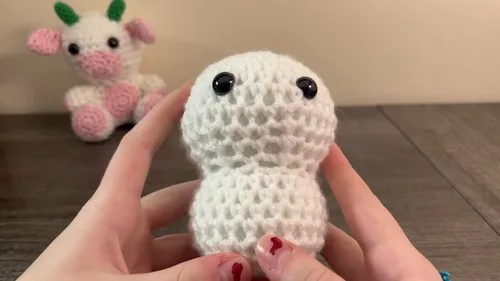
[Increase, 3 sc] repeat around. Increase followed by three single crochets in each stitch.Single crochet in each stitch for the next 4 rounds.Simply work a single crochet into each stitch around for 4 rounds.Start decreasing for the head: [Decrease, 3 sc] repeat around.Next round: [Decrease, 2 sc] repeat around.Next round: [Decrease, sc] repeat around.Insert eyes and stuff the head: Place the eyes and fill with stuffing.
Body
Resuming from the head, start increasing again as you begin the body.
Round 1
Rounds similar to initial increasing rounds on the head: Increase for a few rounds as explained previously.
Round 2
Single crochet around for the next 4 rounds.
Round 3
Decrease for shaping the body.
Round 4
Decrease following the pattern used in the head decrease rounds.
Round 5
Stuff the body and complete the final decrease round.
Round 6
Stuff firmly and decrease all around for the last round.Finish and close off.Use a needle to weave through the last remaining loops, pull tight, and fasten.
Join
Step 1Sew all parts together in their proper places, ensuring everything aligns symmetrically where needed.
Finish
- Weave in loose ends from the white, pink, and green yarn sections as each part is completed, so no tails show once the pieces are joined.
- Stuff the head and body firmly before the final rounds close, packing extra into the rounded sections so the shape holds once seamed.
- Sew the head to the body, lining up any pink or green details so they sit symmetrically, then secure plastic eyes in place to finish the face.
Bigger or smaller
- Smaller
- Drop to a finer yarn with a smaller hook than 5 mm. The same rounds produce a tighter, smaller version of the head and body.
Photographs of this one
Every photograph on this page was taken by whoever published the pattern, and they are printed in the order the source listed them.
FAQs
Asked and answered
These answers came from whoever first published the pattern, kept word for word.
Can the eyes be crocheted instead of using plastic ones?
Yes, the materials list allows for either option. Crocheted eyes take longer to make but avoid the need for plastic safety eyes altogether.
What hook size works best for this amigurumi?
A 5 mm hook is the recommended size for this pattern. It gives a tight enough fabric to hold stuffing without gaps showing through.
In what order should the head and body be made?
The head is worked first over its 3 rounds, then the body follows on directly using similar increase and decrease shaping. Working them in this order keeps the proportions consistent before assembly.
How are the head and body joined together?
Both pieces are stuffed first, then sewn together so everything lines up symmetrically. A crochet needle makes this join easier to control than a standard sewing needle.