 STITCH ROUND
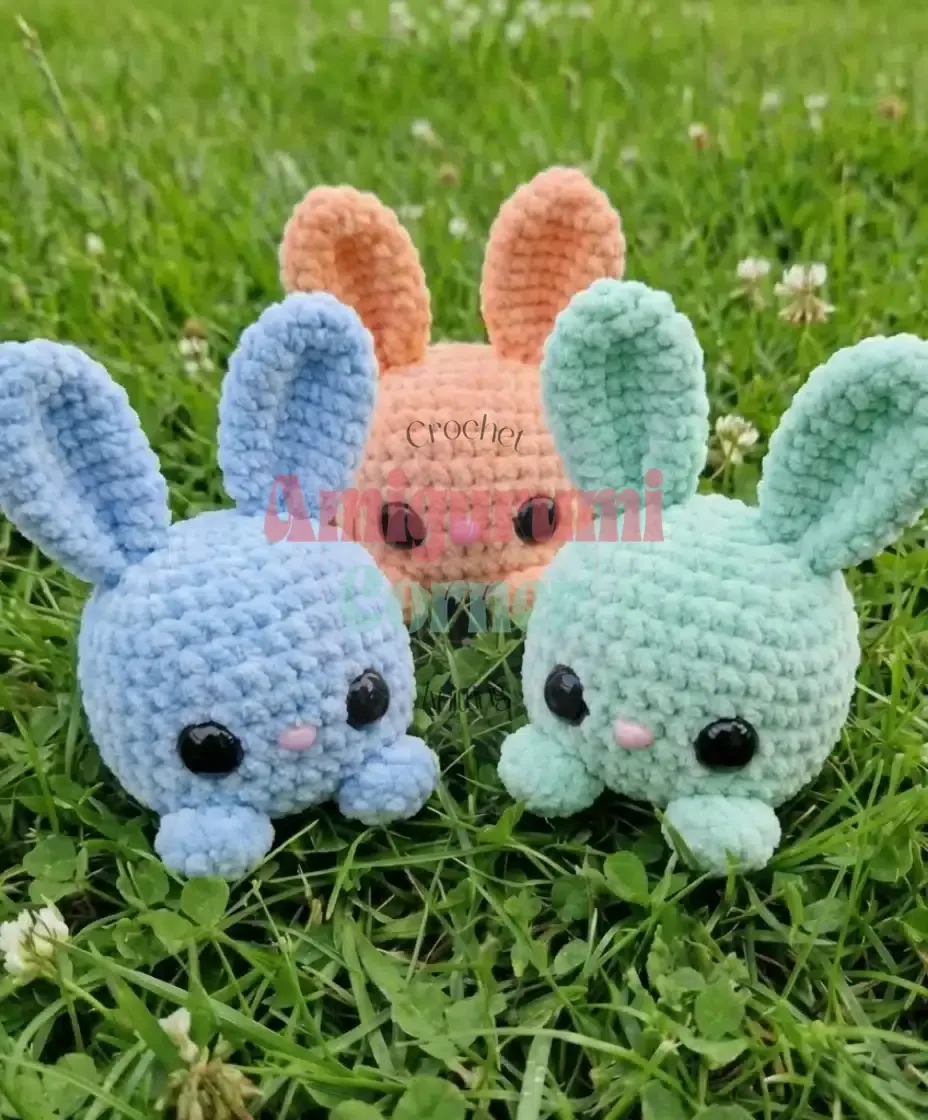
 Cube bunny amigurumi pattern in three sizes
17 rounds shape a cube bunny body, plus legs, ears and a tail, in three sizes.
- Skill
- Intermediate
- Rounds
- 13 rounds
- Yarn weight
- Multiple (DK to Chunky)
- Hook
- 5 mm
- Time
- 6-9 hours

Intermediate
What the original page called it. Nothing here is graded a second time.

13 rounds
Each one gets its own line, with a box beside it to tick as you go.

Multiple (DK to Chunky)
What the sample was made in. Any weight works — the size moves with it.
About this pattern
The cube bunny body is built in seventeen rounds, worked continuously from a magic circle up through a set of straight sides and down to a decrease at the base. Six rounds of increases form the flat top of the cube, seven rounds hold the straight sides steady at the stated stitch count, and four rounds close the bottom. Four identical legs, two ears, and a tail round out the ticklist, each a short run of rounds rather than a long commitment.
The trickiest shaping sits in the transition rounds, where a cube has to look square rather than round. Watch the increase rounds closely so the top stays flat instead of domeing, and keep tension even through the straight rounds so the sides don't flare. Slow down around the point where the stitch count settles, since the decrease rounds that follow rely on that count being correct. The nose goes in partway through the straight rounds, so mark that spot ahead of time.
- Start the body with a magic circle and increase steadily to shape the flat top of the cube.
- Work the straight sides without further shaping until the body reaches its full height.
- Decrease the base rounds to close the bottom of the cube and set it aside for stuffing.
- Crochet four small legs as simple unstuffed cylinders, working them all the same way.
- Shape two ears with a magic circle start, a widening middle, and a tapered decrease close.
- Add a stuffed tail, then assemble legs, ears, tail, eyes and nose onto the finished body.
What goes wrong
- Rushing the cube's top shaping Working the increase rounds too fast makes the top round instead of square. Check that the top lies flat before moving on to the straight rounds.
- Losing track of the straight rounds Drifting stitch counts during the straight sides make the cube lean or bulge. Count stitches at the end of each round until the sides hold steady.
- Placing the nose too late Adding the nose after finishing the straight rounds throws off the face proportions. Set it in place between the rounds noted for the face while the body is still easy to handle.
- Stuffing the legs or ears Stuffing the legs and ears makes them bulky and stiff, working against the soft, flat look the pattern calls for. Leave them unstuffed and sew the ear ends flat instead.
Yarn, hook and the rest
Copied from the source pattern's own materials list.
- 5mm crochet hook
- Medium-weight chenille yarn
- 20mm safety eyes
- 12mm pink nose
Progress tracker
0 of the 13 rounds on this page are ticked.
The pattern, round by round
Kept in the order and the wording the source used. Tick a round as you finish it; the ticks stay on this device.
Body
Place the nose between rounds 11 and 12 in the center of the face. For larger eyes (over 15mm), position them at the same level as the nose. For smaller eyes, place them one row above the nose for the cutest expression.
Rounds 1–6
Start with a magic circle and gradually increase to create the top of the cube. (44 stitches)
Rounds 7–13
Work the straight sides of the cube, maintaining 40 stitches.
Rounds 14–17
Decrease to close the bottom of the cube.
Legs
Make four identical unstuffed legs using a simple cylinder technique.
Round 1
Start with 5 stitches in a magic circle. (5)
Round 2
Increase to 10 stitches in round 2. (10)
Rounds 3–7
Work 5 rounds of straight single crochet.
Ears
Don't stuff the ears, and sew the end of each ear flat for a natural look.
Round 1
Starting with 6 stitches in a magic circle. (6)
Rounds 2–4
Increasing to 18 stitches over 3 rounds. (18)
Rounds 5–10
Working 6 straight rounds.Final rounds: Gradually decreasing to close the ear.
Tail
Round 1
Begin with 6 stitches in a magic circle. (6)
Round 2
Increase to 12 stitches. (12)
Round 3
Work one round straight. (12)
Round 4
Decrease back to 6 stitches and stuff firmly. (6)
Carrot Companion
Orange yarn for the carrot body.
Green yarn for the leafy top.
A color change technique to create the realistic transition.
Join
Step 1Legs: Attach the unstuffed legs to the bottom corners of the cube body. Use pins first to find the perfect positioning.
Step 2Ears: Sew ears to each side of the head, positioning them closer to the front than the back. Place one end on round 4 and the other on round 6.
Step 3Tail: Attach the stuffed tail to the back bottom of the body at round 15.
Step 4Eyes and Nose: Position eyes approximately 2-3 stitches away from the nose on each side for the most appealing expression.
Check your count
- Body · Rounds 1–6: 44 sts
- Legs · Round 1: 5 sts
- Legs · Round 2: 10 sts
- Ears · Round 1: 6 sts
- Ears · Rounds 2–4: 18 sts
- Tail · Round 1: 6 sts
Finish
- Weave in all loose ends from the magic circle starts and color changes before assembly begins.
- Stuff the body and tail firmly while leaving the legs and ears unstuffed for a soft, flat finish.
- Sew the ears flat at their open end, then attach legs, ears, tail, eyes and nose to the body.
Bigger or smaller
- Larger
- Move up to the thicker chenille yarn and the larger hook used for the large bunny version, which scales every part up without changing the round counts.
- Smaller
- Drop to the DK yarn and smaller hook used for the small bunny version, which shrinks the whole piece while keeping the same sequence of rounds.
Photographs of this one
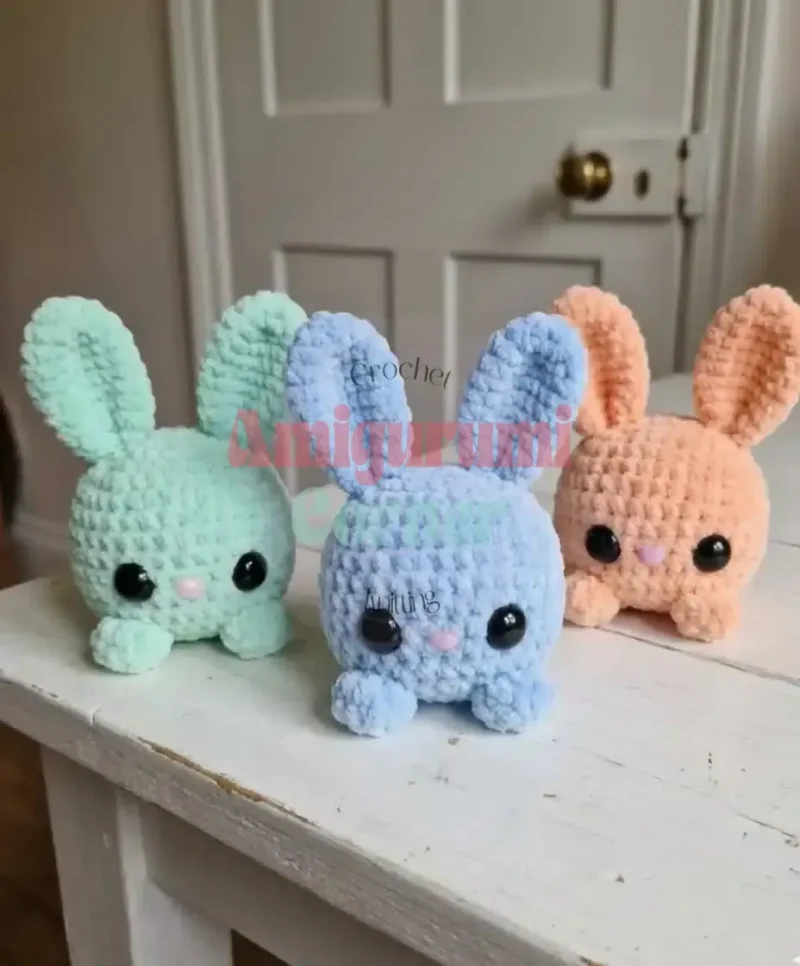
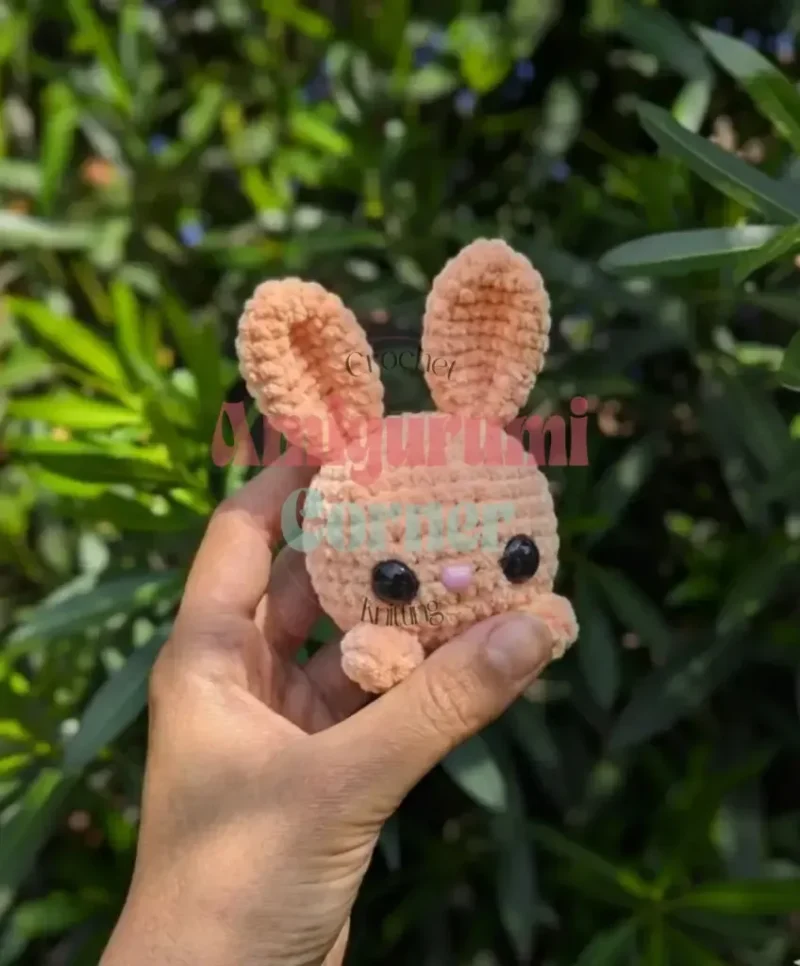
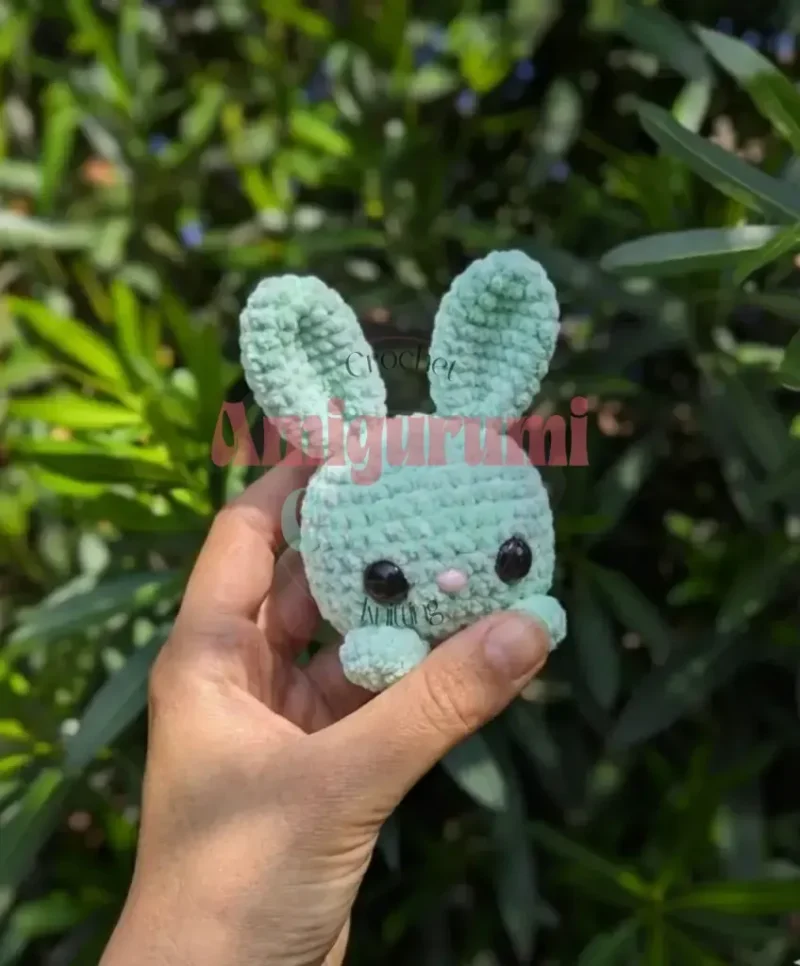
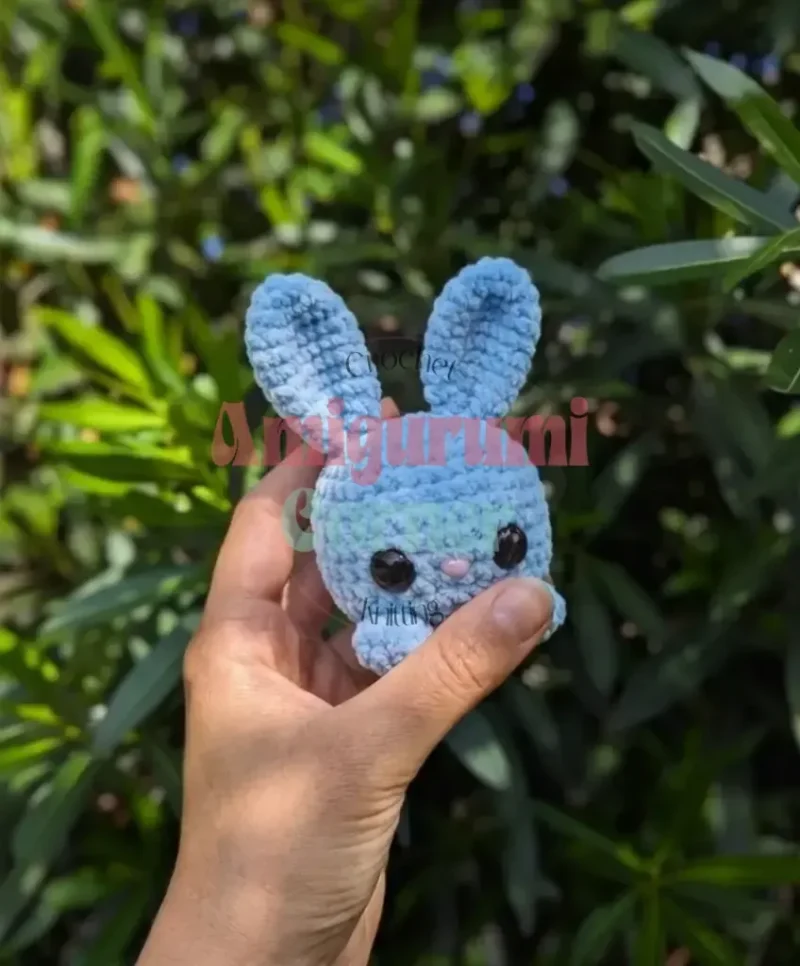
Every photograph on this page was taken by whoever published the pattern, and they are printed in the order the source listed them.
FAQs
Asked and answered
These answers came from whoever first published the pattern, kept word for word.
Can the three sizes use the same pattern rounds?
Yes, the round counts stay the same across the large, medium and small bunny versions. Only the hook size, yarn weight and eye size change between them.
Why are the legs left unstuffed?
Unstuffed legs keep the cube bunny stable and let it sit flat on all four feet. Stuffing them would make the legs stiff and harder to position evenly.
Where exactly does the nose go?
The nose sits between the rounds noted for the face, centered on the front of the cube. Larger eyes line up at the same level as the nose, while smaller eyes sit one row above it.
Does the tail need stuffing?
Yes, the tail is stuffed before it is attached to the back of the body. This gives it enough shape to stand out against the flat cube sides.