 STITCH ROUND
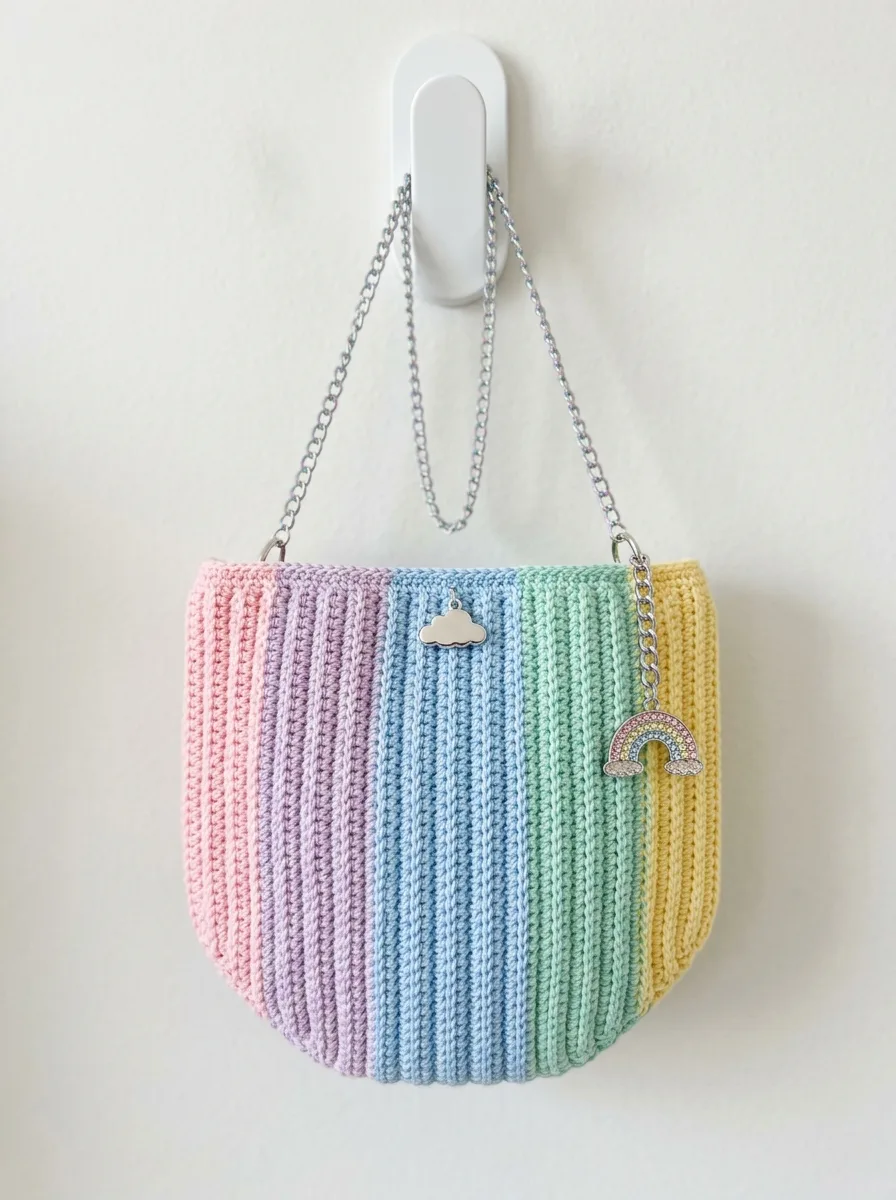
Pastel rainbow ribbed clutch crochet pattern
Tick off 6 rounds of ribbed paneling to shape a pastel rainbow cotton clutch with chain strap.
- Skill
- Beginner
- Rounds
- 6 rounds
- Yarn weight
- Worsted
- Hook
- 4.0 mm
- Time
- 4-6 hours

Beginner
What the original page called it. Nothing here is graded a second time.

6 rounds
Each one gets its own line, with a box beside it to tick as you go.

Worsted
What the sample was made in. Any weight works — the size moves with it.
About this pattern
This pastel rainbow clutch starts as two matching panels, each built from vertical color stripes that tick off in six rounds of ribbed rows. Five soft shades, moving from pink through lavender, blue, mint, and yellow, sit side by side to give each panel the dreamy gradient look the bag is known for. Worked in worsted cotton on a 4.0 mm hook, the fabric stays firm enough to hold its shape as a clutch rather than a floppy pouch.
Once both panels are off the hook, the real shaping happens along the bottom edge. A short run of decrease rows pulls the straight panel into the curved base that gives this clutch its signature rounded silhouette. Slow down here: the back loop only stitches used throughout the ribbing are easy to lose track of once decreases enter the mix, so check each stitch before pulling the hook through. Rushing this stage is the fastest way to end up with a lopsided bottom.
- Chain a foundation row, then work every following row through the back loop only for raised ribbing.
- Repeat the same striping pattern for the second panel so both sides match before shaping begins.
- Shape the bottom edge with a run of decrease rows that curves the panel into the clutch's rounded base.
- Join the panels, work the ribbed top rounds, then attach the hardware and chain strap to finish.
- Sew on any cloud or rainbow charms once the clutch is fully assembled and seamed.
What goes wrong
- Skipping the back loop only Working into both loops flattens the ribbing that defines this clutch. Check each stitch before inserting the hook and go through the back loop only.
- Carrying the old color forward Pulling the new color through too early leaves a bulky knot at the color change. Finish the last stitch with the new shade, then drop the old color to the back.
- Losing stitch count during decreases Uneven tension on the shaping rows throws off the bottom curve. Count stitches at the end of every decrease row before turning.
- Seaming curled panels as is Panels that curl from the ribbing texture will not line up cleanly if seamed unblocked. Wet block them flat on a foam board first.
Yarn, hook and the rest
Copied from the source pattern's own materials list.
Yarn
- Worsted weight cotton yarn (weight 4) in five pastel shades
- Approximately 50 yards of each color
Hook
- 4.0 mm (US G/6) crochet hook
- Go down a size if you crochet loosely to keep the fabric tight enough for a bag
Notions
- Tapestry needle for weaving ends
- Scissors
- Two D-rings or lobster clasps for attaching the chain (approximately 15mm)
Optional
- decorative charms like the cloud and rainbow shown
- Stitch markers (helpful but not required)
Finished Dimensions
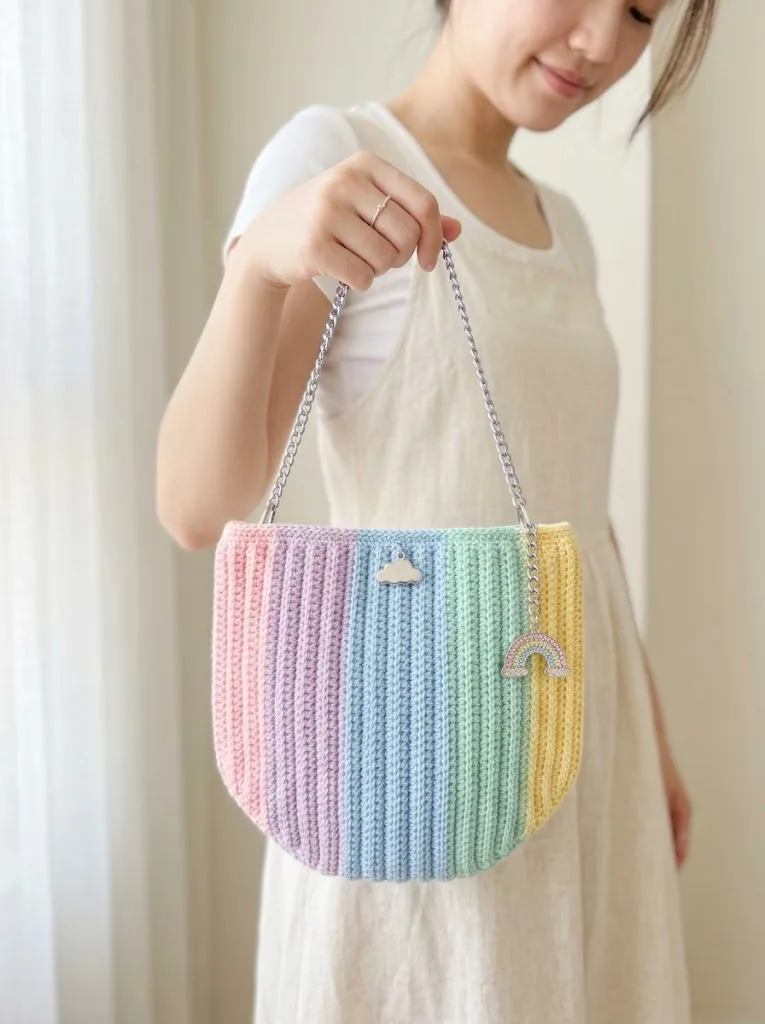
- Approximately 8 inches wide by 7 inches tall (not including strap)
- The rounded bottom adds about 2 inches of depth when shaped
Progress tracker
0 of the 6 rounds on this page are ticked.
The pattern, round by round
Kept in the order and the wording the source used. Tick a round as you finish it; the ticks stay on this device.
Panel One (Make Two)
You will create each panel by working vertical stripes. Each color section is approximately the same width.
Color A — Soft Pink Foundation Row: Ch 29.
Round 1
Sc in second ch from hook and in each ch across. (28 sts)
Round 2
Ch 1, turn. Sc in BLO of each st across. (28 sts)Rows 3 through 10: Repeat Row 2. (28 sts per row) At the end of Row 10, fasten off Color A. You should have 10 rows of pink ribbing.Color B — Lavender Join lavender yarn with a sl st in the first stitch of the next row.
Round 11
through 18: Ch 1, turn. Sc in BLO of each st across. (28 sts per row) Fasten off at the end of Row 18.
Color C — Light Blue Join light blue yarn.
Round 19
through 26: Ch 1, turn. Sc in BLO of each st across. (28 sts per row) Fasten off at the end of Row 26.
Color D — Mint Green Join mint green yarn.
Round 27
through 34: Ch 1, turn. Sc in BLO of each st across. (28 sts per row) Fasten off at the end of Row 34.
Color E — Pale Yellow Join pale yellow yarn.
Round 35
through 42: Ch 1, turn. Sc in BLO of each st across. (28 sts per row) Fasten off and weave in your end.
You now have one complete panel with 42 rows total, creating five equal color blocks of 8 rows each. The vertical ribs run parallel to the short edge.
Make a second panel identical to the first.
Shaping the Rounded Bottom
Here is where the clutch gets its signature curved shape. You will work decreases along the bottom edge of each panel before joining.
Hold one panel with the foundation chain edge (bottom) facing you.
Shaping Row 1: Join any color yarn at the corner. Sc evenly across the bottom edge, working approximately 42 sc across the row ends. (42 sts)
Shaping Row 2: Ch 1, turn. Dec, sc across to last 2 sts, dec. (40 sts)
Shaping Row 3: Ch 1, turn. Dec, sc across to last 2 sts, dec. (38 sts)
Shaping Row 4: Ch 1, turn. Dec, sc across to last 2 sts, dec. (36 sts)
Fasten off. Repeat on the second panel.
This creates a gentle curve at the bottom of each piece.
Attaching the Hardware and Chain Strap
This step transforms your crocheted pouch into a proper clutch.
Optional Embellishments
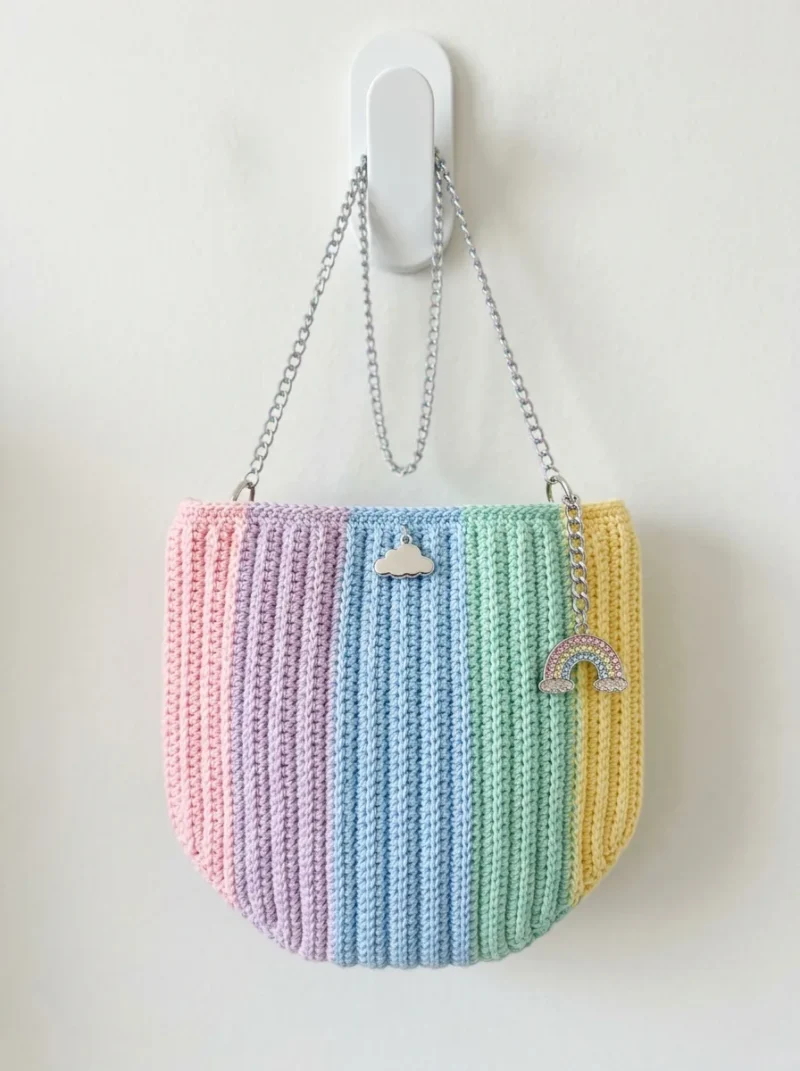
The sample features two adorable charms: a silver cloud and a sparkly rainbow. These attach easily to the chain links with small jump rings.
Feel free to personalize your clutch with pins, patches, tassels, or whatever makes you smile.
Join
Step 1To create a clean, sturdy top opening:
Step 2Round 1: Join yarn at one side seam. Sc evenly around the entire top opening, working through both layers at the seams for reinforcement. Sl st to first sc to join. (Approximately 56 sc total, adjust as needed)
Step 3Round 2: Ch 1, sc in each st around. Sl st to join. (56 sts)
Step 4Round 3: Repeat Round 2.
Step 5Fasten off and weave in all remaining ends.
Check your count
- Panel One (Make Two) · Round 1: 28 sts
- Panel One (Make Two) · Round 2: 28 sts
Finish
- Weave in every color-change tail left from the striped panels before moving to assembly.
- Mist and pin any panels that are curling to a foam board, letting them dry flat before seaming.
- Seam the panels together, work the ribbed top rounds, then attach the D-rings and chain strap.
Bigger or smaller
- Larger
- Go up a yarn weight and hook size, or repeat the ribbed rows a few extra times before each color change, to widen or lengthen every panel.
- Smaller
- Drop to a finer cotton and a smaller hook, or stop the ribbed rows a round or two early in each color section, to shrink the panels down.
Photographs of this one
Every photograph on this page was taken by whoever published the pattern, and they are printed in the order the source listed them.
FAQs
Asked and answered
These answers came from whoever first published the pattern, kept word for word.
Why work in the back loop only instead of both loops?
Back loop only is what creates the raised, slightly stretchy ribbing that runs the length of each panel. Skipping it results in a flat fabric that will not match the intended texture.
What if the panels curl after finishing the stripes?
Curling is common with ribbed cotton fabric and is easy to fix before seaming. Wet block the panels flat on a foam board and let them dry completely first.
How is the chain strap attached to the clutch?
The D-rings or lobster clasps go on once the panels are seamed and the top ribbing rounds are complete. They connect directly to the chain strap for carrying the clutch.