 STITCH ROUND
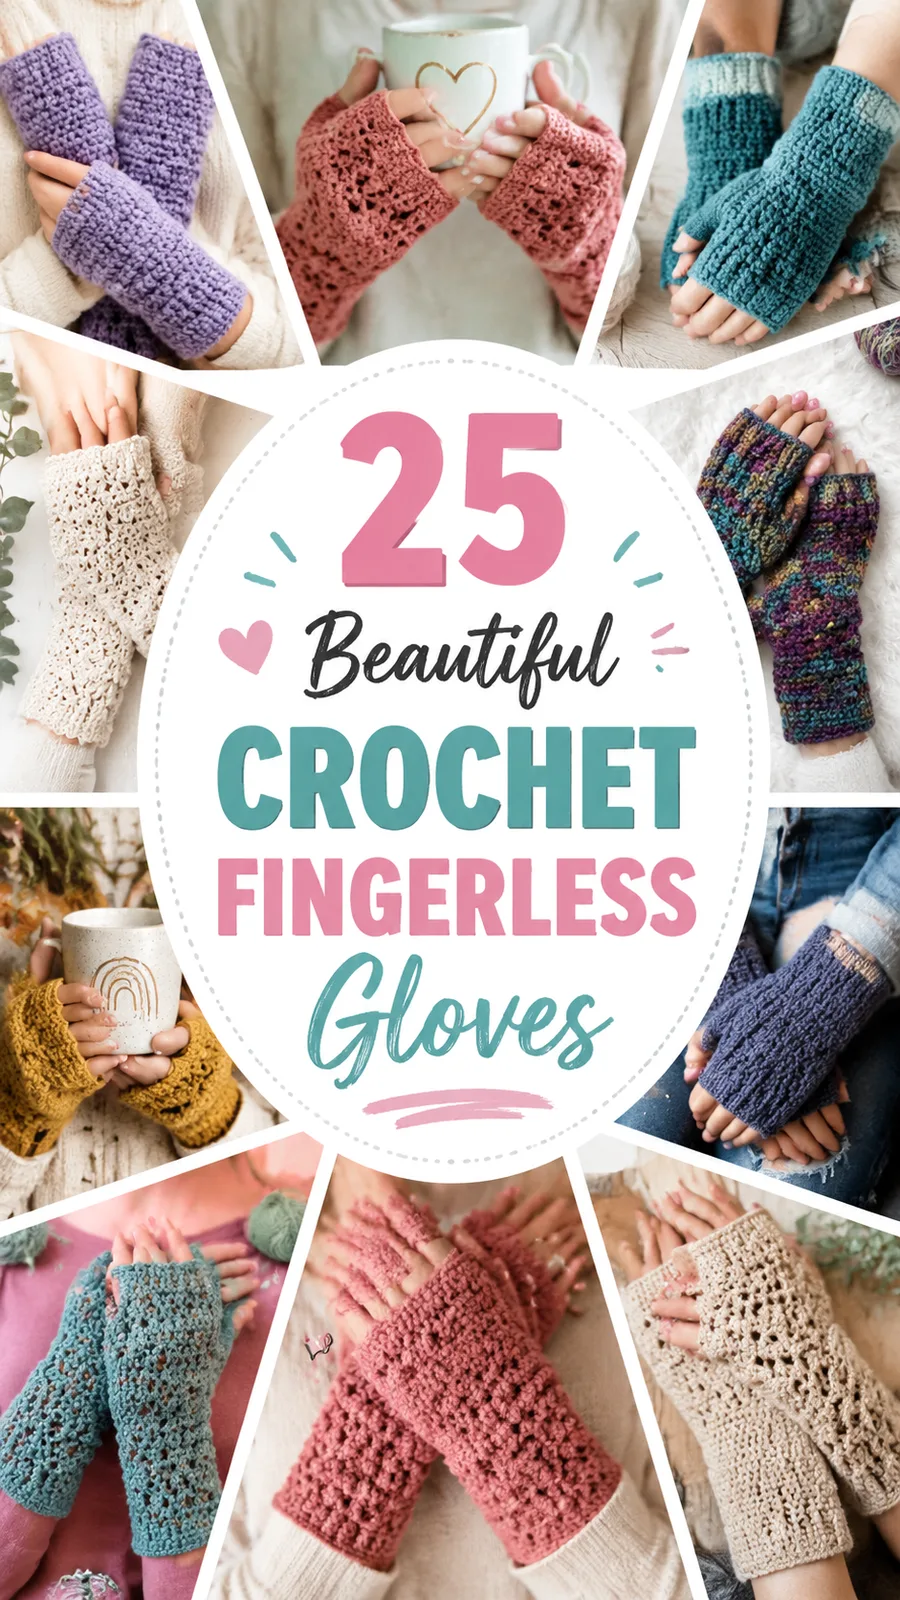
Cozy flat-panel crochet fingerless gloves pattern
5 rounds to tick off for cozy, textured flat-panel fingerless gloves.
- Skill
- Beginner
- Rounds
- 5 rounds
- Yarn weight
- Worsted
- Hook
- 5 mm
- Time
- 3-5 hours

Beginner
What the original page called it. Nothing here is graded a second time.

5 rounds
Each one gets its own line, with a box beside it to tick as you go.

Worsted
What the sample was made in. Any weight works — the size moves with it.
About this pattern
Each fingerless glove is made from an identical rectangular panel — two panels total, one for each glove — worked flat in half double crochet through the back loop, then finished with two rounds of single crochet around the cuff. The longer edge of the rectangle becomes the length of the glove, and the shorter edge wraps around the hand. Each panel ticks off row by row until it reaches its full length, after which it is folded in half and the long edge is seamed to form the glove shape. A thumb opening of about 2 inches (5 cm) is created during assembly by leaving a section of that seam unstitched, so the final round of cuff edging is really the last box to check before weaving in ends.
There is no increasing or decreasing in this design — shaping happens entirely at the seam, where each rectangle is folded and joined to form the glove body. Slow down while sewing the side seam, since the gap left for the thumb determines how comfortably the glove sits on the hand. The cuff edging rounds are quick, but keep stitch placement even around that curved edge so the rib texture lines up.
Finished size: Adult Small/Medium, approximately 7.5 inches (19 cm) hand circumference and 7 inches (18 cm) length. Gauge: 16 half double crochet stitches by 12 rows = 4 x 4 inches (10 x 10 cm) — crochet a small gauge swatch before beginning, since even a small difference in tension can change the final circumference. This pattern uses US crochet terminology and suits confident beginners.
- Chain 30 and work a row of half double crochet into the starting chain to establish the width — make two matching panels, one for each glove.
- Build length by repeating the back-loop-only half double crochet row until the rectangle reaches the desired size.
- Fasten off with a long tail left purposely for sewing the panel into shape.
- Fold each panel in half and seam the long edge together, leaving about 2 inches (5 cm) open near the top for the thumb.
- Attach yarn at the cuff edge and work two rounds of single crochet to finish the wrist opening.
What goes wrong
- Uneven edges Uneven edges usually happen when the first or last stitch of each row is missed. Count your stitches regularly and place a stitch marker in the final stitch if needed.
- Gloves feel too tight If the gloves feel restrictive, try a larger hook size or increase the panel width. Crochet fabric should stretch comfortably around the hand without feeling stiff.
- Thumb opening placement The thumb opening should sit naturally between the palm and thumb joint. If necessary, adjust the unsewn section during assembly for better comfort.
Yarn, hook and the rest
Copied from the source pattern's own materials list.
- Worsted weight yarn, approximately 180 yards (165 meters)
- 5 mm crochet hook (US H-8)
- Yarn needle for sewing and weaving ends
- Stitch markers
- Scissors
- Measuring tape
Progress tracker
0 of the 5 rounds on this page are ticked.
The pattern, round by round
Kept in the order and the wording the source used. Tick a round as you finish it; the ticks stay on this device.
Main Pattern
Make 2 panels. Chain 30 to begin the foundation row for each panel.
Round 1
Hdc in the second chain from hook and across. Turn. (29 hdc)
Round 2
Ch 1, hdc blo across. Turn. (29 hdc)
Rounds 3–20
Repeat Row 2. Each row has 29 hdc. Fasten off after Row 20, leaving a long yarn tail for sewing.The completed panel should measure approximately 7 inches (18 cm) long and 7.5 inches (19 cm) wide. Adjust the number of rows if a longer or shorter glove is preferred.
Cuff Edging
Attach yarn at the bottom edge of the glove.
Round 1
Work single crochet evenly around the cuff edge. Join with a slip stitch to the first single crochet.
Round 2
Ch 1, sc around. Join with sl st. Fasten off and weave in ends.
Special Stitch
Textured Half Double Crochet: Work a half double crochet stitch through the back loop only. This creates a flexible ribbed texture while maintaining the thickness needed for warm gloves.
Join
Step 1Fold each rectangle in half with the textured side facing outward.
Step 2Using the yarn needle and matching yarn, sew the long side edge together, beginning sewing from the bottom cuff edge upward.
Step 3Leave approximately 2 inches (5 cm) open near the top side edge for the thumb opening, and secure the seam with several small stitches.
Step 4Repeat for the second glove.
Check your count
- Main Pattern · Round 1: 29 sts
- Main Pattern · Round 2: 29 sts
Finish
- Weave in the long tail left from fastening off, using it first to sew the side seam closed.
- Leave the designated gap unstitched when closing the seam so the thumb has room to pass through.
- Gently block the gloves by laying them flat and shaping the edges. Avoid stretching too aggressively because the gloves should maintain a comfortable fitted shape.
- After sewing and finishing the gloves, gently wash according to the yarn care instructions. Shape the gloves while damp and allow them to dry flat. Proper blocking helps smooth the stitches and gives the accessory a polished handmade appearance.
- Important: Avoid stretching the thumb opening too much during blocking. A properly shaped opening should provide movement while keeping the glove secure on the hand.
Bigger or smaller
- Wider
- Add chains in multiples of two until the panel width matches your desired hand circumference, keeping the same stitch pattern throughout.
- Narrower
- Remove chains while maintaining the same stitch pattern to produce a smaller hand circumference.
- Longer
- Add extra rows to extend coverage toward the elbow.
- Shorter
- Reduce the number of rows worked before fastening off.
- Decorative
- Add stripes, embroidered details, or a contrasting cuff color for a decorative look.
FAQs
Asked and answered
These answers came from whoever first published the pattern, kept word for word.
Why work half double crochet through the back loop only?
Working through the back loop creates the ribbed, slightly raised texture described in the pattern while keeping the fabric stretchy enough to pull over the hand. It also makes the seam easier to line up since the front loops remain visible as a guide.
How is the thumb opening created?
The thumb opening is not crocheted separately — it comes from leaving a gap unstitched when the side seam is sewn closed. This keeps the construction simple while still giving the thumb room to move freely.
Can the glove be made longer or shorter than shown?
Yes, the pattern notes that the number of rows can be adjusted to lengthen or shorten the glove before fastening off. Just keep working the back-loop-only row until the desired length is reached.
Does the cuff edging change the fit?
The two rounds of single crochet at the cuff mainly clean up the edge and add a touch of structure rather than changing the fit. It gives the wrist opening a tidier, more finished look.