 STITCH ROUND
 How to crochet winter gloves with a folded thumb flap
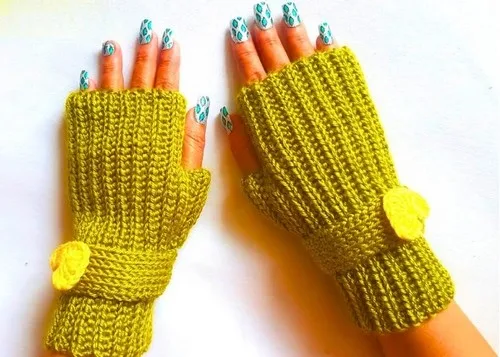
Crochet ribbed winter gloves worked in three main parts, seamed at the thumb, with optional decorative strip and heart motif
- Skill
- Intermediate
- Rounds
- 10 rounds
- Yarn weight
- Light
- Hook
- 3 mm
- Time
- 4-6 hours

Intermediate
What the original page called it. Nothing here is graded a second time.

10 rounds
Each one gets its own line, with a box beside it to tick as you go.

Light
What the sample was made in. Any weight works — the size moves with it.
About this pattern
These winter gloves come together in three separate parts, so each round marks a clear stopping point. The thumb flap takes three rounds on its own, the glove base is worked as one long round that runs from wrist to fingers, and the thumb opening is shaped in a single closing round. Ticking off each part before moving to the next keeps the project from feeling like one endless row, even though the glove base itself is a long, steady stretch of slip stitches worked mostly in the back loop.
The trickiest shaping happens where slip stitch and half double crochet blocks swap places inside the thumb flap rows, and again on the final row of the glove base where the back loop stitches split into two groups to open the thumb hole. Slow down through those transitions, since a miscounted block shifts the whole ridge pattern out of line. The foundation chain also needs care: flipping it to work into the back bumps, and skipping that first loop, sets the tone for every row that follows.
- Work the thumb flap first, swapping slip stitch and half double crochet blocks across ten rows before cutting a long tail.
- Build the glove base from a foundation chain worked into the back bumps, then repeat back loop slip stitches through row thirty-four.
- Shape the thumb opening on the final row by splitting the back loop stitches, then finishing with a slip stitch and half double crochet blend.
- Sew twelve chains from the thumb flap onto the glove base to open the thumb hole, using the long tail left earlier.
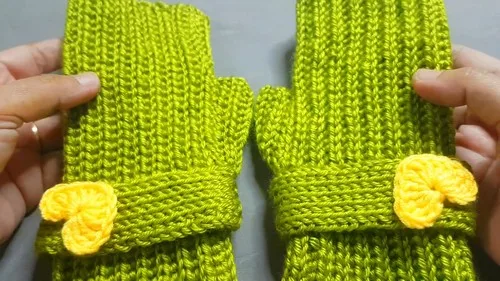
- Attach the decorative strip once the glove is fully assembled and both edges lie flat.
- Finish by sewing on the heart motif as shown, positioning it after the strip is secure.
What goes wrong
- Skipping the back loop only rule Check that every stitch in the glove base and thumb opening goes into the back loop only, since working through both loops flattens the rib and throws off fit.
- Missing the first-loop skip Remember to skip the first loop after flipping the foundation chain to work into the back bumps, or the row count and edge will be off from the start.
- Cutting the tail too short Leave a generous long tail when finishing the thumb flap, since that same tail is used to sew the flap onto the glove base.
Yarn, hook and the rest
Copied from the source pattern's own materials list.
- Lightweight number three yarn
- 3 mm crochet hook
Progress tracker
0 of the 10 rounds on this page are ticked.
The pattern, round by round
Kept in the order and the wording the source used. Tick a round as you finish it; the ticks stay on this device.
Thumb Flap
Round 1
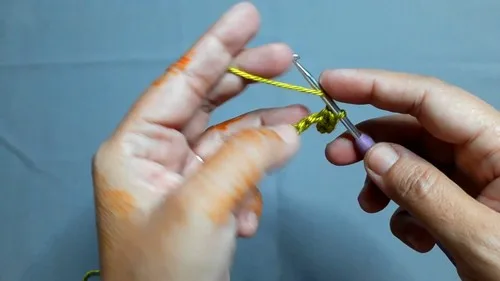
Chain 1 turn Make 8 slip stitch with HDC stitches Make 4 slip stitches in back loop
Round 2
Chain 1 turn Make 4 slip stitches Make 8 HDC stitches
Round 3
Chain 1 turn Make 8 slip stitches Make 4 slip stitches
Rows 4–10
Rows 4 to 10 Repeat previous rows until total 10 rows Cut yarn leaving long tail
Glove Base Wrist to Fingers
Round 1
Make a slip knot Chain 40 Flip chain and work into back bumps Skip first loop, slip stitch in second loop Continue slip stitch across
Rounds 2–34
Rows 2 to 34 Chain 1 turn Work slip stitch in back loop only Repeat back loop slip stitches until row 34 is complete
Thumb Opening
Round 35
Chain 1 turn Make 15 slip stitches in back loop only Make next 4 slip stitches in back loop Make 8 stitches using slip stitch with half double crochet method
Seaming the Glove
Seam
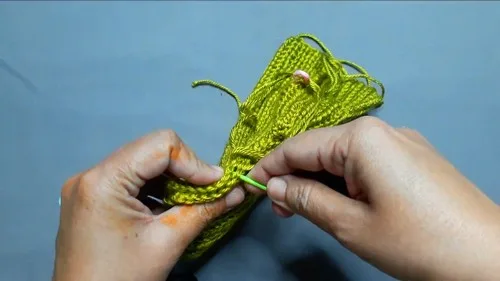
Mark 15 chains from thumb flap edge Mark 12 chains from other edge place marker on 13th Thread long tail Sew 12 chains of thumb flap to glove base to form thumb hole
Decorative Strip (Optional)
Rows 1–42
Make slip knot Chain 6 Insert hook into fourth chain pull up loop continue until 6 loops on hook Return pass pull through first loop then two loops repeatedly until one loop remains Forward pass insert hook between vertical bars pull up loops to 6 again Repeat return and forward passes for 42 rows Cut yarn leaving tail
Heart Motif (Optional)
Round 1
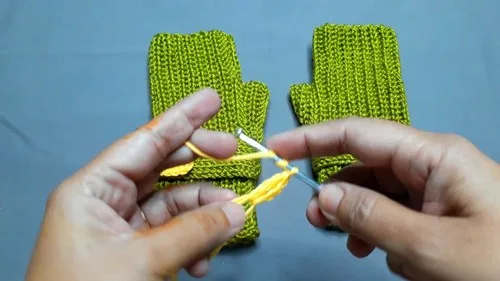
Make magic ring Chain 3 Make 2 triple crochet in ring Make 3 double crochet in ring Make 1 triple crochet Make 3 double crochet Make 2 triple crochet Chain 3 Single crochet into ring Close ring pull tight and cut yarn
Join
Step 1Sew decorative strip onto glove
Step 2Sew heart motif on glove as shown
Finish
- Weave in the long tail left after cutting yarn at the end of the thumb flap.
- Close the thumb hole by sewing the twelve marked chains of the thumb flap to the glove base.
- Attach the decorative strip and heart motif to the front of the glove once assembly is complete.
Bigger or smaller
- Larger
- Move up to a slightly bigger hook while keeping the same lightweight number three yarn to loosen the slip stitch fabric, or work extra repeats of the back loop rows before starting the thumb opening for a longer glove base.
- Smaller
- Drop down a hook size with the same lightweight yarn to tighten every slip stitch, or work fewer repeats of the back loop rows so the glove base reaches the thumb opening sooner.
Photographs of this one
Every photograph on this page was taken by whoever published the pattern, and they are printed in the order the source listed them.
FAQs
Asked and answered
These answers came from whoever first published the pattern, kept word for word.
What yarn and hook does this glove pattern call for?
The pattern uses lightweight number three yarn with a 3 mm crochet hook throughout. Both the thumb flap and the glove base are worked with the same materials.
How is the thumb hole actually formed?
Fifteen chains are marked from the thumb flap edge and twelve chains are marked from the other edge, with a marker placed on the thirteenth chain. The twelve marked chains of the thumb flap are then sewn onto the glove base using the long tail left from that part, forming the thumb hole.
Why is so much of the glove worked in the back loop only?
Working back loop only across the glove base and thumb opening builds a ribbed, stretchy texture. That stretch is what lets the fabric hug the wrist and fingers without added shaping.
Where exactly should the decorative strip and heart motif go?
The pattern only says to sew the heart motif on as shown, without giving a fixed position. Place the strip and motif on the front of the glove after assembly, using the finished shape as a guide.