 STITCH ROUND
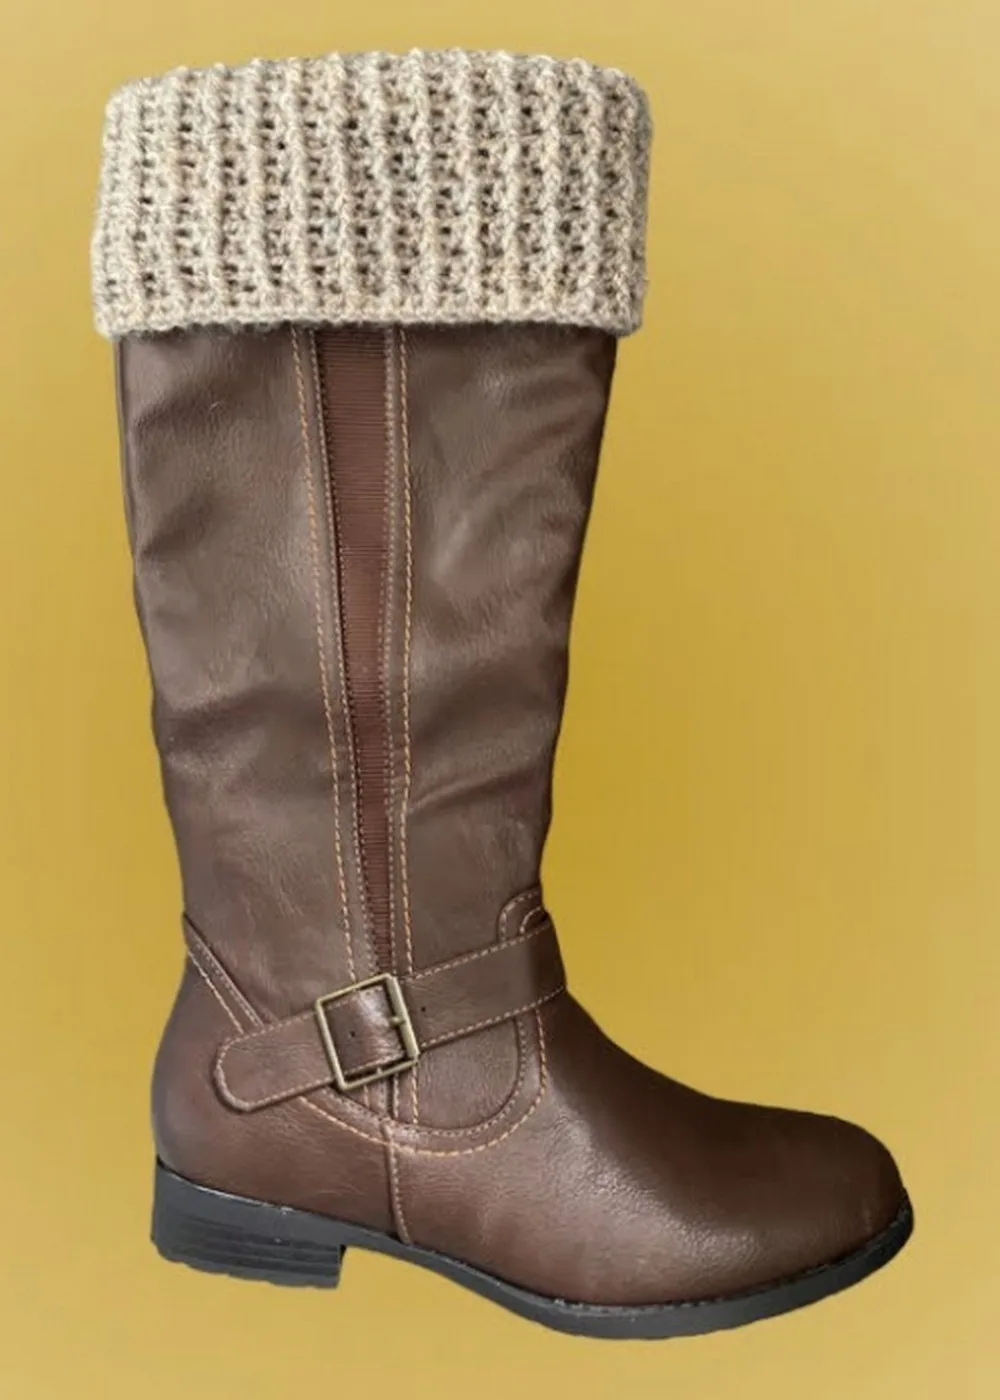
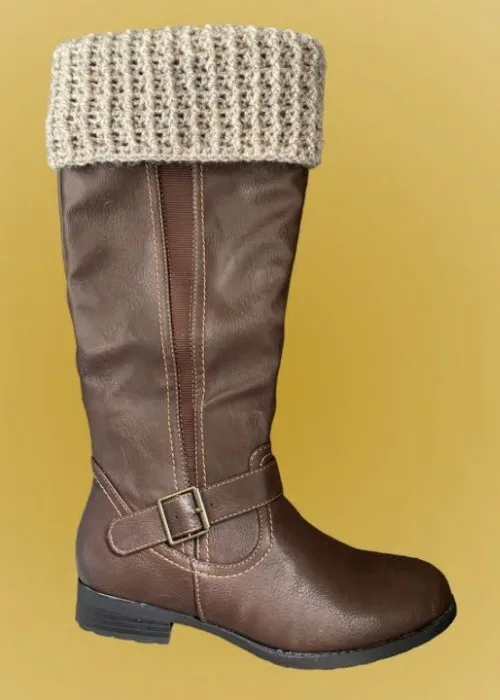
 Ribbed crochet boot cuffs in three rounds
3 rounds to tick off for ribbed boot cuffs that stretch to fit any boot top.
- Skill
- Intermediate
- Rounds
- 3 rounds
- Yarn weight
- Any Weight
- Hook
- 5 mm
- Time
- 4-6 hours

Intermediate
What the original page called it. Nothing here is graded a second time.

3 rounds
Each one gets its own line, with a box beside it to tick as you go.

Any Weight
What the sample was made in. Any weight works — the size moves with it.
About this pattern
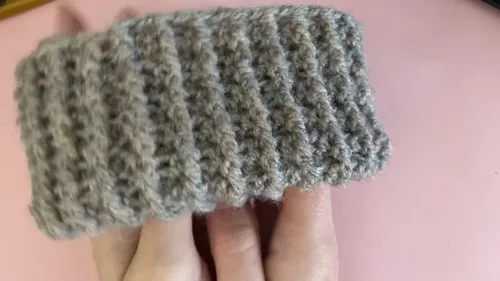
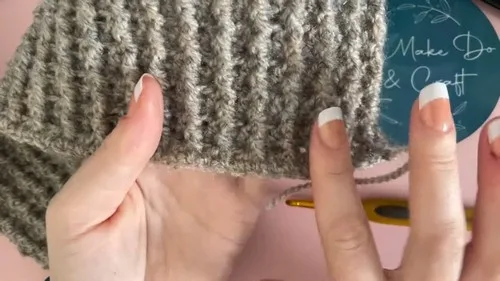
This is a set of ribbed boot cuffs built entirely from half double crochet and its post-stitch variations. Three rounds cover the whole job: a foundation row of straight hdc, then a rib round worked in front posts, then a matching rib round worked in back posts. Those last two rounds repeat back and forth until the cuff hits the desired height, so the tick-box work is short and the repeat is the real body of the project.
The shaping here is not increases or decreases — it is the alternating post-stitch pattern that pulls the fabric into vertical ribs. Slow down on the first pass through Round 2 and Round 3, since placing the front post and back post stitches correctly is what sets the rib for every repeat after it. Once that rhythm is established, the rest of the repeats move quickly and mistakes become easy to spot by sight.
- Chain a foundation length sized to fit loosely around the boot opening, then work a straight row of hdc across it.
- Turn and work a round alternating regular hdc with front post hdc to start the rib pattern.
- Turn again and work a round alternating regular hdc with back post hdc to complete one rib repeat.
- Keep alternating those two rounds until the strip reaches the desired cuff height.
- Fold the finished strip in half with right sides facing before joining the short ends.
- Seam the ends together to form a tube that slips over the boot.
What goes wrong
- Losing the post stitch alternating rhythm Front post and back post stitches must land directly on top of the same column every round. Count stitches in pairs as worked, since one skipped pair throws off the rib for the rest of the piece.
- Working into the wrong part of the stitch Front post and back post stitches wrap around the post of the stitch below rather than going under both top loops. Insert the hook around the stitch, not into it, to keep the rib texture crisp.
- Skipping the wrong chain at the start The first two chains are skipped before the first hdc is placed, and missing this step shifts the whole foundation count. Recheck the starting chains before turning to Round 2.
- Seaming the ends with the wrong sides facing The cuff is folded right sides together before the slip stitch seam is worked. Turn the tube right side out afterward and check that the rib columns run smoothly across the seam.
Yarn, hook and the rest
Copied from the source pattern's own materials list.
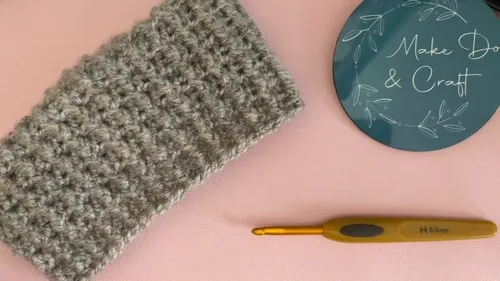
- Any weight yarn (Make sure to use a hook that is two sizes larger than your yarn recommends for a stretchier finish)
- 5 mm hook (or size appropriate for your yarn)
- Tapestry needle
- Scissors
Progress tracker
0 of the 3 rounds on this page are ticked.
The pattern, round by round
Kept in the order and the wording the source used. Tick a round as you finish it; the ticks stay on this device.
Main Pattern
To determine your size, measure the circumference around the outside of your boot.
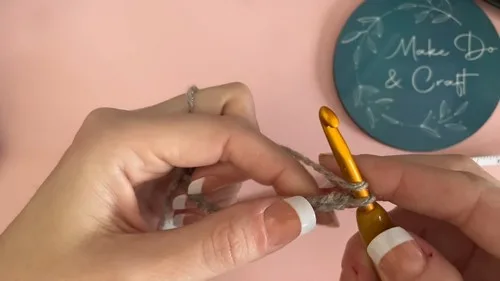
Chain an odd number of chains that is approximately 1.5-2 inches shorter than your boot measurement. For example, if your boot is 15 inches, chain 57-59 chains.
Round 1
Ch 59 (or your desired number of chains); Skip the first 2 chains; Hdc in the next ch; Hdc in each ch across; Ch 1, turn
Round 2
Hdc in the first st; Fhdc in the next st; Hdc in the next st; Repeat the last 2 sts across; Ch 1, turn
Round 3
Hdc in the first st; Bhdc in the next st; Hdc in the next st; Repeat the last 2 sts across; Ch 1, turnRepeat Rounds 2 and 3 until your cuff reaches your desired height (approximately 6 inches).Finish off your last row with a Fhdc, then Ch 1, turn.
Join
Step 1Fold your cuff in half, right sides together.
Step 2With your tapestry needle and yarn, sew the two ends of the cuff together using a slip stitch.
Step 3Weave in any loose ends.
Finish
- Weave in the starting tail and the working yarn tail separately along the wrong side of the ribbing, tracing along a post stitch column so the tail stays hidden in the rib groove.
- Fold the cuff in half with right sides together, lining up the short foundation and final rows before joining.
- Slip stitch the two short ends together with the tapestry needle to close the tube, then turn right side out so the rib faces outward.
Bigger or smaller
- Smaller or larger circumference
- Adjust the length of the foundation chain to match the boot measurement more closely, keeping the total an odd number so the front post and back post repeat lines up evenly across the row.
Photographs of this one
Every photograph on this page was taken by whoever published the pattern, and they are printed in the order the source listed them.
FAQs
Asked and answered
These answers came from whoever first published the pattern, kept word for word.
Can any yarn weight be used for these cuffs?
Yes, the pattern is written for any weight yarn. Just pair it with a hook sized for that yarn, or size up for a stretchier rib.
Why does the pattern call for a larger hook than usual?
Going up a hook size or two loosens the stitches so the ribbing has more give. That stretch helps the cuff pull on and off over the boot shaft comfortably.
How is the chain length figured out for a specific boot?
Measure the circumference around the outside of the boot opening, then chain a number of stitches roughly 1.5 to 2 inches shorter than that measurement so the finished tube fits snugly. Keep the chain count odd for the rib repeat to work evenly.
How is the cuff height controlled?
Rounds 2 and 3 simply repeat back and forth until the strip reaches the desired height before it gets folded and seamed. Stop the repeats earlier for a shorter topper or continue further for a taller cuff.