 STITCH ROUND
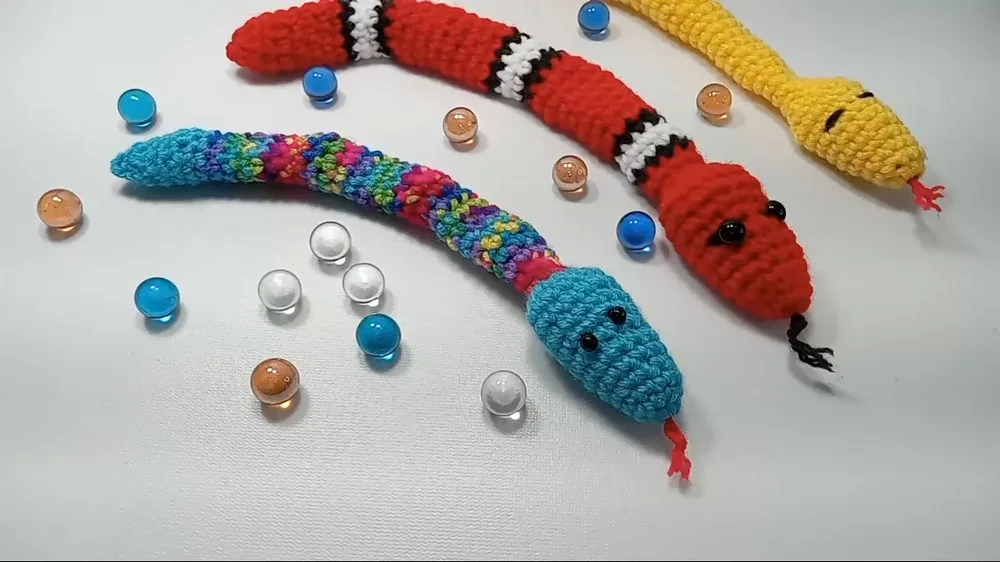
 Crochet amigurumi snake fidget with marble rattle
Crochet a coiled amigurumi snake fidget toy with a marble rattle inside, worked in continuous rounds from a magic ring to a
- Skill
- Intermediate
- Rounds
- 6 rounds
- Yarn weight
- Worsted
- Time
- 4-6 hours

Intermediate
What the original page called it. Nothing here is graded a second time.

6 rounds
Each one gets its own line, with a box beside it to tick as you go.

Worsted
What the sample was made in. Any weight works — the size moves with it.
About this pattern
This is a coiled snake body built from a single tube worked in continuous rounds, starting at a magic ring with 8 sc. Graduated increases in rounds 2, 4, and 6 grow the head from 8 sc up to 14 sc, with plain rounds worked in between (rounds 3 and 5) to keep the shaping smooth. A marble goes inside the body for weight and rattle, which is what turns this from a plain amigurumi shape into a fidget piece worth handing to someone unsuspecting.
After round 6, the pattern keeps alternating an increase round with a plain sc round until the head reaches the desired size, then eyes go in between the 7th and 8th rounds and invisible decreases bring the stitch count down to 9. From there the body is worked straight at 9 sc for the desired length, with marbles dropped in as you go, before a final decrease closes the tail. Slow down through the increase rounds, since stitch placement there decides how smoothly the head tapers into the body.
- Make a magic ring and work 8 sc into it, tightening the tail to close the ring.
- Work the increase rounds (rounds 2, 4, and 6) with plain sc rounds between them to grow the head to 14 sc.
- Continue alternating increase rounds and plain rounds until the head reaches the desired size.
- Add safety eyes or embroider eyes between the 7th and 8th rounds, and stuff the head if desired.
- Work invisible decreases gradually down to 9 stitches around.
- Crochet the body straight at 9 sc, dropping marbles in as you go, until the snake reaches the desired length.
- Decrease to close the tail and weave in all the ends.
What goes wrong
- Loose magic ring tail Pull the tail firmly before working round 1 so no hole opens at the very tip of the snake's head.
- Misplaced increases in round 2 Count out the 3 stitches between increases before working the next increase, since misplaced stitches will skew the head shape.
- Marble shifting before closing Hold the marble in place with a pinch of stuffing on either side before closing the tube, so it stays centered instead of sliding to one end.
- Uneven tension after the increase round Check that round 3 sits flat at 10 sc with no gaps or puckering before continuing, since tight or loose stitches here carry through the rest of the tube.
Yarn, hook and the rest
Copied from the source pattern's own materials list.
- Yarn
- Crochet hook
- Marbles
- Marker (or a piece of yarn)
- Scissors
- Tapestry needle
Optional
- safety eyes or black yarn for eyes
- Stuffing (for the head)
Progress tracker
0 of the 6 rounds on this page are ticked.
The pattern, round by round
Kept in the order and the wording the source used. Tick a round as you finish it; the ticks stay on this device.
Main Pattern
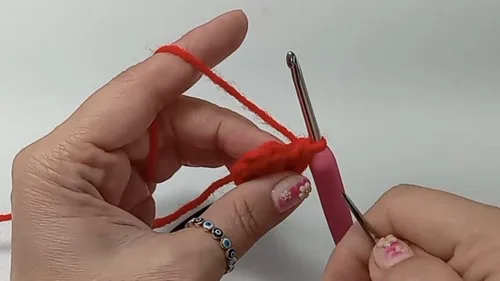
Start with Magic Ring Create a magic ring by wrapping the yarn around your middle finger. Insert your hook under the tail, grab the working yarn, and pull up a loop – this counts as your first chain (not considered a stitch).
Round 1
Work 8 single crochets (sc) around the magic ring. Use the tail to tighten the ring.
Round 2
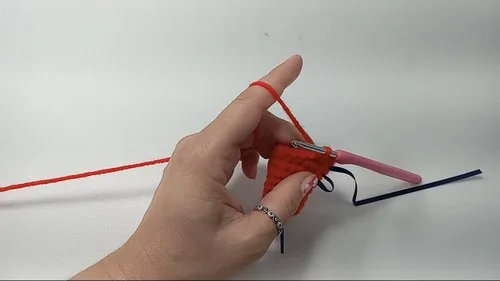
Increase (2 sc in the first stitch). 1 sc each in the next 3 stitches. Increase in the next stitch. 1 sc in the next 3 stitches. (Total of 10 sc).
Round 3
Work 10 sc around (no increases or decreases).
Round 4
Start with an increase, then 4 sc in the next 4 stitches. Repeat this pattern once more. (Total of 12 sc).Create a slip knot, chain 2, and attach it at the end of the toy's mouth.
Round 5
Work 12 sc around (no increases or decreases).
Round 6
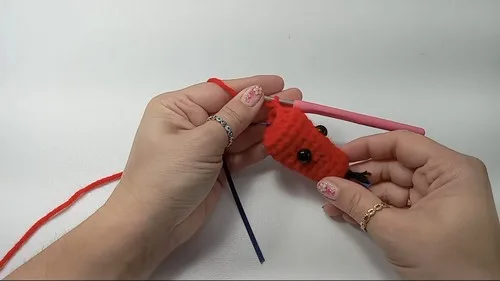
Increase, then 5 sc in the next 5 stitches. Repeat. (Total of 14 sc).Continue with the pattern, increasing the stitches every other round and working a regular round of sc between each increase round until you reach the desired head size.Add plastic safety eyes or embroider eyes with black yarn between the 7th and 8th rounds. Optionally, add stuffing to the head.
Begin Decreases Use invisible decreases to reduce the stitch count, aiming for a gradual decrease until you have 9 stitches around.
Continue crocheting in rounds with 9 sc until you reach the desired length of the snake. Insert marbles as you go to add the fidget effect.
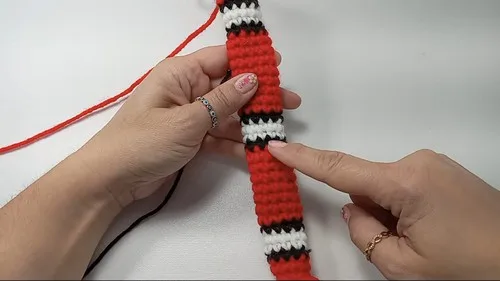
Color Changes (Optional) You can add stripes or patterns by changing yarn color as desired.
Decrease to close the tail. Weave in the ends securely.
Final Touches You can add more detail by embroidering features or adjusting the stuffing and shaping as necessary.
Finish
- Weave in the starting tail from the magic ring and any joins along the tube before adding stuffing.
- Stuff the tube lightly around the marble so it can still roll and rattle, then close the open end with a few whipstitches or a final decrease round.
- Attach safety eyes securely between the 7th and 8th rounds, or embroider eyes with black yarn if safety eyes are not being used.
Bigger or smaller
- Smaller
- Drop down to a finer yarn and smaller hook so the same pattern produces a slimmer, more compact fidget piece.
Photographs of this one
Every photograph on this page was taken by whoever published the pattern, and they are printed in the order the source listed them.
FAQs
Asked and answered
These answers came from whoever first published the pattern, kept word for word.
Can this be made without a marble?
Yes, a smooth pebble or a few beads sewn into a small pouch will give a similar rattle. Stuffing alone works too, but it loses the fidget rattle effect.
What yarn weight suits this pattern?
Worsted weight yarn holds its shape well for the tube and keeps the marble contained. Thinner or thicker yarns work with a matching hook change, as covered under resizing.
Is this pattern suitable for a first amigurumi project?
It suits someone comfortable with magic rings and increases already, since round 2 packs in shaping quickly. A total beginner may want a slower increase pattern first.
How is the eye placement decided?
Eyes go in between the 7th and 8th rounds, before the head is stuffed and the decreases begin. Placing them at that point makes it far easier to anchor safety eyes securely from the inside.