 STITCH ROUND
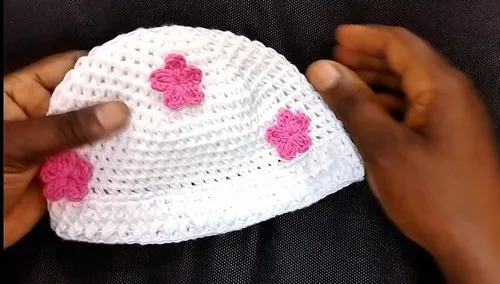
 Crochet baby hat pattern with a ribbed brim
Nine rounds build this soft crochet baby hat, finished with a ribbed brim.
- Skill
- Intermediate
- Rounds
- 9 rounds
- Yarn weight
- Worsted
- Hook
- 4.0 mm
- Time
- 4-6 hours

Intermediate
What the original page called it. Nothing here is graded a second time.

9 rounds
Each one gets its own line, with a box beside it to tick as you go.

Worsted
What the sample was made in. Any weight works — the size moves with it.
About this pattern
This hat starts life as a magic circle and works up through five rounds of the main pattern before four rounds of edging finish the shape. The crown grows from a tight center into a flat half double crochet circle, then the edging rounds add texture and a snug ribbed band at the opening. Nine rounds in total, worked one after another, take it from loop to wearable hat.
Shaping happens entirely in the crown, where each round adds one more plain stitch between increases so the circle keeps its flat, even spread. Slow down through those main pattern rounds and place each increase directly where the pattern calls for it, since a missed or misplaced increase there shows up as a ripple later. The ribbed brim rounds move faster once the front post and back post pattern is established, but the first stitch of each round is where it is easiest to lose the alternating sequence.
- Start the crown from a magic circle and work a first round of half double crochet stitches.
- Work through the main pattern rounds, increasing steadily so the crown stays flat as it grows.
- Move into the edging with a single crochet round that skips stitches to begin shaping the brim.
- Work a plain double crochet round to set a smooth base for the ribbing.
- Alternate front post and back post double crochet across two rounds to build the ribbed brim.
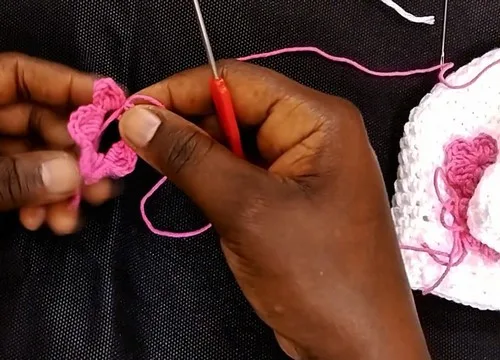
- Add a crocheted flower and sew it in place for an optional finishing touch.
What goes wrong
- Loose magic circle center Pull the starting tail firmly before working the first round so no gap remains at the top of the crown.
- Misplaced increases in main pattern rounds Count stitches between increases before closing each round, since one skipped increase throws off the flat lay of the crown.
- Losing the front post and back post sequence Mark the first stitch of each ribbing round with a stitch marker so the fpdc and bpdc pattern stays consistent.
- Uneven slip stitch joins Join each round to the top of the starting chain rather than the nearest stitch to keep the round count and shape consistent.
Yarn, hook and the rest
Copied from the source pattern's own materials list.
- Medium weight yarn (baby soft preferred)
- 4.0 mm or 4.5 mm crochet hook
- Scissors
- Yarn needle
Progress tracker
0 of the 9 rounds on this page are ticked.
The pattern, round by round
Kept in the order and the wording the source used. Tick a round as you finish it; the ticks stay on this device.
Main Pattern
Round 1
Start with a magic circle Ch 3 (counts as first hdc) Work 10 hdc into the magic circleCh 1 Slst to the top of ch 3 to close the round
Round 2
Ch 3 (1 hdc in next st, 1 inc) repeat 5 times 1 hdc in the last st Slst to joinFor Round 3 Ch 3 (2 hdc, 1 inc) repeat 5 times 2 hdc in the remaining sts Slst to join
Round 4
Ch 3 (3 hdc, 1 inc) repeat 5 times 3 hdc in the remaining sts Slst to join
Round 5
Ch 3 (4 hdc, 1 inc) repeat 5 times 4 hdc in the remaining sts Slst to join For Round 6Ch 3 (5 hdc, 1 inc) repeat 5 times 5 hdc in the remaining sts Slst to join Body of the Hat
Round 7
to 13 Ch 3 (1 hdc, ch 1) repeat in each st around Slst to join each round
Edging
Round 14
Ch 1 (5 sc, skip 1 st) repeat around Slst to join
Round 15
Ch 3 Dc in each st around Slst to join Ribbed Brim
Round 16
Ch 3 (fpdc, bpdc) repeat around Slst to join
Round 17
Ch 3 (bpdc, fpdc) repeat around Slst to join Optional: Flower Decoration Create crochet flowers of your choiceSew them onto the hat using a yarn needle and matching yarn
Finish
- Weave in the starting tail at the magic circle and the finishing tail at the last edging round using a yarn needle.
- If making the optional flower, weave in its ends first, then sew it onto the hat with matching yarn.
- Lightly steam or hand-block the ribbed brim flat so it sits evenly around the opening without curling.
Bigger or smaller
- Smaller
- Use the 4.0 mm hook with a lighter-weight yarn than called for, which tightens the stitches and produces a smaller, denser hat.
Photographs of this one
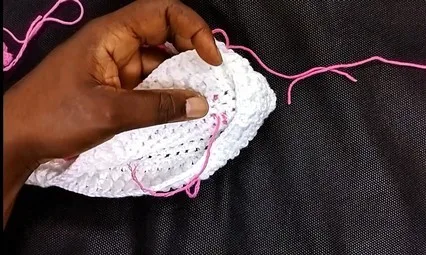
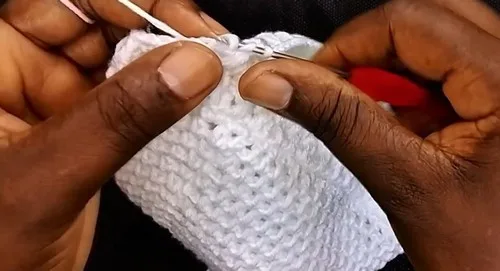
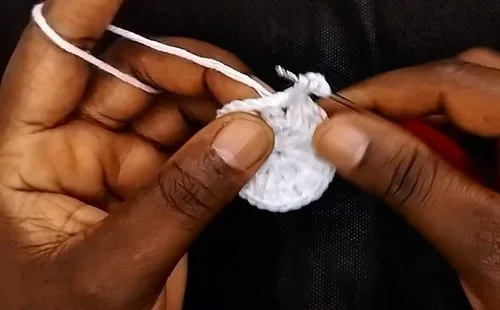
Every photograph on this page was taken by whoever published the pattern, and they are printed in the order the source listed them.
FAQs
Asked and answered
These answers came from whoever first published the pattern, kept word for word.
Which hook size should be used, 4.0 mm or 4.5 mm?
Either works with the medium weight yarn; the 4.0 mm hook gives a slightly denser fabric and the 4.5 mm hook gives a slightly looser one. Choose based on how firm the finished brim should feel.
Is the flower decoration necessary?
No, it is listed as optional in the edging section. The hat is complete without it once the ribbed brim rounds are finished.
Why does the crown use half double crochet instead of single crochet?
Half double crochet grows the circle faster per round, which is why the crown reaches its full width in just a few rounds. It also keeps the fabric soft enough for baby wear.
What does the ribbed brim technique do for the fit?
Alternating front post and back post double crochet creates a stretchy, textured band, similar to knit ribbing. This helps the brim hug the head snugly at the opening.