 STITCH ROUND
 Crochet doll pattern with dress and curly hair
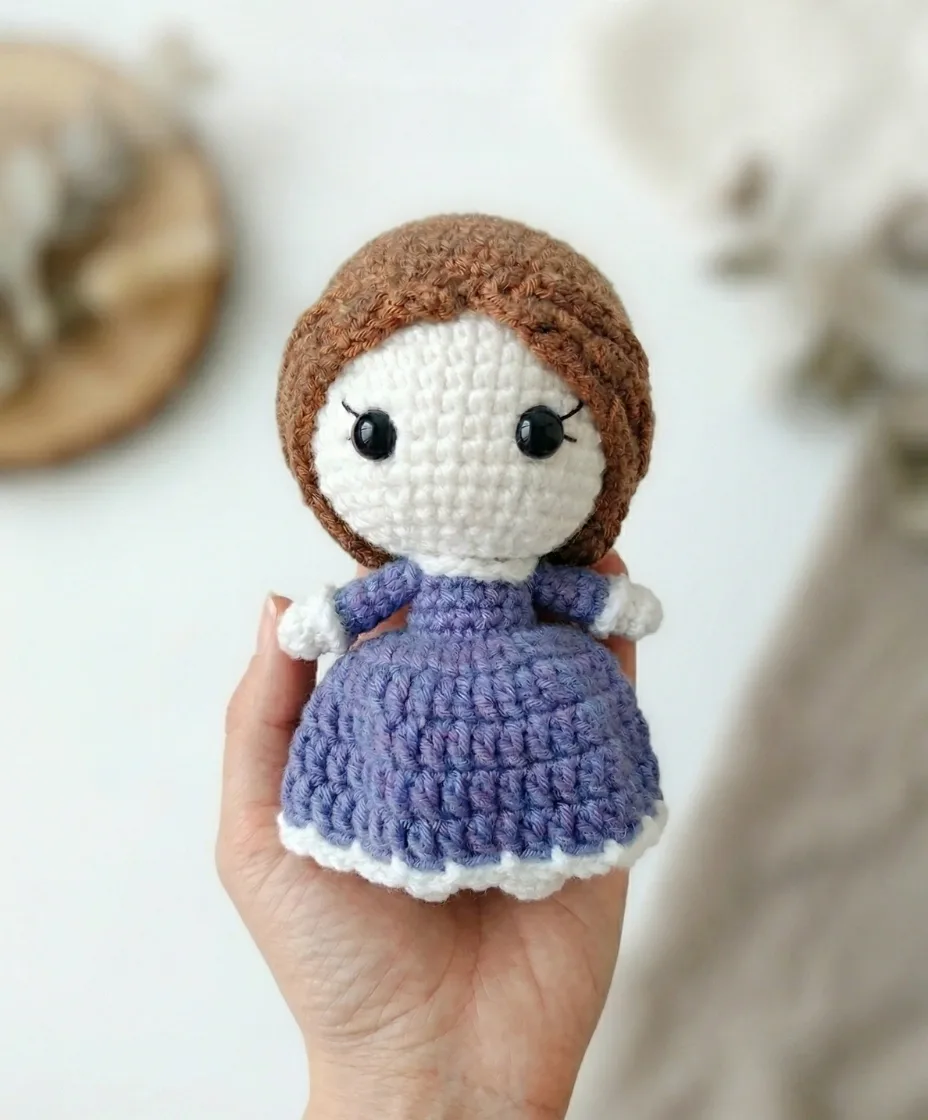
42 rounds build a jointed doll with a ruffled dress and braided curly hair.
- Skill
- Intermediate
- Rounds
- 40 rounds
- Yarn weight
- DK
- Hook
- 2.0 mm
- Time
- 4-6 hours

Intermediate
What the original page called it. Nothing here is graded a second time.

40 rounds
Each one gets its own line, with a box beside it to tick as you go.

DK
What the sample was made in. Any weight works — the size moves with it.
About this pattern
This crochet doll pattern splits into six pieces — arms, a combined legs-and-body, a collar, a dress, a head, and a curly hairstyle — with 42 rounds total to tick off across the make. Each piece is small enough to finish in a single sitting, which makes it easy to track progress and pick up again without losing the thread of where a color change or stitch count left off.
The trickiest shaping sits at the leg join, where two separately worked legs meet through a chain bridge to form one continuous body, and again at the head, where safety eyes and embroidered eyelashes need to land evenly before stuffing closes around them. Slow down at both points, and again when arranging the curls, since symmetry there depends on careful counting rather than stitch technique.
- Crochet two legs separately, then join them with a chain bridge into one continuous body piece.
- Work the body upward in white and blue yarn, stuffing firmly as the rounds build.
- Shape the head on its own, add safety eyes and embroidered lashes, then whipstitch it to the neck.
- Add the collar and dress directly onto the body for a seamless, ruffled finish.
- Sew on the hair cap, then arrange and braid the curls into a symmetrical style.
What goes wrong
- Dropping the live loop at the leg join Secure the loop with a stitch marker or a tight yarn tail before setting Leg 1 aside, so it stays ready for the joining round.
- Working the ruffle into the wrong loop Check that the base round was worked in back loops only, then join the ruffle into the remaining front loops of that same round.
- Curls arranged unevenly before braiding Count out three curls to each side and pin or hold them in place before braiding, so both sides match once secured.
Yarn, hook and the rest
Copied from the source pattern's own materials list.
Yarn
- YarnArt Jeans (or equivalent Sport/DK weight yarn) in the following colors:
- White (approx. 62 shade)
- Skin tone / Flesh (approx. 03 shade)
- Blue (approx. 68 shade)
- Brown (approx. 40 shade)
Hook
- B-1 / 2.0 mm
Safety eyes
- 8 mm screw-back, x2
Stuffing
- Polyfill / fiberfill
- Stitch markers
- Yarn needle / tapestry needle
- Scissors
- Black embroidery thread (for stitching eyelashes)
Progress tracker
0 of the 40 rounds on this page are ticked.
The pattern, round by round
Kept in the order and the wording the source used. Tick a round as you finish it; the ticks stay on this device.
Arms (Make 2)
Begin with Flesh yarn.
Switch to Blue yarn before Round 5.
Do not fasten off yet after Round 9.
Set both arms aside — you'll need them at Rnd 15 of the body.
Round 1
6 sc into MR. (6)
Rounds 2–4
Sc in each st around. (6)
Round 5
Sc in BLO of each st around. (6)
Rounds 6–9
Sc in each st around. (6)Ruffle (worked into the remaining front loops of Rnd 5): Join yarn into any front loop of Rnd 5; [Ch 3, skip 1 st, sl st into next st] repeat to end of round; Fasten off and weave in all ends.
Legs & Body (Worked as one piece)
Begin with White yarn.
At the end of Leg 1, do not sl st or chain; simply fasten off and pull the yarn tail through to hold, leaving the loop live on your hook (or use a stitch marker to secure it), then set aside.
Switch to Blue yarn before Round 11.
Switch to White yarn before Round 16.
Round 1
(Leg 1): 7 sc into MR. (7)
Rounds 2–7
(Leg 1): Sc in each st around. (7)
Round 1
(Leg 2): 7 sc into MR. (7)
Rounds 2–7
(Leg 2): Sc in each st around. (7)
Round 8
Joining round At the end of Leg 2, sl st to join, then ch 2; insert hook into the last stitch of Leg 1 and work 1 sc — this is the first sc of Rnd 8; sc in remaining 6 sts of Leg 1 (7 total on Leg 1), sc 2 across the ch-2 bridge, sc in each of 7 sts of Leg 2, sc 2 across the other side of the ch-2 bridge. (18) — counted as (7 + 2 + 7 + 2)
Rounds 9–10
Sc in each st around. (18)
Round 11
Sc in each st around. (18)
Round 12
Working in BLO, work 2 dec evenly on each side of the body. (16)
Rounds 13–14
Sc in each st around. (16)
Round 15
Arm attachment round Hold one arm alongside the body so that the open sts of the arm align with the body; insert your hook through both loops of the arm stitch AND the corresponding body stitch simultaneously to join; dec, sc 1, [sc 3 through arm + body sts], sc 5, [sc 3 through arm + body sts], dec. (14)
Round 16
Sc in BLO of each st around. (14)
Collar
Round 1
(worked into the remaining front loops of Rnd 16): Join yarn into any front loop of Rnd 16; [Ch 3, skip 1 st, sl st into next st] repeat to end of round; Fasten off and weave in ends.
Dress
Switch to White yarn before working the edging.
Round 1
(worked into the remaining front loops of Rnd 12): Join Blue yarn into any front loop of Rnd 12, ch 2; [3 sc in 1 st, 2 dc in 1 st] repeat to end of round. (45)
Rounds 2–5
Dc in each st around. (45)Round (Edging): [Ch 3, skip 1 st, sl st into next st] repeat to end of round; Fasten off and weave in ends.
Head
Begin with Flesh yarn.
After Rnd 14 is complete, place safety eyes between Rnds 14 and 15 with exactly 5 stitches between them; using black embroidery thread, stitch eyelashes above each eye.
Leave a long yarn tail for sewing; stuff the head firmly before the opening becomes too small to fill evenly.
Round 1
6 sc into MR. (6)
Round 2
Inc in each st around. (12)
Round 3
[Sc 1, inc] x 6. (18)
Round 4
[Sc 2, inc] x 6. (24)
Round 5
[Sc 3, inc] x 6. (30)
Round 6
[Sc 4, inc] x 6. (36)
Round 7
[Sc 5, inc] x 6. (42)
Rounds 8–16
Sc in each st around. (42)
Round 17
[Sc 5, dec] x 6. (36)
Round 18
[Sc 3, dec] x 6. (30)
Round 19
[Sc 2, dec] x 6. (24)
Round 20
[Sc 1, dec] x 6. (18)
Round 21
[Dec] x 6, sc 6. (16) — work remaining decreases and stitches to close.
Hair / Hairstyle
Begin with Brown yarn.
Round 1
6 sc into MR. (6)
Round 2
Inc in each st around. (12)
Round 3
[Sc 1, inc] x 6. (18)
Round 4
[Sc 2, inc] x 6. (24)
Round 5
[Sc 3, inc] x 6. (30)
Round 6
[Sc 4, inc] x 6. (36)
Round 7
[Sc 5, inc] x 6. (42)
Rounds 8–14
Sc in each st around. (42)At the end of Rnd 14, sl st to join. Do not fasten off.
Curls (make 6)
[Ch 41 (40 ch + 1 turning ch), work 40 dc back along the chain, sl st into the next stitch on the hair cap circle] x 6.Leave a long yarn tail for sewing.
Join
Step 1Sew the Head onto the Body using the long yarn tail and a whipstitch, aligning it centrally over the neck opening. Pull firmly and knot securely.
Step 2Place the Hair Cap on top of the Head and sew it down around the perimeter, using the long yarn tail and whipstitch. Make sure the cap sits evenly.
Step 3Arrange the curls symmetrically — 3 curls swept to the left, 3 curls swept to the right.
Step 4Guide each set of curls toward the back of the head, then braid the left curls together and the right curls together at the nape of the neck.
Step 5Cross the two braids over each other at the back and sew them in place so they overlap securely.
Step 6Weave in all remaining yarn ends throughout the doll.
Check your count
- Arms (Make 2) · Round 1: 6 sts
- Arms (Make 2) · Rounds 2–4: 6 sts
- Arms (Make 2) · Round 5: 6 sts
- Arms (Make 2) · Rounds 6–9: 6 sts
- Legs & Body (Worked as one piece) · Round 1: 7 sts
- Legs & Body (Worked as one piece) · Round 11: 18 sts
Finish
- Weave in every yarn tail left from color changes on the arms, legs-and-body, and hair before starting assembly.
- Stuff the legs-and-body piece firmly as each round is worked, adding extra fill near the neck opening before it closes.
- Whipstitch the head onto the body and the hair cap onto the head, pulling each seam tight and knotting securely.
Bigger or smaller
- Larger
- Repeat the straight sc rounds on the legs, body, or arms an extra time or two before moving to the next shaping round, adding length without changing the stitch count.
Photographs of this one
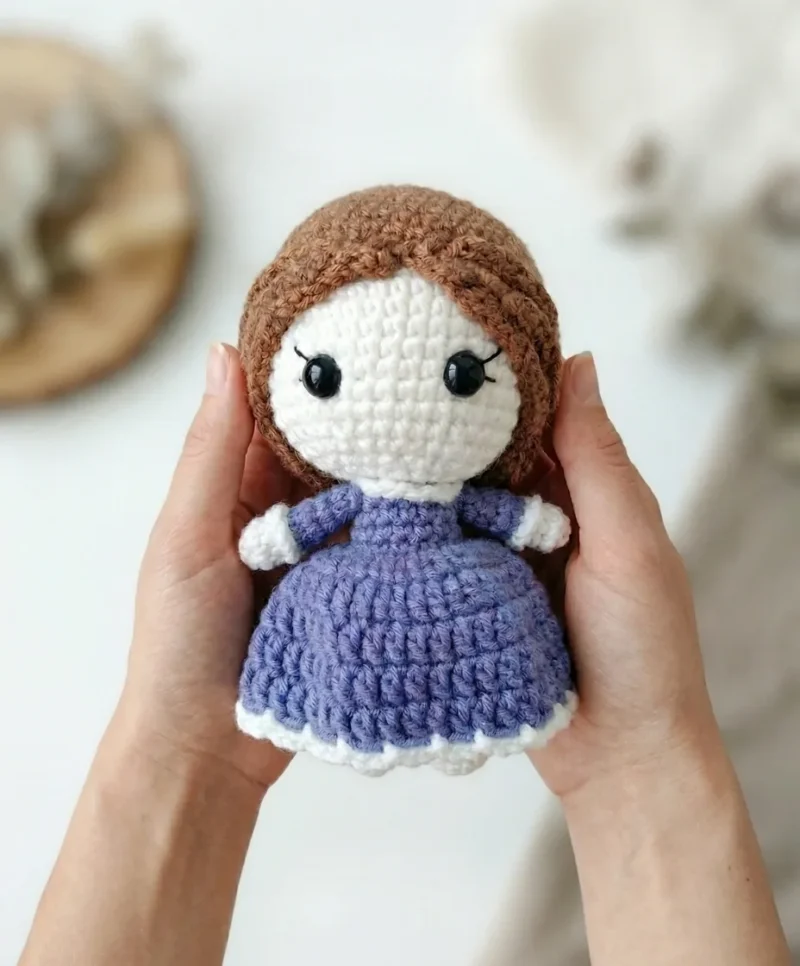
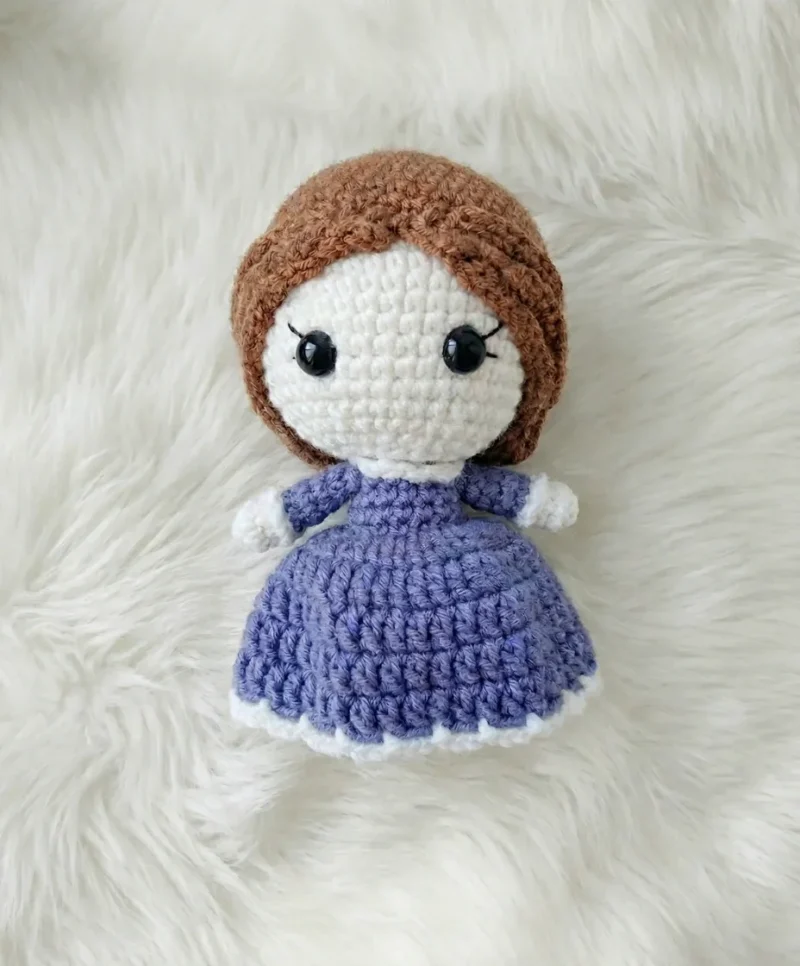
Every photograph on this page was taken by whoever published the pattern, and they are printed in the order the source listed them.
FAQs
Asked and answered
These answers came from whoever first published the pattern, kept word for word.
Can the doll be made without safety eyes?
Yes, embroidered eyes work as a substitute since black embroidery thread is already used for the eyelashes. Just plan the placement before the head is stuffed, as safety eyes normally anchor before filling begins.
Why is the leg-and-body join tricky?
Leg 1 is set aside with a live loop while Leg 2 is finished, then a chain-2 bridge connects both legs into a single round. Keeping that live loop secure and counting the bridge stitches carefully is what makes the join sit flat.
How does the hair attach to the head?
A hair cap is whipstitched around the head first, then the curls that make up the cap are split into two groups and braided toward the back. The braiding happens after the cap is sewn on, not before.
What yarn weight is best for this pattern?
A sport or DK weight yarn, similar to the white, skin tone, blue, and brown shades listed in the materials, gives the doll its intended proportions. Sticking close to that weight keeps the stitch counts from the pattern accurate.