 STITCH ROUND
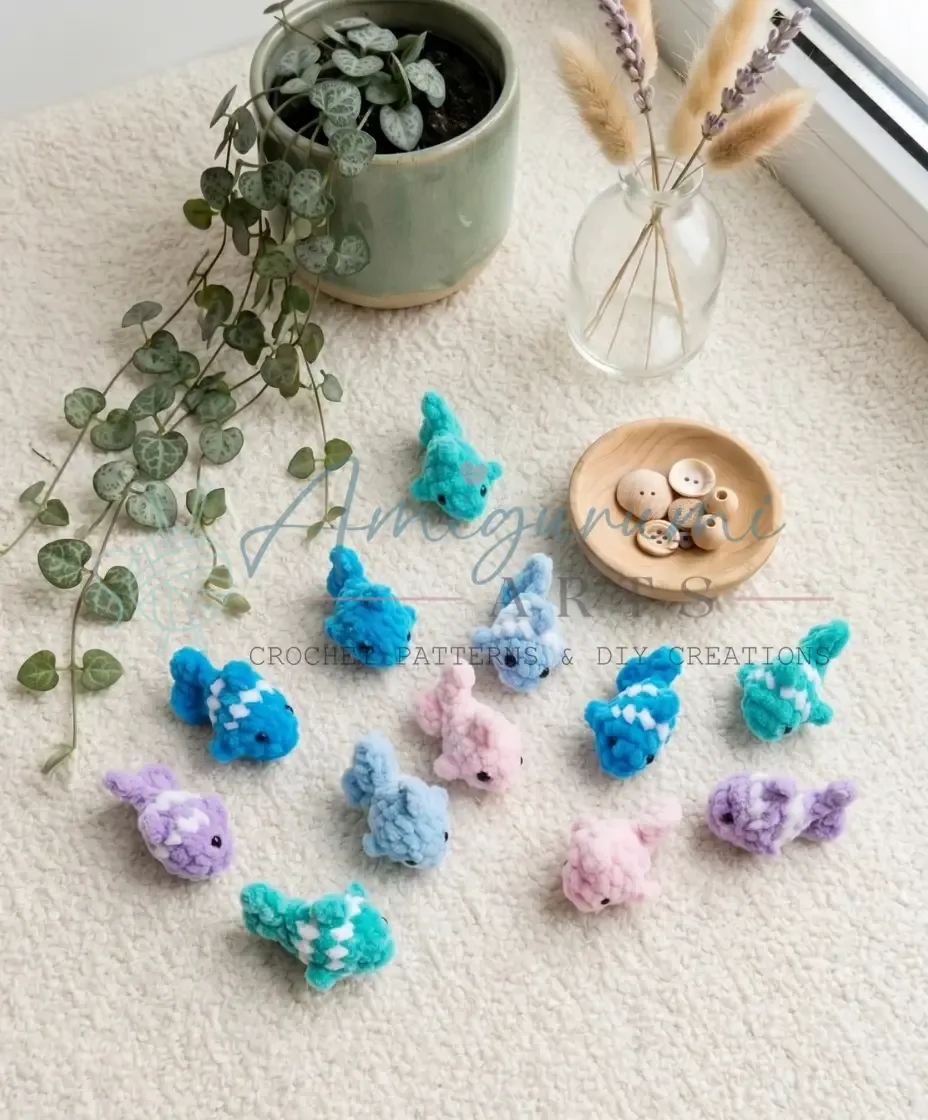
 Easy plush fish amigurumi crochet pattern
7 rounds to a plush fish amigurumi with built-in fins and a simple V-tail.
- Skill
- Intermediate
- Rounds
- 8 rounds
- Yarn weight
- Bulky
- Hook
- 3.5 mm
- Time
- 4-6 hours

Intermediate
What the original page called it. Nothing here is graded a second time.

8 rounds
Each one gets its own line, with a box beside it to tick as you go.

Bulky
What the sample was made in. Any weight works — the size moves with it.
About this pattern
This plush fish works from head to tail in a single piece, with the body ticked off over 7 rounds before the tail and fins go on. A continuous spiral keeps the shaping clean, and a stitch marker at the start of each round keeps count honest. Bulky plush yarn and an E-4 hook build the body fast, so the piece moves from magic ring to stuffed shape in one sitting.
The real shaping happens early: two increase rounds set the base, then the side fins get worked directly into the body while the rounds keep going. Slow down through those fin rounds — the back loop only instruction on the rounds right after a fin keeps the fin standing out instead of folding flat. Everything after that settles into plain rounds until the tail closes things off.
This pattern is written in US crochet terminology. Gauge is not critical for this project — consistent tension matters more; work tightly enough that stuffing does not show through, and stitch counts are given in parentheses at the end of each round. Half-bead eyes are glued in place after the fish is complete; position them symmetrically on either side of the head for best results.
Work tightly with plush yarn. Plush and chenille-style yarns are wonderfully soft, but their texture can hide stitch definition. Keep your tension snug so the fish holds its shape after stuffing — if light shows through the fabric, go down half a hook size.
- Start the head in a magic ring and increase once to set the base width for the body.
- Work the side fins directly into the body on the rounds that call for front loop only stitches.
- Keep the rounds behind each fin in back loop only so the fin stands away from the body.
- Continue the plain rounds that follow to bring the body out to its full length.
- Shape the tail at the end with the chain, half double crochet, and slip stitch combination worked into the last row.
- Attach the dorsal fin separately once the body and tail are finished.
What goes wrong
- Fin worked into the wrong loop The side fin uses front loop only stitches, so check the loop before starting the fin round. Working into both loops flattens the fin against the body.
- Skipping the back loop only round after a fin The round immediately behind each side fin needs back loop only stitches to let the fin sit forward. Working both loops there pulls the fin flat instead of letting it stand out.
- Losing the round marker in the spiral The body is worked in a continuous spiral with no join, so a dropped stitch marker makes it easy to lose track of where a round starts. Move the marker up at the start of every round without exception.
- Mixing up the two fin types The side fin is worked directly into the body stitches while the back fin is attached separately with its own yarn. Read both fin descriptions before starting so the right technique goes in the right place.
Yarn, hook and the rest
Copied from the source pattern's own materials list.
Yarn
- Plush yarn, approximately 120 m / 100 g (Bulky weight, any color)
Hook
- E-4 / 3.5 mm
Stuffing
- Polyfill / fiberfill
Eyes
- 6 mm half-bead eyes, quantity 2
Tools
- Yarn needle / tapestry needle
- Scissors
Progress tracker
0 of the 8 rounds on this page are ticked.
The pattern, round by round
Kept in the order and the wording the source used. Tick a round as you finish it; the ticks stay on this device.
Fish Body (worked in one piece, head to tail)
Round 1
6 sc in MR. (6)
Round 2
inc in each st around. (12)
Round 3
sc in next 9 sts, work Side Fin, sc in next 2 sts. (12)
Round 4
sc in next 2 sts, work Side Fin, sc in next 9 sts. (12) Work the sts immediately behind the previous fin in BLO.
Round 5
sc in each st around. (12) Work the sts behind the fin in BLO.Don't skip the BLO rounds. Rounds 4 and 5 specify working behind the fin in Back Loop Only. These unused front loops are exactly what create the raised, three-dimensional fin — skipping them will flatten the effect.Master the invisible decrease. Insert your hook through the front loop of the first stitch and the front loop of the second stitch, then yarn over and pull through both loops, then complete as a normal sc. This keeps your decreases smooth and eliminates the telltale bump of a standard decrease.
Round 6
\ sc in next 2 sts, dec\ repeat 3 times. (9)
Round 7
\ sc in next st, dec\ repeat 3 times. (6)Stuff before you close. Stuff the fish firmly now — firmly, but not so hard that the body distorts. Fold the opening flat so the tail end sits vertically — shift stitches if needed so the fold aligns neatly. Work 3 sc across to close the opening.
Tail
Fold the tail before closing. The finish of this fish depends on how cleanly you fold the opening at Row 8. Take a moment to align the edges so the tail fans out evenly on both sides, then work your closing sc across before the fold can shift.
Round 8
Ch 2, turn. Work 1 hdc into the first base stitch, ch 2, sl st into the second base stitch, ch 2, work 1 hdc into the third base stitch, ch 2, sl st into the third base stitch. Fasten off and weave the yarn end into the body.
Fins — Read Before Starting
Two types of fins are worked directly into the body during construction. Read both descriptions before you begin.
Side Fin: Working into Front Loop Only stitches — sc, ch 2, sl st into the 2nd chain from the hook, sl st into the base stitch.
Back Fin (Dorsal): Attach yarn and work ch 3, hdc, sl st. Fasten off and weave in the end.
Dorsal Fin (Back Fin)
Attach yarn to the center back of the fish at the point you want the fin to sit.
Work: ch 3, hdc, sl st. Fasten off and weave in the end securely.
Join
Step 1Once all fins and the tail are complete, check that all yarn ends are woven in and hidden inside the body.
Step 2Position the two 6 mm half-bead eyes on either side of the head — place them symmetrically, roughly at the level of Rnd 2–3, and press firmly to secure.
Step 3Give the fish a gentle squeeze to distribute the stuffing evenly and round out the body shape.
Step 4If any ends are visible at the tail, thread them onto your yarn needle and pull them through to the inside of the body before trimming.
Check your count
- Fish Body (worked in one piece, head to tail) · Round 2: 12 sts
- Fish Body (worked in one piece, head to tail) · Round 4: 12 sts
- Fish Body (worked in one piece, head to tail) · Round 6: 9 sts
- Fish Body (worked in one piece, head to tail) · Round 7: 6 sts
Finish
- Weave in every yarn end left from the side fins, the dorsal fin, and the tail before moving on to stuffing.
- Stuff the body firmly with polyfill as the rounds close in, pressing fiber into the tail end so it holds shape rather than going flat.
- Attach the two 6 mm half-bead eyes symmetrically at the level of Rnd 2–3, then give the finished fish a gentle squeeze to settle the stuffing evenly.
Bigger or smaller
- Smaller
- Drop down to a worsted weight yarn with a smaller hook. The same 7 rounds of shaping produce a noticeably smaller fish because each stitch takes up less room.
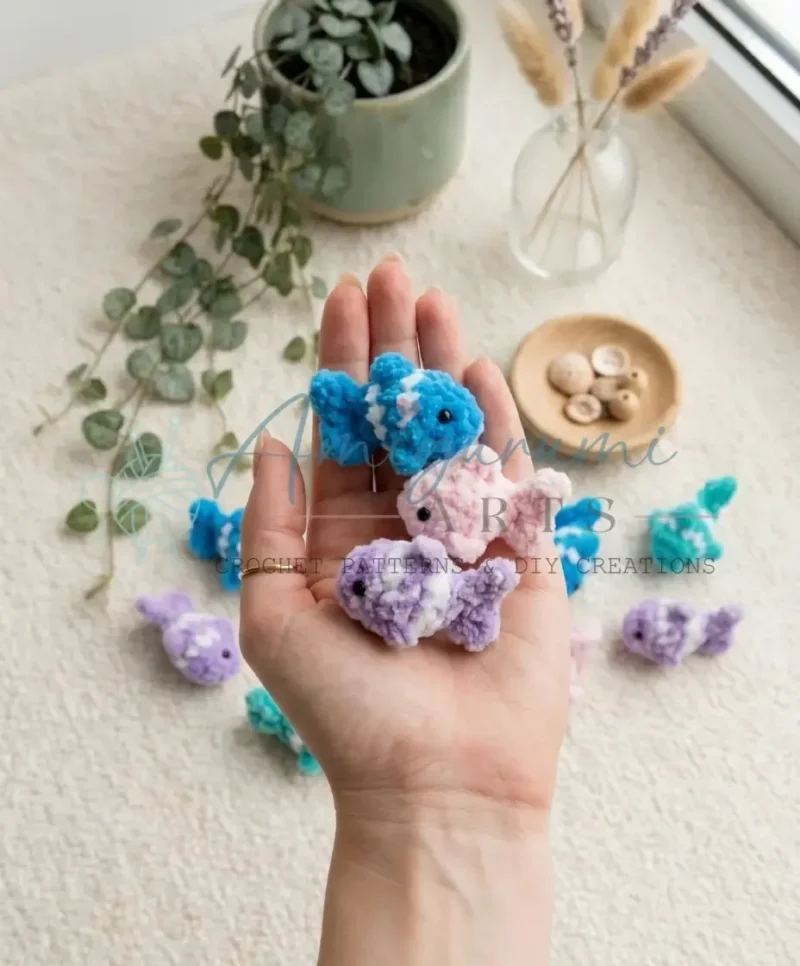
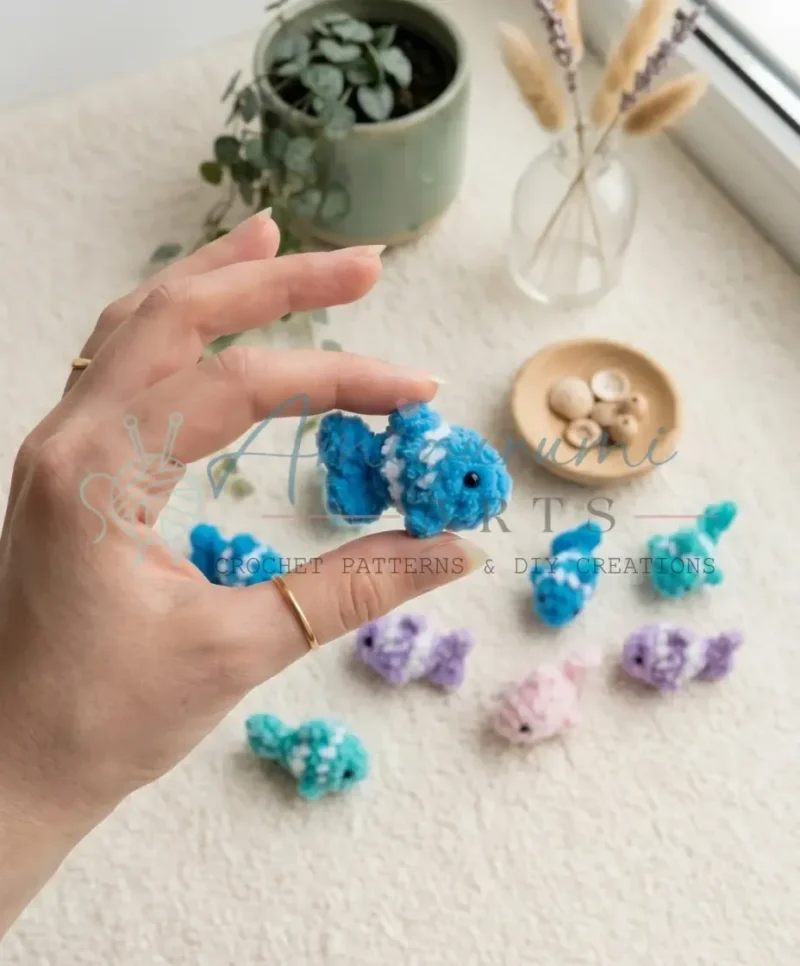
Photographs of this one
Every photograph on this page was taken by whoever published the pattern, and they are printed in the order the source listed them.
FAQs
Asked and answered
These answers came from whoever first published the pattern, kept word for word.
Can I use a different yarn weight than the bulky weight called for?
Yes, but the finished size will change. A lighter yarn worked on a smaller hook will produce a smaller, more delicate fish, while a heavier yarn will create a larger, squishier one. Just make sure to adjust your hook size to match your yarn and keep your tension tight enough that the stuffing doesn't show through.
What do Front Loop Only (FLO) and Back Loop Only (BLO) mean?
Every crochet stitch has two loops at the top — the front loop (closest to you) and the back loop (furthest from you). Working in Front Loop Only means you insert your hook under just the front loop, leaving the back loop free. Working in Back Loop Only means the opposite. In this pattern, those unused loops are what form the raised side fins.
How are the half-bead eyes attached, and are they safe for young children?
Half-bead eyes are glued rather than fastened through the fabric the way safety eyes are. Use a strong craft adhesive or fabric glue and hold each eye firmly in place for at least 30 seconds before setting the fish aside to dry completely. Because of this, this project is best suited for decorative use or for older children rather than very young ones.
What's the trick to getting a clean fold for the tail?
The key is the fold at the end of Round 7. Before working Row 8, press the opening flat and take a moment to make sure both sides are even. Work your 3 closing sc across slowly, keeping the fold aligned. The tail chains and hdc stitches will fan out naturally from those three base stitches — just follow the instructions in order and the shape will come together on its own.