 STITCH ROUND
 Crochet a mini cat amigurumi over a weekend
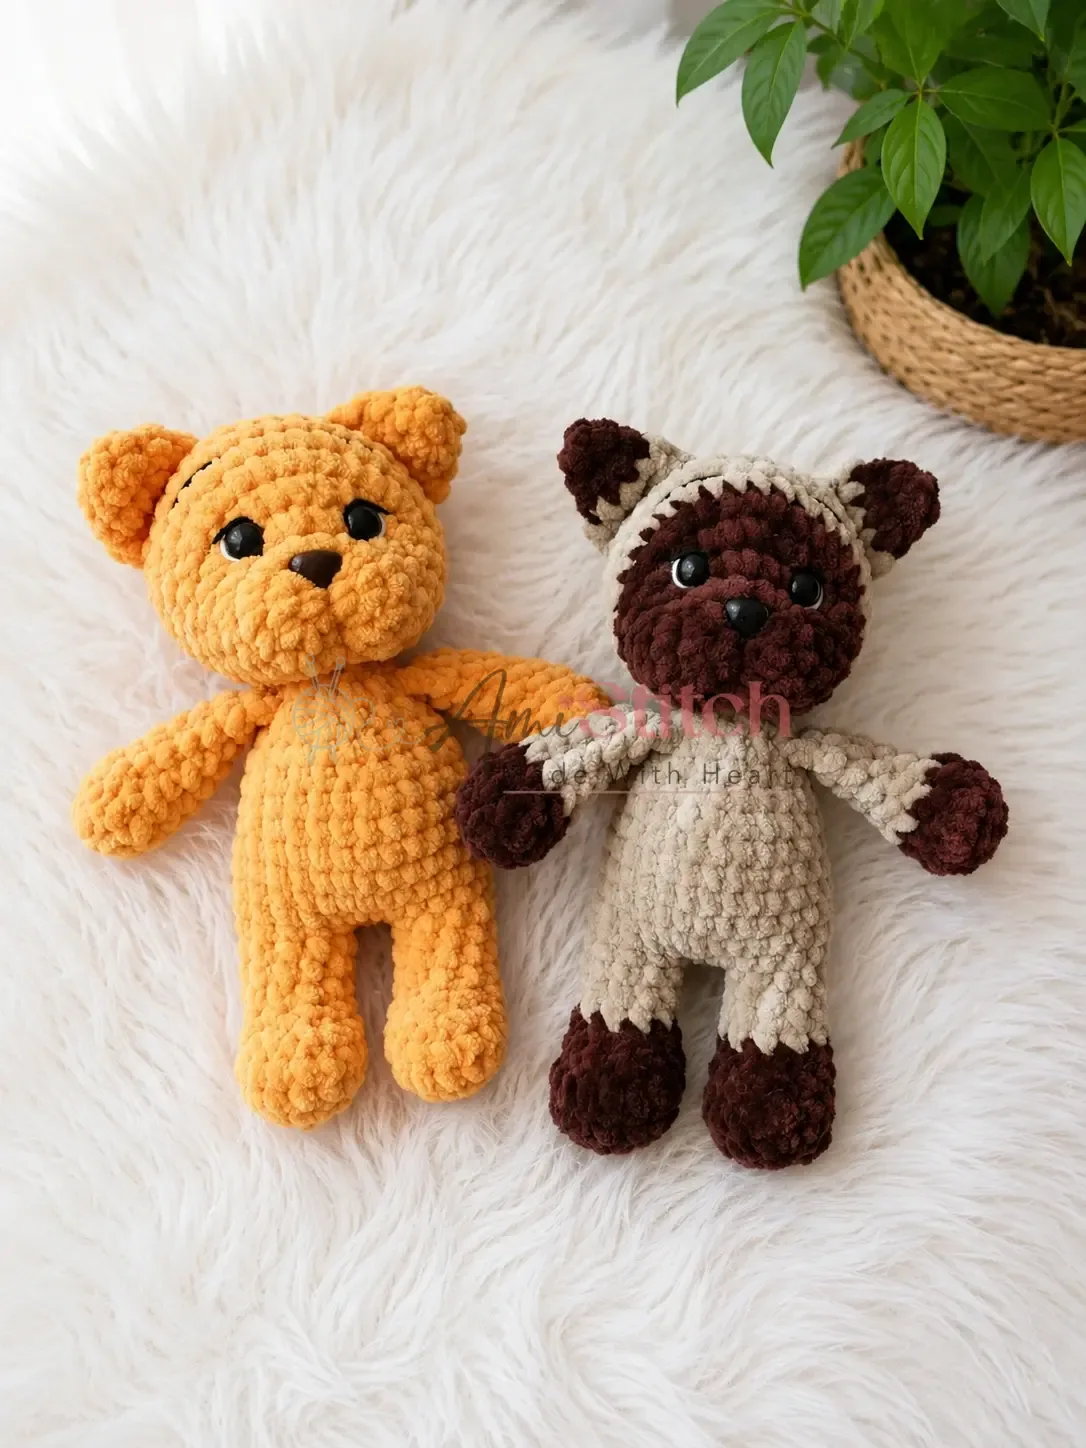
13-round head, 12-round body, plus arms, legs, ears and a tail make this mini cat amigurumi.
- Skill
- Intermediate
- Rounds
- 43 rounds
- Yarn weight
- Worsted
- Hook
- 4.5 mm
- Time
- 4-6 hours

Intermediate
What the original page called it. Nothing here is graded a second time.

43 rounds
Each one gets its own line, with a box beside it to tick as you go.

Worsted
What the sample was made in. Any weight works — the size moves with it.
About this pattern
This mini cat comes together as five separate pieces: a 13-round head, a 12-round body, two 7-round legs, two 5-round arms, and two 4-round ears, plus a 14-round tail. Each piece is worked in a continuous spiral, so there is always a clear stitch count to tick off before moving to the next round. Working the legs first makes sense, since the body begins directly from the stitches left on the hook once both legs are complete.
Shaping happens fastest in the legs, where an increase round and a decrease round sit just two rounds apart, so stitch placement matters there. The body picks up straight from the legs with a chain join, then increases steadily before settling into plain rounds. Slow down around the head's brow and muzzle shaping, worked after the rounds are complete with embroidery between rounds 7 and 8, since this step sets the whole face.
Gauge is not critical for amigurumi, but the fabric should be tight enough that no stuffing shows through the stitches. If you can see gaps, go down a hook size.
- Work the two legs first since the body begins directly from stitches left on the hook.
- Join the legs with a short chain and build the body upward in one continuous spiral.
- Make the arms, tail, and ears as separate pieces to attach later.
- Work the head on its own, stuffing firmly as the rounds close in.
- Set the safety eyes before the head closes, since they cannot go in afterward.
- Finish by sewing all pieces to the body and embroidering the facial details.
What goes wrong
- Losing track of the round start Keep the stitch marker moved up after every round, since plush yarn makes the spiral seam hard to spot by eye.
- Adding safety eyes too late Insert the eyes while the head is still open enough to reach inside, since they cannot be placed once the head is closed and stuffed.
- Overstuffing the tail Leave the tail unstuffed as instructed so it stays soft and floppy rather than stiff.
- Loose stitches in plush yarn Plush and velvet yarns run looser than cotton at the same hook size — if your stitches look open or gappy, drop down to a US 6 / 4.0 mm hook for tighter, neater fabric.
- Legs twisting when joined Mark the exact center-inner edge of each leg with a stitch marker before working the joining chain — this gives a clear target for the joining sc and prevents the legs from twisting as you work Round 1 of the Body.
- Over-stuffing the arms Stuff the arms only through Round 5 as instructed — over-stuffed limbs bow outward and are harder to sew onto the body invisibly.
- Hiding tails after assembly Weave in yarn tails while each piece is still open and accessible, rather than trying to bury them after the head is attached to the body.
- Skipping pins before sewing Pin the ears and head in position and check the overall look before sewing a single stitch — even 2–3 mm of repositioning can make a noticeable difference to the finished face.
Yarn, hook and the rest
Copied from the source pattern's own materials list.
Yarn
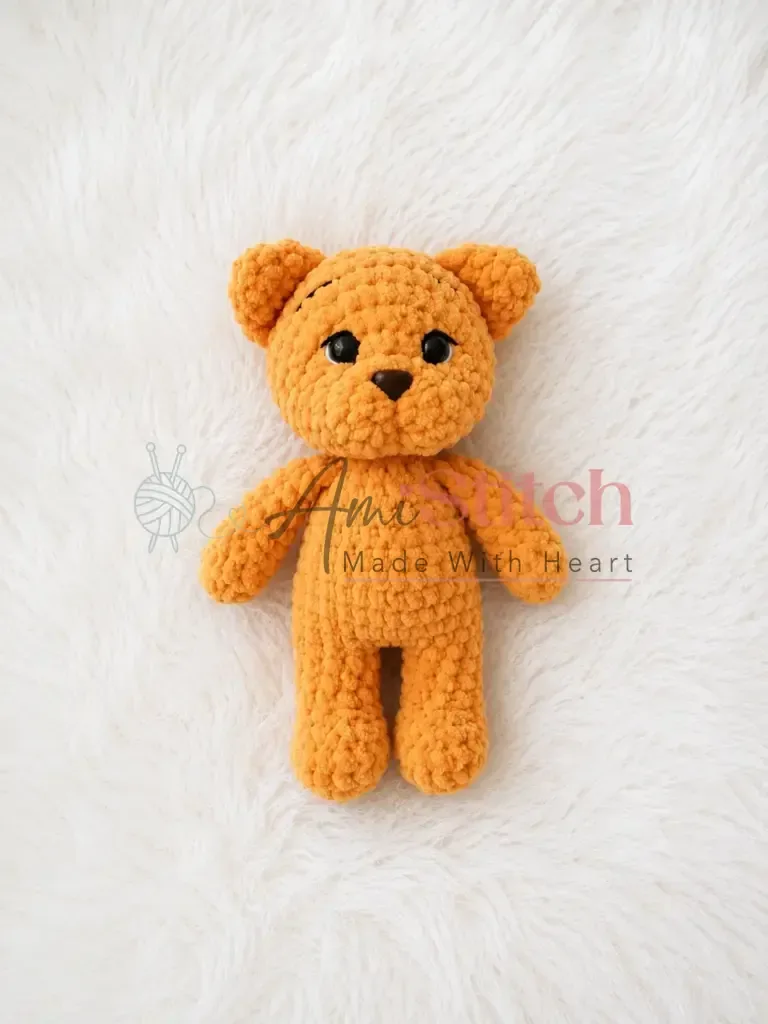
- Plush/velvet yarn, approx. 120 m / 100 g (e.g., Himalayan Dolphin Baby in ginger, color #80368). For a two-tone cat, prepare a second coordinating color.
Hook
- US size 7 / 4.5 mm
Safety eyes
- 12 mm, 2 pieces
Safety nose
- 14 mm, 1 piece
Stuffing
- Fiberfill or polyfill (enough to firmly stuff head, body, and legs)
Black yarn or thread
- Small amount of black cotton or acrylic yarn for embroidering facial details
Stitch marker
- 1, to mark the beginning of each round
- Yarn needle / tapestry needle
- Scissors
Lighter
- To lightly seal any cut plush yarn ends (optional but recommended for this yarn type)
Sewing needle and thread
- For assembly
Progress tracker
0 of the 43 rounds on this page are ticked.
The pattern, round by round
Kept in the order and the wording the source used. Tick a round as you finish it; the ticks stay on this device.
Arms (make 2)
Round 1
6 sc in MR. (6)
Round 2
inc in each st around. (12)
Round 3
sc in each st around. (12)
Round 4
3 sc, dec 3 times, 3 sc. (9) If making a two-tone cat, change color now.
Rounds 5–9
sc in each st around. (9) — work even for 5 rounds. Stuff the arm up to Round 5 only. Close with 4 sc and fasten off, leaving a long tail for sewing.
Tail
Round 1
6 sc in MR. (6)
Rounds 2–14
sc in each st around. (6) — work even for 13 rounds. If making a two-tone cat, change color after Round 4.Do not stuff the tail. Close with 3 sc and fasten off, leaving a long tail for sewing.
Legs (make 2)
Round 1
6 sc in MR. (6)
Round 2
inc in each st around. (12)
Round 3
3 sc, inc repeat 3 times around. (15)
Round 4
sc in each st around. (15)
Round 5
5 sc, dec 3 times, 4 sc. (12)
Round 6
4 sc, dec 2 times, 4 sc. (10) Change yarn color here.
Rounds 7–9
sc in each st around. (10) — work even for 3 rounds. For the Left Leg: sl st in the next st and fasten off, leaving a long tail.For the Right Leg: work 4 sc past the end of Round 9 to shift to the center-inner side of the leg — this is your joining point for the body. Do not fasten off.
Body
Begin with the Right Leg still on your hook.
Chain 2. Join to the Left Leg with 1 sc (the legs should face away from you, toes pointing forward).
Round 1
10 sc across the Left Leg (including the joining sc), 1 sc in the chain-space join, 2 sc across the chain, 1 sc in the chain-space join, 10 sc across the Right Leg, 2 inc across the foundation chain. (28)
Round 2
12 sc, inc, 15 sc. (29)
Round 3
sc in each st around. (29)
Round 4
26 sc, dec, 1 sc. (28)
Round 5
25 sc, 3 sc worked together with the tail (attach the tail here by crocheting through the tail’s base stitches as you work these 3 sc).
Round 6
5 sc, dec, 12 sc, dec, 7 sc. (26)
Round 7
sc in each st around. (26)
Round 8
11 sc, dec, 10 sc, dec, 1 sc. (24)
Round 9
sc in each st around. (24)
Round 10
2 sc, dec repeat 6 times around. (18)
Round 11
2 sc, 4 sc worked together with the Right Arm (attach arm here) , 5 sc, 4 sc worked together with the Left Arm (attach arm here) , 3 sc.
Round 12
sc, dec repeat 6 times around. (12)Fasten off and weave in the end. The body is now complete.
Ears (make 2)
Round 1
4 sc in MR. (4)
Round 2
inc, 1 sc repeat 2 times. (6) If making a two-tone cat, change color now.
Round 3
inc, 2 sc repeat 2 times. (8)
Round 4
1 sc, inc repeat 4 times. (12)Close with 6 sc and fasten off, leaving a long tail for sewing.
Head
Round 1
6 sc in MR. (6)
Round 2
inc in each st around. (12)
Round 3
1 sc, inc repeat 6 times. (18) Change yarn color here if making a two-tone cat.
Round 4
6 sc, inc 6 times, 6 sc. (24)
Round 5
5 sc, 3 sc, inc repeat 3 times, 7 sc. (27)
Round 6
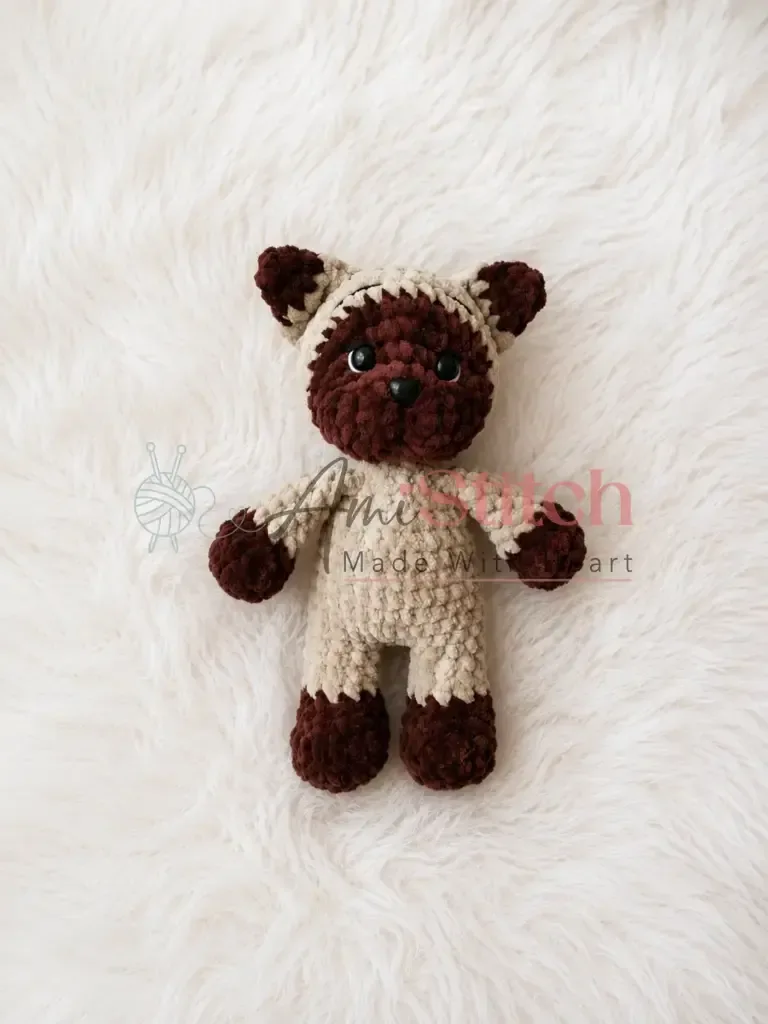
inc, 8 sc repeat 3 times. (30) For a Siamese-style cat, change color here.
Round 7
4 sc, inc repeat 6 times. (36)
Rounds 8–10
sc in each st around. (36) — work even for 3 rounds.
Round 11
4 sc, dec repeat 6 times. (30) Before continuing: insert safety eyes between Rounds 4 and 5, with 7 stitches between them. Insert the safety nose between Rounds 2 and 3. Secure all backings firmly.
Round 12
3 sc, dec repeat 6 times. (24)Begin stuffing the head firmly now.
Round 13
2 sc, dec repeat 6 times. (18)
Round 14
1 sc, dec repeat 6 times. (12)
Round 15
dec 6 times. (6)Pull the remaining 6 stitches closed and fasten off. Weave in the end securely.
Join
Step 1Shape the face. Using black yarn and a yarn needle, embroider the brow marks between Rounds 7 and 8 of the Head. Work a small tacking stitch to define the muzzle area — wrap the thread from the bottom point of the head around the nose a couple of times, pulling gently to create a slight indent. Re-enter the needle at the starting point, exit just beneath the nose, pull once more to set the shape, then tie off and bury the tails inside the head.
Step 2Attach the ears. Pin the ears in position between Rounds 9 and 10 of the Head, spacing them evenly. Sew each ear firmly using its long yarn tail and a whipstitch around the base.
Step 3Attach the head to the body. Center the head on top of the body, aligning the face forward. Sew all the way around the neck opening using the yarn tail from the head, working through both layers of fabric. Pull firmly to secure and bury the tail inside.
Step 4Final check. Confirm all safety eye and nose backings are fully engaged. Give all sewn limbs and ears a gentle tug to test the attachment.
Step 5Weave in all remaining ends. Use your yarn needle to run each tail through several stitches inside the piece before trimming close.
Check your count
- Arms (make 2) · Round 1: 6 sts
- Arms (make 2) · Round 2: 12 sts
- Arms (make 2) · Round 3: 12 sts
- Tail · Round 1: 6 sts
- Tail · Rounds 2–14: 6 sts
- Legs (make 2) · Round 1: 6 sts
Finish
- Stuff the head, body, and legs firmly before closing so no filling shows through the plush stitches.
- Close the last round of each piece with a few stitches cinched tight, then fasten off and bury the tail inside.
- Sew the ears, arms, tail, and legs onto the body using the long tails left for sewing, checking placement before stitching down.
Bigger or smaller
- Larger
- Repeat an extra plain round (sc in each st around) in the body or legs to add length without changing the stitch counts set by the increase and decrease rounds.
- Smaller
- Drop to a finer yarn with a smaller hook than the US size 7 / 4.5 mm called for, which tightens the stitches and shrinks the finished cat while keeping the same round-by-round shaping.
Photographs of this one
Every photograph on this page was taken by whoever published the pattern, and they are printed in the order the source listed them.
FAQs
Asked and answered
These answers came from whoever first published the pattern, kept word for word.
Can this cat be made in two colors?
Yes, the materials list a second coordinating color for a two-tone version. Change yarn after round 4 of the arms as noted, and the same approach can be applied to other pieces.
What size safety eyes and nose does this pattern use?
The materials call for two 12 mm pieces for the eyes and one 14 mm piece for the nose. Place them before the head is fully stuffed and closed.
Does the tail need to be stuffed?
No, the instructions specify leaving the tail unstuffed. This keeps it soft rather than rigid once closed.
Is this pattern written in US or UK crochet terms?
It is written in US terminology throughout. Check abbreviations against US terms if more familiar with UK stitch names.
Can I use a different yarn instead of plush yarn for this mini cat pattern?
Yes, you can substitute any worsted-weight yarn.