 STITCH ROUND
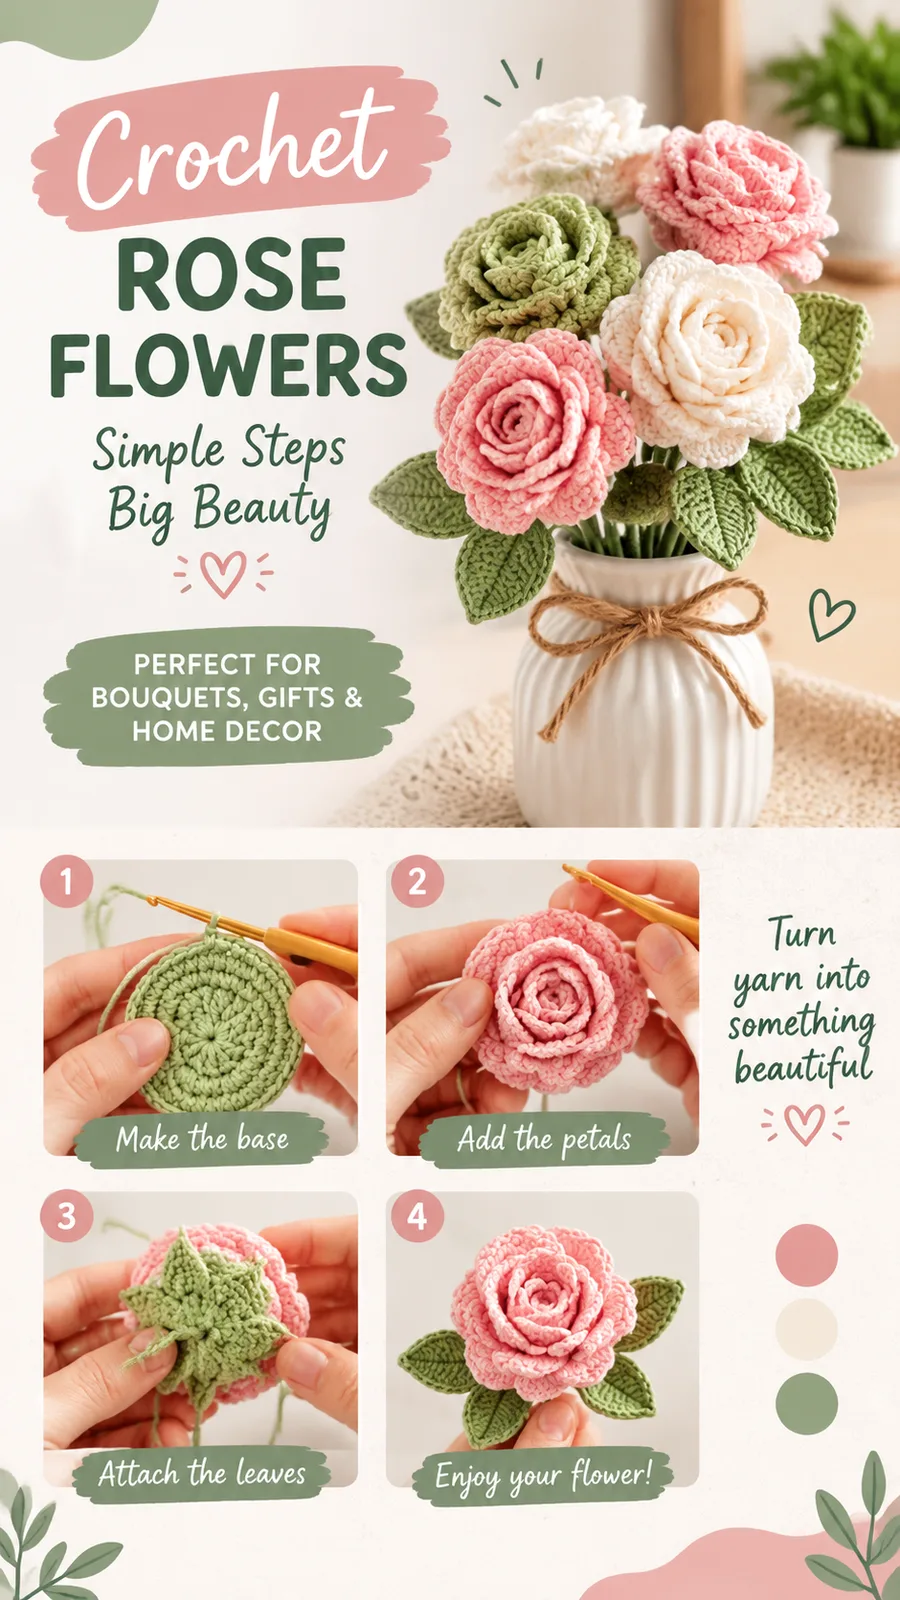
Crochet rose flower pattern with layered petals and leaves
Four rounds build the spiral center of this layered crochet rose flower pattern with petals and leaves.
- Skill
- Intermediate
- Rounds
- 6 rounds
- Yarn weight
- DK
- Hook
- 3.0 mm
- Time
- 4-6 hours

Intermediate
What the original page called it. Nothing here is graded a second time.

6 rounds
Each one gets its own line, with a box beside it to tick as you go.

DK
What the sample was made in. Any weight works — the size moves with it.
About this pattern
This crochet rose flower takes shape from a tiny magic ring center that ticks off in just four rounds before it gets set aside. From there, the project shifts to separate pieces worked flat rather than in continuous rounds, with the inner petal layer, middle petal layer, and outer petal layer each built around that spiral core. Leaves and a wired stem round out the make, so the full project covers several small components rather than one long continuous piece.
The real shaping happens inside the petal stitch itself, where a single stitch holds a full sc-hdc-dc-hdc-sc sequence to curve each petal outward. Slow down while repeating that stitch around each layer, since uneven stitch height here is what gives petals their rounded look instead of a flat, pointed edge. Take the same care when curling the center spiral inward on the last round, since that inward curl sets the look of the finished rose core.
- Work a magic ring and build the spiral center through four rounds without joining at the end of each one.
- Attach new yarn around the finished center piece to start the inner petal layer.
- Repeat the petal stitch around the circle to complete twelve petals on the inner layer.
- Build the middle petal layer directly over the inner one using the same rounded petal stitch.
- Add the outer petal layer last so the biggest petals curve outward around the whole flower.
- Crochet the leaves separately, shape the stem with floral wire, and attach both to the finished flower head.
What goes wrong
- Dropping the stitch marker Move the stitch marker into the last stitch worked every round on the flower center so the spiral stays on track. Without it, it is easy to lose the start of the round and the spiral shape drifts off center.
- Joining rounds that should stay open The flower center rounds are worked continuously and deliberately not joined. Joining each round flattens the spiral curl the pattern relies on, so leave the marker to track the round instead.
- Petal stitches spreading too flat All seven stitches of the petal stitch belong in the same single stitch, not spread across neighboring ones. Pulling the first and last stitches tight at the base keeps the petal curved rather than splayed open.
- Cutting yarn tails too short Leave a long tail when fastening off the flower center and each petal layer, since those tails are used to stitch the layers together. A short tail leaves nothing to sew with once it is time to assemble the rose.
Yarn, hook and the rest
Copied from the source pattern's own materials list.
- DK weight cotton yarn in rose, cream, pink, or preferred flower color
- Green DK cotton yarn for leaves and stem
- 3.0 mm crochet hook (US C/2)
- Fiberfill or small amount of yarn scraps for flower support
- Floral wire or a thin flexible stem insert
- Yarn needle
- Scissors
- Stitch marker for continuous rounds
Progress tracker
0 of the 6 rounds on this page are ticked.
The pattern, round by round
Kept in the order and the wording the source used. Tick a round as you finish it; the ticks stay on this device.
Flower Center
With flower-colored yarn, make a magic ring.
Round 1
Work 6 sc into the ring. Do not join. Place a stitch marker. (6 sts)
Round 2
Inc in each stitch around. (12 sts)
Round 3
Sc around. (12 sts)
Round 4
Sc in each stitch while gently curling the circle inward to form the spiral center. Fasten off, leaving a long tail.
Special Stitch
Petal Stitch: Work 1 sc, 2 hdc, 3 dc, 2 hdc, and 1 sc into the same stitch to create a rounded petal curve.
Inner Petal Layer
Attach yarn around the center piece.
Ch 1, sc in the same space.
Work the petal stitch in the next stitch.
Repeat the petal stitch around the circle for 12 petals.
Sl st to the first sc. Fasten off.
Middle Petal Layer
Create a second petal round around the outside edge of the inner layer.
Attach yarn between petals.
Round 1
Work 1 sc, then repeat the petal stitch in each space around.
Complete 10 larger petals.
Round 2
Join with a sl st and fasten off.
Outer Petal Layer
Attach yarn to the base of the flower.
Ch 1, sc around the flower base.
For each outer petal, work: 1 sc, 2 hdc, 4 dc, 2 hdc, 1 sc in one stitch.
Repeat for 8 outer petals.
Join with a sl st and fasten off.
Leaves
Make two leaves using green yarn.
Ch 9.
Starting in the second chain from hook, work sc, hdc, dc, dc, hdc, sc, sl st along one side of the chain.
Continue along the opposite side with sc, hdc, dc, dc, hdc, sc.
Fasten off, leaving a tail for sewing.
Stem
Wrap green yarn around floral wire or a flexible stem support.
Secure the yarn at both ends.
Sew the stem into the bottom of the rose.
Attach leaves evenly along the stem.
Join
Step 1Light blocking helps crochet rose petals hold their shape. Gently steam or dampen the petals, arrange them into curves, and allow them to dry completely before handling.
Step 2Store handmade crochet flowers away from heavy pressure to maintain the layered shape. If needed, clean with gentle hand washing and reshape while damp.
Check your count
- Flower Center · Round 1: 6 sts
- Flower Center · Round 2: 12 sts
- Flower Center · Round 3: 12 sts
- Middle Petal Layer · Round 1: 1 sts
Finish
- Weave in the yarn tail left from each petal layer separately before stacking the layers together.
- Insert the floral wire or stem insert through the base of the flower and attach the leaves along the stem.
- Lightly steam or dampen the petals, curve them by hand, and let the rose dry fully before handling or arranging.
Bigger or smaller
- Smaller
- Drop to a lighter yarn, such as fingering weight, with a smaller hook than the 3.0 mm called for. The flower tightens up into a miniature version suited to brooches or hair clips.
FAQs
Asked and answered
These answers came from whoever first published the pattern, kept word for word.
Can acrylic yarn replace the cotton yarn in this pattern?
Yes, acrylic yarn works for this rose and is listed as an option in the materials. It produces a softer, slightly fuller flower than cotton, which gives crisper petal edges.
Why does the flower center not get joined at the end of each round?
The center is worked in continuous rounds with a stitch marker rather than joined rounds, which is what allows the last round to curl inward into a spiral. Joining would flatten that curl and change the look of the center.
What keeps the finished rose standing upright?
A floral wire or thin flexible stem insert runs through the base of the flower and stem. This gives the piece enough structure to stand like a small decorative bloom instead of lying flat.
Does every petal layer need to be made before moving to the next?
Yes, the layers are designed to be built in order from the inner petal layer to the middle and then the outer layer. Working them smallest to largest is what creates the realistic, rounded rose shape.