 STITCH ROUND
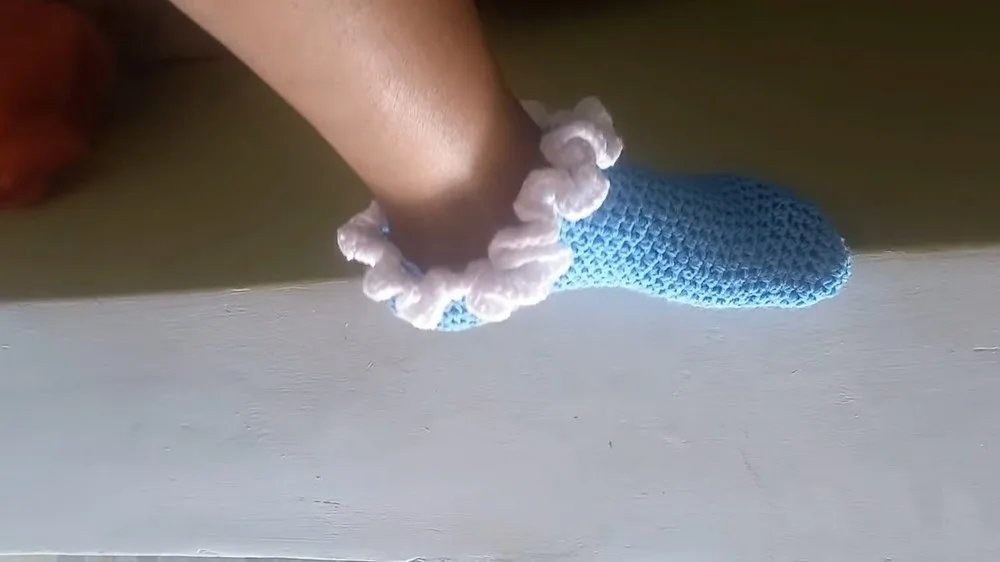
 Crochet ruffle socks pattern with a flared cuff
7 rounds to tick off for a pair of ruffle-cuff crochet socks worked flat in the round.
- Skill
- Intermediate
- Rounds
- 8 rounds
- Yarn weight
- Worsted
- Hook
- 4.5 mm
- Time
- 4-6 hours

Intermediate
What the original page called it. Nothing here is graded a second time.

8 rounds
Each one gets its own line, with a box beside it to tick as you go.

Worsted
What the sample was made in. Any weight works — the size moves with it.
About this pattern
This is a pair of ruffle-topped socks, built from a magic ring at the toe and closed off with a flared dc cuff, seven rounds in total. The body grows from a tight center out to full width, then holds steady through the repeating rounds that carry the foot to length, before the cuff rounds flip the stitch and the fiber flares out at the top.
The shaping happens in two bursts: the increase round right after the magic ring, and the 6-dc fan worked into a single stitch at the very top of the cuff. Slow down on both — miscounting the increase round throws off the whole foot width, and the fan stitch needs a firm hold on that one stitch so it doesn't slip while six double crochets pile into it.
- Start with a magic ring and work the first increase round to set the sock's width.
- Work the straight rounds in hdc, repeating them until the foot reaches the length wanted.
- Use a stitch marker to track the point where shaping picks back up partway around a round.
- Finish with the fan round, working several double crochets into one stitch to flare the cuff.
- Cut the yarn, leaving a tail long enough to weave in securely.
What goes wrong
- Losing count on the increase round Count stitches as they are made rather than after, and place a marker at the join before starting so the round's start and end line up.
- Forgetting the stitch marker placement mid-round Place the marker the moment the count is reached, not after finishing the round, since it marks where the shaping restarts.
- Skipping the join and chain between rounds Slip stitch to close each round and chain 1 before the next hdc round, or the spiral will drift out of alignment.
- Crowding the fan stitch Keep the six double crochets loose and evenly spaced into that single stitch so the cuff ruffles flat instead of bunching.
Yarn, hook and the rest
Copied from the source pattern's own materials list.
- Worsted weight yarn (Keshy Designs recommends using Lion Brand Yarn Mandala)
- 4.5 mm crochet hook
- Stitch markers
- Yarn needle
Progress tracker
0 of the 8 rounds on this page are ticked.
The pattern, round by round
Kept in the order and the wording the source used. Tick a round as you finish it; the ticks stay on this device.
Main Pattern
Round 1
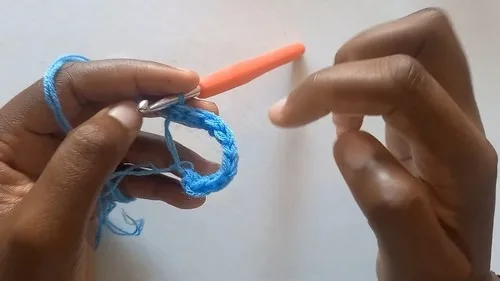
Make a magic ring. Chain 1, then make 10 hdc into the magic ring. Cross the magic ring and sl st to join. Chain 1.
Round 2
Make 2 hdc in each stitch around. You should have 22 stitches at the end of the row. Sl st to join.
Rounds 3–4
Chain 1, then make 1 hdc in each stitch around. Sl st to join. Repeat rows 3 and 4 until your project reaches your desired length.
Round 5
Chain 1, then count 16 stitches and place a stitch marker. Make 1 hdc in each stitch until you reach the stitch marker. Remove the stitch marker and make 1 hdc in each stitch around. Sl st to join.Rows 6-10: Repeat rows 5-10.
Round 11
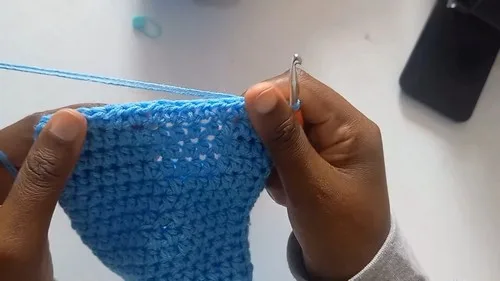
Chain 1, turn your work, and make 1 hdc in each stitch until you reach the end of the row. Sl st to join.
Round 12
Chain 1, turn your work, and make 1 hdc in each stitch until you reach the end of the row. Sl st to join. Repeat rows 11 and 12 until you have 5 rows total.
Round 13
Sl st to join the beginning and end of the row. Chain 1, count 2 stitches, and attach your yarn. Make 1 dc around each hdc. Sl st to join.
Round 14
Chain 3, then make 6 dc into the first stitch. Make 1 dc in each stitch around. Sl st to join. Count your yarn and cut it, leaving a tail for weaving in. Weave in your ends.
Finish
- Weave the tail from the magic ring back through the toe rounds so the center stays closed.
- Weave the cuff tail down through several dc stitches, following the ruffle line rather than pulling straight across it.
- Steam or lightly block the flared cuff flat so the ruffle sits open instead of curling inward.
Bigger or smaller
- Smaller or longer
- Repeat the straight hdc rounds fewer times for a shorter sock or more times for a longer leg, since those rounds are worked to desired length rather than a fixed count.
Photographs of this one
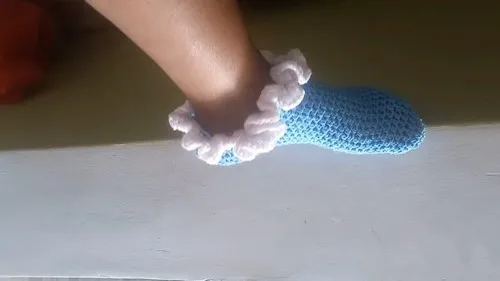
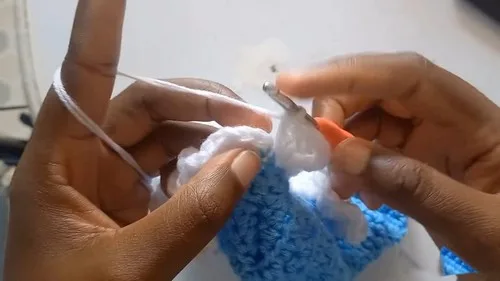
Every photograph on this page was taken by whoever published the pattern, and they are printed in the order the source listed them.
FAQs
Asked and answered
These answers came from whoever first published the pattern, kept word for word.
Can any worsted weight yarn be used instead of a self-striping type?
Yes, any worsted weight yarn works with the 4.5 mm hook. A self-striping or variegated yarn simply adds color changes to the ruffle without any change to the stitching.
What is the stitch marker actually tracking?
It flags a specific stitch count partway through a round where the hdc pattern shifts, so the shaping restarts in the right place. Removing it once that point is reached keeps the rest of the round straightforward.
How is the sock length adjusted without a fixed round count?
The straight hdc rounds are repeated until the foot reaches the length wanted, so trying the sock on as it grows is the easiest way to judge when to stop. Once satisfied with the fit, move on to the shaping rounds that lead into the cuff.