 STITCH ROUND
Easy beginner crochet scarf with open texture stitch
Four rows to tick off build a long, breathable crochet scarf with open texture and fringe.
- Skill
- Beginner
- Rounds
- 7 rounds
- Yarn weight
- Worsted
- Hook
- 5 mm
- Time
- 4-6 hours

Beginner
What the original page called it. Nothing here is graded a second time.

7 rounds
Each one gets its own line, with a box beside it to tick as you go.

Worsted
What the sample was made in. Any weight works — the size moves with it.
About this pattern
This project ticks off as one long rectangle rather than a pile of small rounds. The main body runs through four foundation rows that set up the pattern, then settles into a two-row repeat worked back and forth until the scarf reaches full length. Border and fringe steps follow once that stretch is complete, so progress is easy to track by counting finished rows rather than watching a shaping chart.
There is no shaping to manage here, which keeps the project forgiving, but tension still needs attention through every chain-1 space and turning chain. Slow down on the first few rows while the alternating double crochet and chain-space pattern beds in, since that is where skipped stitches or uneven gaps are easiest to introduce. Once the rhythm is set, the rest of the repeat moves quickly and predictably.
Finished size runs approximately 7 inches x 60 inches (18 cm x 152 cm), at a gauge of approximately 16 double crochet stitches x 8 rows = 4 inches (10 cm). Always crochet a small gauge swatch before starting if you want a specific finished size, since even small differences in yarn thickness and tension can noticeably change scarf width and length.
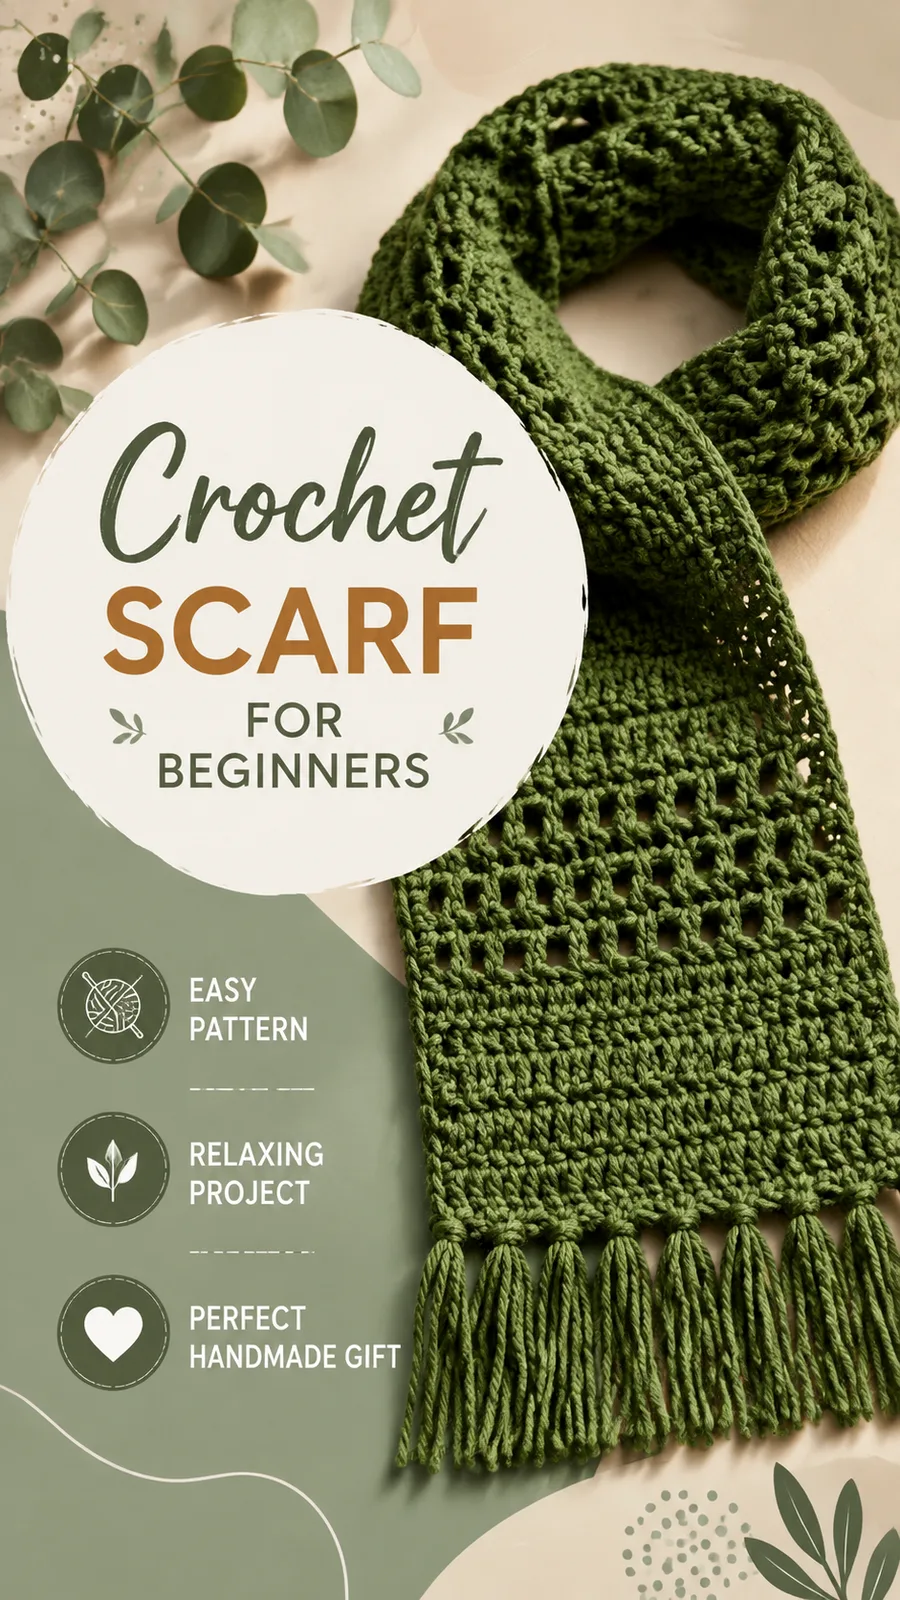
The pictured version uses a rich green yarn with a slightly open texture. A soft cotton blend keeps the scarf light for a spring accessory, wool or wool blends add extra warmth in colder weather, and alternating color sections create a striped appearance. Replacing the fringe with a simple scalloped edge gives the finished scarf a different look entirely.
- Start with a foundation chain and work a solid first row of double crochet to set the width.
- Alternate rows of double crochet with chain-space rows to build the open, textured fabric.
- Keep repeating the two-row pattern until the scarf reaches the desired finished length.
- Work a simple single crochet border around all four edges once the length is reached.
- Cut and attach fringe along the short edges for a finished, tasseled look.
- Wash and block the piece so the stitches relax into their final shape.
What goes wrong
- Losing count of chain spaces Miscounting which stitch to skip in the alternating row shifts the whole pattern off register. Count each chain-1 space against the stitch below it before turning the work.
- Edge stitch count drifting Missing the first or last double crochet on a row slowly narrows the scarf away from its 28-stitch width. Check the stitch count noted at the end of each row before moving on.
- Fringe strands cut unevenly Cutting the yarn strands freehand leads to a ragged, mismatched fringe. Measure each one against a card or ruler so all strands match before attaching them.
Yarn, hook and the rest
Copied from the source pattern's own materials list.
- 5 mm US H-8 crochet hook
- Worsted-weight yarn, approximately 500 yards (457 meters)
- Scissors
- Yarn needle
- Measuring tape
- Optional stitch markers
Progress tracker
0 of the 7 rounds on this page are ticked.
The pattern, round by round
Kept in the order and the wording the source used. Tick a round as you finish it; the ticks stay on this device.
Main Pattern
The scarf is worked flat from one end to the other. Turning chains do count as stitches only where specifically mentioned. Slip stitches are not counted as stitches.
Foundation Row
Ch 31.
Row 1
Dc in fourth ch from hook and each ch across. Turn. (28 dc)
Row 2
Ch 3, dc in first st, *ch 1, skip next st, dc in next st; repeat from * across. Dc in last st. Turn. (28 stitches including ch-3)
Row 3
Ch 3, dc in first st, dc in each ch-1 space across, dc in last st. Turn. (28 dc)
Row 4
Ch 3, dc in first st, *ch 1, skip next st, dc in next st; repeat from * across. Dc in last st. Turn. (28 stitches)Repeat Rows 3 and 4: Continue repeating these two rows until the scarf measures approximately 58 inches (147 cm) from the starting edge.Final Row: Ch 1, sc evenly across the row. Fasten off and weave in ends.
Special Stitch
Textured Repeat: Work 1 dc, ch 1, skip 1 stitch, repeat across the row. This creates a light open texture while keeping the scarf warm and flexible.
Border and Fringe
Attach yarn at one short edge of the scarf.
Round 1
Work one round of sc evenly around all four sides.
Round 2
Join with a sl st to the first sc.Fasten off and weave in ends.Cut 40 strands of yarn approximately 12 inches (30 cm) long.Attach 10 fringe pieces evenly across each short end of the scarf.Trim fringe ends evenly if desired.
Join
Step 1After completing the scarf, gently wash or dampen the piece according to the yarn instructions. Lay it flat on a clean surface, smooth the edges, and allow it to dry completely. Blocking helps the stitches settle and improves the overall shape.
Step 2Store the scarf folded in a dry place. Hand washing is often the safest option for handmade crochet accessories, especially when using natural fibers.
Check your count
- Main Pattern · Foundation Row: 31 sts
- Main Pattern · Row 1: 28 sts
- Main Pattern · Row 3: 28 sts
- Main Pattern · Row 4: 28 sts
Finish
- Weave in any loose ends from color changes or skein joins before starting the border.
- Attach the single crochet border around all four edges, then knot on the cut fringe strands at each short end.
- Gently block the scarf by lightly dampening it and laying it flat to dry. Shape the edges straight and allow the stitch pattern to relax. Avoid stretching too aggressively because the open texture should remain soft and flexible.
- Handmade scarves should always be checked for loose ends and secure finishing, especially when making gifts. Careful weaving and proper blocking help create a durable accessory.
Bigger or smaller
- Larger
- To make a wider scarf, increase the foundation chain by adding stitches in multiples of 2. For a longer scarf, simply continue repeating Rows 3 and 4 until the desired length is reached. Keep in mind that additional yarn will be required for larger sizes.
- Smaller
- To make a narrower scarf, reduce the starting chain while keeping the stitch repeat balanced. For a shorter scarf, reduce the number of repeats of Rows 3 and 4.
FAQs
Asked and answered
These answers came from whoever first published the pattern, kept word for word.
What stitch gives the scarf its open texture?
The alternating row of double crochet and chain-1 spaces, worked as the textured repeat, creates the light, open look. Trading a solid stitch for a chain space keeps the fabric breathable while still holding its shape.
How long should the scarf be before adding the border?
Continue repeating the two main body rows until the piece measures approximately 58 inches from the starting edge. This length can be worked shorter or longer to suit personal preference before the border is added.
What yarn works best for this pattern?
A soft worsted-weight yarn with good stitch definition is recommended, and wool, acrylic, or cotton blends all work. Smooth yarn shows off the open stitch pattern clearly, while a slightly fuzzy yarn adds extra warmth.
Is this scarf a good first crochet project?
Yes, the flat rectangle shape and repeating two-row pattern let new crocheters focus on even tension and stitch counting without any shaping to manage. The border and fringe at the end add a simple, satisfying finishing touch.