 STITCH ROUND
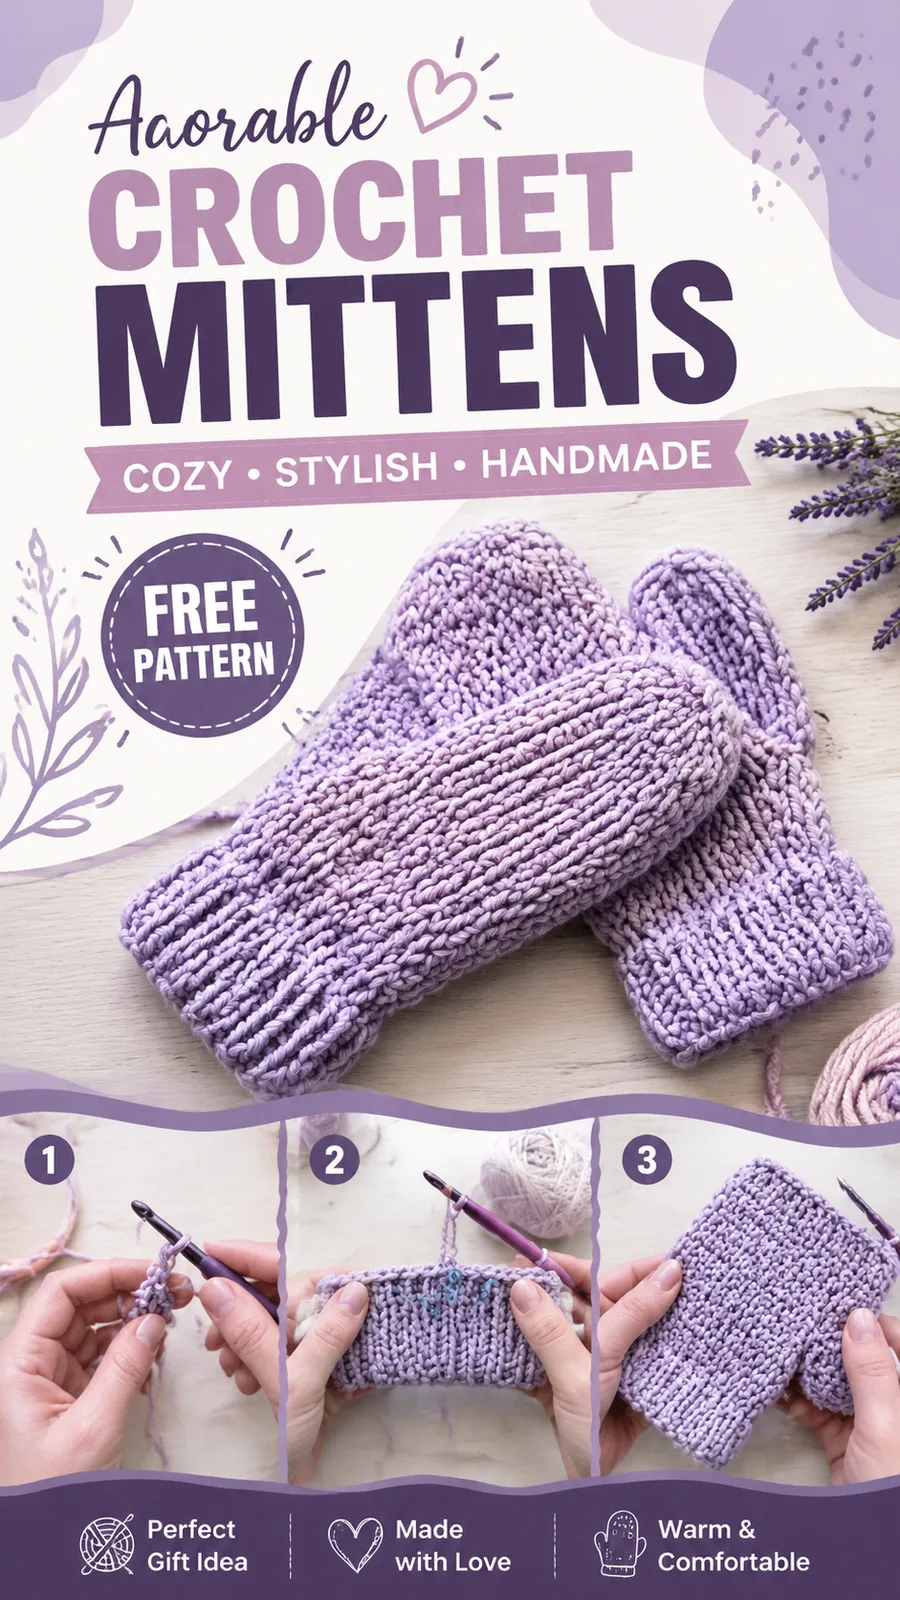
Cozy textured crochet mittens pattern with ribbed cuffs
Seven rounds to tick off for textured mittens with a ribbed cuff and shaped thumb.
- Skill
- Intermediate
- Rounds
- 7 rounds
- Yarn weight
- Worsted
- Hook
- 4.5 mm
- Time
- 4-6 hours

Intermediate
What the original page called it. Nothing here is graded a second time.

7 rounds
Each one gets its own line, with a box beside it to tick as you go.

Worsted
What the sample was made in. Any weight works — the size moves with it.
About this pattern
This pair of mittens comes together in three tickable chunks: a ribbed cuff worked flat in rows, a textured hand body built in rounds, and a short thumb tube closed at the tip. Across the main pattern there are seven rounds of real shaping to track once the cuff is folded and joined, with the rest being straightforward repeats of the same two-round texture sequence.
The shaping to watch happens in two spots: the fold-and-seam on the cuff, and the thumb opening worked partway through the hand body. Slow down when the pattern skips stitches to leave the thumb gap and chains across it, since that single round sets the fit of the whole hand. The final decrease rounds on both the hand and the thumb close the piece, so keep stitch placement even there too.
- Work a flat ribbed strip first, then fold it in half and seam the short edge to form the cuff.
- Pick up around the cuff and build the hand body upward using an alternating single and front post stitch texture.
- Leave a gap partway up the hand by skipping stitches and chaining over them to form the thumb opening.
- Keep working the textured rounds straight up the hand until it is time to shape the top closed.
- Decrease steadily to taper the top of the hand, then fasten off once the opening is small.
- Work a short tube into the thumb opening and decrease at the tip to close it off.
What goes wrong
- Dropping the front post stitch rhythm Mark the start of each round so the single crochet and front post double crochet stay in the same alternating spots. Recount the stitch total at the end of the round if the pattern stops lining up.
- Seaming the cuff before checking fit Stretch the cuff around the wrist before slip stitching the short edges together. Adjust the row count slightly if it feels too snug or too loose before closing it permanently.
- Misplacing the thumb opening stitches Count carefully to the skip point before chaining across the gap, since shifting it even a few stitches moves the thumb off-center. Place a stitch marker at the start of the skip to keep the count honest.
- Uneven joins at the end of rounds Join every round with a slip stitch into the first stitch rather than working in a spiral, or the texture pattern will visibly drift. Check that the join sits in the same spot each round before chaining up.
Yarn, hook and the rest
Copied from the source pattern's own materials list.
- 4.5 mm crochet hook
- Worsted weight yarn, approximately 180 yards (165 meters)
- Yarn needle for sewing and weaving ends
- Scissors
- Stitch marker
- Tape measure
Progress tracker
0 of the 7 rounds on this page are ticked.
The pattern, round by round
Kept in the order and the wording the source used. Tick a round as you finish it; the ticks stay on this device.
Main Pattern
Round 1
Sc in second ch from hook and across. Ch 1, turn. (14 sts)
Round 2
Sc in back loop only across. Ch 1, turn. (14 sts) Repeat Row 2 until cuff measures approximately 7 inches (18 cm) stretched.Fold cuff in half and slip stitch the short edges together. Do not fasten off.
Main Pattern
Round 1
Ch 2, hdc around. Join with sl st to first hdc. (36 sts)
Round 2
Ch 2, *1 hdc, 1 fpdc around next stitch, repeat from * around. Join. (36 sts)
Round 3
Ch 2, hdc around. Join. (36 sts) Repeat Rounds 2 and 3 four more times. Next round: Work 12 hdc, skip 8 stitches for thumb opening, ch 8, work remaining 16 hdc. Join. (36 sts including chain space)Continue the textured pattern for 8 more rounds.Next round: Ch 1, sc2tog around until 18 stitches remain. Join. (18 sts)Next round: Sc2tog around. Join. (9 sts)Fasten off, leaving a long tail. Use the yarn needle to close the top opening.
Main Pattern
Round 1
Work 16 sc evenly around opening. Join. (16 sts)
Round 2
to 5: Sc around. Join each round. (16 sts)Round 6: Sc2tog around. Join. (8 sts) Fasten off and close the thumb opening with a yarn needle.
Special Stitch
Textured Stitch: Alternate one row of hdc stitches with one row of fpdc and dc combinations. The raised post stitches create a vertical texture similar to the visible ridged surface of chunky crochet mittens.
Make the Second Mitten
Repeat all instructions to create the second mitten. For a symmetrical pair, position the thumb opening on the opposite side by measuring placement before beginning the hand shaping.
Join
Step 1After completing your crochet mittens, gently shape them by hand to even out the stitches. Light blocking can improve the texture and soften the fabric, especially when using natural fibers.
Step 2Care instructions depend on your yarn choice. Washable acrylic blends can usually be gently machine washed, while wool blends may require hand washing and air drying. Always follow the care recommendations for your chosen yarn.
Check your count
- Main Pattern · Round 1: 14 sts
- Main Pattern · Round 1: 36 sts
- Main Pattern · Round 2: 36 sts
- Main Pattern · Round 1: 16 sts
- Main Pattern · Round 2: 16 sts
Finish
- Thread the tail through the top decrease round and pull snug to close the hand tip before weaving in ends.
- Close the thumb opening by decreasing at the tip, then use a yarn needle to cinch the last stitches shut.
- Shape both mittens by hand once seamed, and block lightly to even out the ribbed cuff and relax the texture.
Bigger or smaller
- Smaller or Larger (length)
- Add or remove a repeat of the paired texture rounds before the thumb opening to shorten or lengthen the hand without changing the stitch count.
FAQs
Asked and answered
These answers came from whoever first published the pattern, kept word for word.
Can the cuff be made longer for extra warmth?
Yes, keep repeating the single crochet row until the cuff stretches to the desired length rather than stopping at the given measurement. A longer cuff also gives more fabric to fold over cold wrists.
What happens if the thumb opening ends up too tight?
A tight opening usually means the skipped stitches were miscounted or the chain across the gap was pulled too snug. Loosen the chain tension slightly and recheck the skip count before continuing upward.
Does the front post stitch make the fabric bulkier?
It adds visible ribbing and thickness compared to plain single crochet, which is part of the intended texture. The fabric stays flexible enough to flex at the knuckles despite the extra density.
Is washable yarn a better choice than wool blends?
Washable acrylic blends simplify care since they can usually go in the machine, while wool blends need hand washing and air drying. Either works for the stitch definition this pattern relies on, so the choice comes down to care preference.