 STITCH ROUND
 Easy crochet roses step by step guide
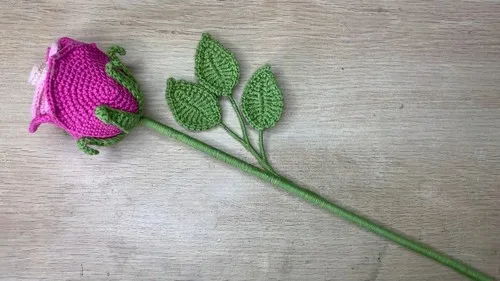
Six rounds shape each small petal for a layered crochet rose with leaves and a wired stem.
- Skill
- Intermediate
- Rounds
- 10 rounds
- Yarn weight
- Worsted
- Time
- 4-6 hours

Intermediate
What the original page called it. Nothing here is graded a second time.

10 rounds
Each one gets its own line, with a box beside it to tick as you go.

Worsted
What the sample was made in. Any weight works — the size moves with it.
About this pattern
This project builds a full crochet rose from four pieces: three small petals, a set of medium and large petals, a green chalice at the base, and wire-reinforced leaves. The small petals are the longest piece to tick off, worked over six rounds each, while the chalice closes out in just two. Once all the petals, the chalice, and the leaves are off the hook, the rose comes together through layering and light assembly rather than more stitching.
The shaping runs on a single logic throughout: start in a magic ring, then increase steadily until the piece reaches the size it needs. Petals grow by increasing in every stitch early on, then by spacing increases out as rounds get longer, so slow down right where the increase pattern shifts from every stitch to a spaced count. The leaves need extra care too, since wire gets worked in for structure before they get wrapped around the stem.
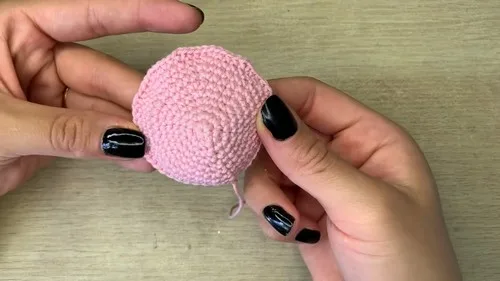
- Make three small petals first, closing each one with a magic ring and working them round by round.
- Work the medium and large petals next, carrying the same increase logic further for a bigger spread.
- Crochet the green chalice using the same magic-ring start as the petals.
- Insert wire into each leaf while crocheting it, so the leaf holds its shape afterward.
- Layer the small, medium, and large petals together to build the rose head.
- Wrap the wired leaves around the base of the rose or down a stem to finish the look.
What goes wrong
- Loose magic ring center Pull the ring's tail firmly closed before working the first round, so no gap shows at the center of the petal once it is complete.
- Losing count mid-increase Drop a stitch marker at the start of each round and recount before closing, since an uneven increase will make the petal curl or buckle.
- Wire poking through leaf stitches Keep the wire centered inside the leaf as it is worked and bend any sharp ends inward before wrapping, so nothing pokes through the yarn.
- Stacking petals without size order Layer from smallest to largest when assembling, since mixing the order flattens the bloom instead of giving it depth.
Yarn, hook and the rest
Copied from the source pattern's own materials list.
- Crochet hook
- Yarn in desired colors
- Stitch marker
- Firm wire (for the leaves and optionally the stem)
Progress tracker
0 of the 10 rounds on this page are ticked.
The pattern, round by round
Kept in the order and the wording the source used. Tick a round as you finish it; the ticks stay on this device.
Small Petals (Make 3)
Round 1
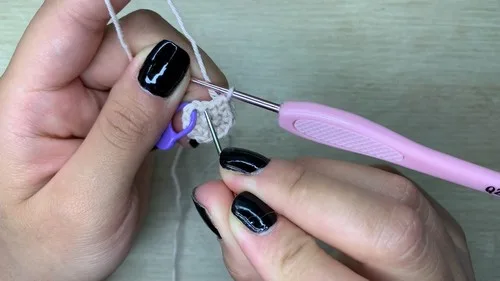
Make a magic ring. Chain 1 (to secure), then make 6 single crochets into the ring.Pull the ring close and slip stitch into the first single crochet to close the ring.
Round 2
Chain 1 for height. Make 2 single crochets (increase) into each stitch around. You should have 12 single crochets at the end.Slip stitch to close the round.
Round 3
Chain 1 and single crochet into the same space. (1 single crochet, increase in the next stitch) repeat around. End with 18 stitches and slip stitch to close.
Round 4
Chain 1 and make 2 single crochets. Follow the sequence (2 single crochets, 1 increase) around the round.End with 24 stitches, slip stitch to finish.
Round 5
Chain 1, then (3 single crochets, 1 increase) six times. End the round with 30 stitches, close with a slipped stitch.
Round 6
Chain 1, then (4 single crochets, 1 increase) repeat around. You'll have 36 stitches at the end.Close with a slip stitch.
Round 7
Chain 1, make 10 single crochets, one increase, followed by 4 single crochets, another increase.Repeat the sequence ending with more single crochets to get a total of 40 stitches.Slip stitch to close.
Round 8
Continue as previous rounds increasing the number of single crochets before each increase.End with 44 stitches, slip stitch to finish.
Medium and Large Petals
Repeat the pattern for the small petal.
For larger sizes, continue increasing in each following round, maintaining the increases spaced apart by a consistent number of stitches.
Chalice of the Rose (Green Color)
Round 1
Start with a magic ring and 6 single crochets. Close the round with a slip stitch.
Round 2
Chain 1, then make an increase in each stitch around (total of 12 stitches).Continue increasing stitches for desired size, following the established pattern.
Decoration (Leaves)
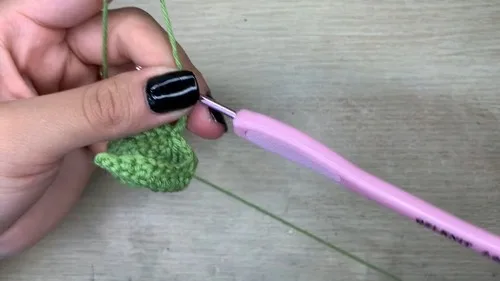
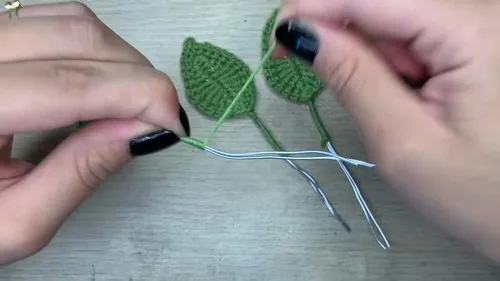
Crochet leaves with wire insertion for stability, wrap these around the rose base or stem as desired.
Join
Step 1Arrange and layer the petals, securing them with stitches or glue.
Step 2Add the chalice at the base of the petals.
Step 3Consider adding a small stick or firm wire to the base wrapped in green yarn to simulate a stem.
Finish
- Weave in every yarn end on the petals, chalice, and leaves before assembly, since loose ends will show once pieces are stacked and glued.
- Secure the layered petals to each other and to the chalice with a few hidden stitches or a dab of glue at the base of each layer.
- Wrap the wired leaves around the stem or rose base and adjust their curve by hand for the final finished shape.
Bigger or smaller
- Smaller
- Drop to a lighter yarn weight and a smaller hook for a miniature rose, or stop the petal rounds earlier right after the small petal stage.
Photographs of this one
Every photograph on this page was taken by whoever published the pattern, and they are printed in the order the source listed them.
FAQs
Asked and answered
These answers came from whoever first published the pattern, kept word for word.
How many small petals does one rose need?
The pattern calls for three small petals per rose. These form the inner layer that sits closest to the chalice once everything is assembled.
Can the leaves be left without wire?
The leaves are worked with wire inserted for stability, since that is what lets them hold a curve once wrapped around the stem. Skipping the wire will leave the leaves soft and flat.
What holds the finished rose together?
The petals and chalice are secured to each other with stitches or glue rather than more crochet. A stick or firm wire wrapped in green yarn can then be added as a stem.
Do the medium and large petals use a different stitch pattern?
No, they repeat the same small petal pattern and continue the increase logic further for extra size. The only change is how many rounds each size runs before stopping.