 STITCH ROUND
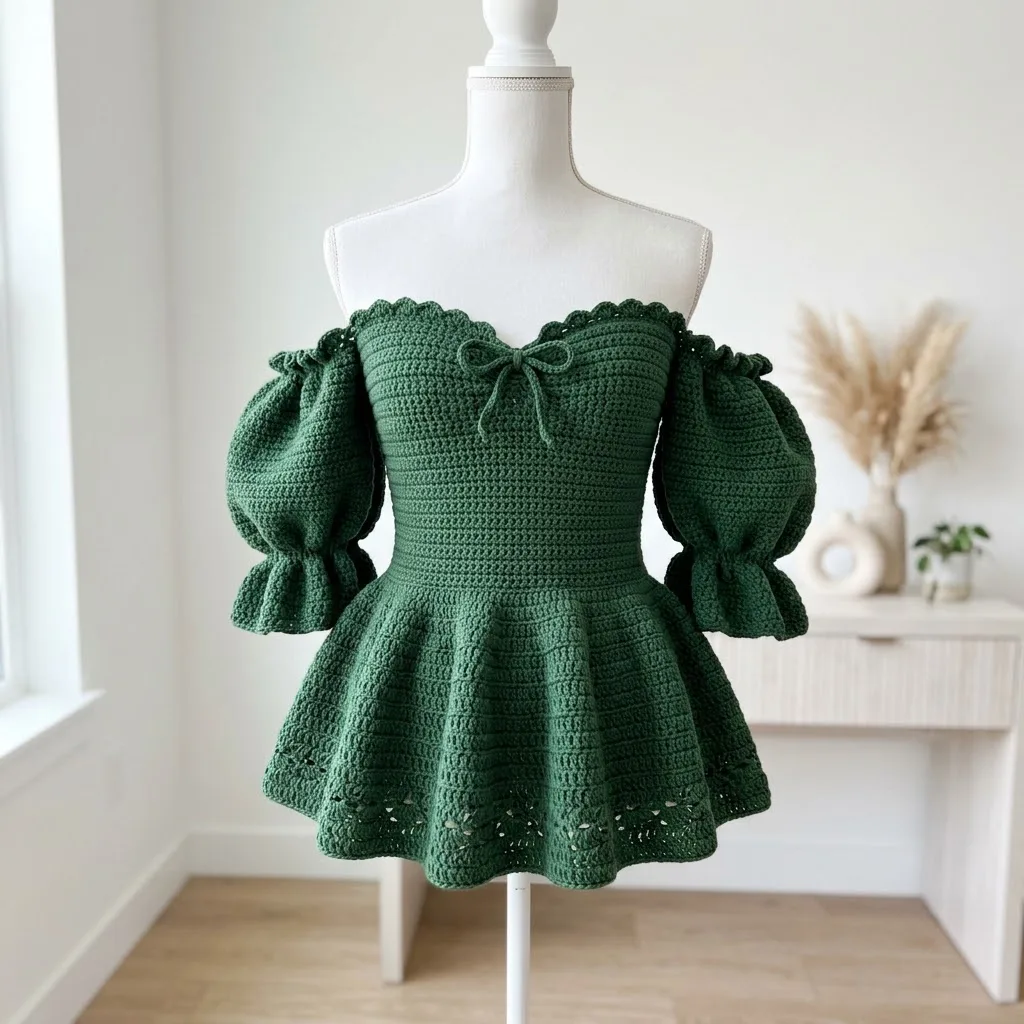
 Forest green elegant peplum crochet top pattern
40 back-panel rows plus ruffles build this forest green peplum top with flared cuffs.
- Skill
- Intermediate
- Rounds
- 21 rounds
- Yarn weight
- DK
- Hook
- 4.0 mm
- Time
- 8-10 hours

Intermediate
What the original page called it. Nothing here is graded a second time.

21 rounds
Each one gets its own line, with a box beside it to tick as you go.

DK
What the sample was made in. Any weight works — the size moves with it.
About this pattern
This peplum top builds its back panel in one long back-loop-only stretch, forty rows deep before the bodice is ready for shaping. The back loop only technique does the heavy lifting here, raising a ridged, almost smocked texture row after row without a single increase or decrease to track.
The real shaping shows up at the edges: armhole shaping works over four short rounds, and the cuff ruffle expands through an increase round partway in. Slow down at that cuff increase round, where stitch counts jump from sixty to eighty, and again where the shoulder ruffle opens into clusters of five double crochets per repeat.
- Build the ribbed back panel first, working every row through the back loop only for that smocked texture.
- Join the cuff ruffle in the round, then widen it with a single increase round partway through.
- Gather the cuff ruffle and work the shoulder ruffle edge directly from that gathering round.
- Shape the armholes over a short run of rounds once the panels are the right height.
- Finish each sleeve to length, then thread elastic through the cuff for a snug, gathered fit.
- Join right front to the back panel before sizing and seaming the whole top together.
What goes wrong
- Crocheting into both loops Check the back of each stitch before pulling up the loop to confirm only the back loop is caught. Working into both loops flattens the ridged texture that defines the bodice.
- Losing the increase round placement Mark the start of the cuff ruffle's increase round with a stitch marker before beginning it. Skipping or doubling that round throws off the ruffle's flare.
- Using stiff yarn for drape Swap out any firm acrylic for a cotton, bamboo, or mercerized cotton blend before starting. Stiff yarn holds its shape instead of falling into the peplum and sleeve flow this pattern needs.
- Skipping the gathering round join Join new yarn directly at the gathering round before starting the shoulder ruffle edge, not a few stitches off. Starting in the wrong spot shifts the dc clusters out of alignment with the ruffle below.
Yarn, hook and the rest
Copied from the source pattern's own materials list.
Weight
- DK weight (category 3) or Light Worsted
Fiber
- Cotton blend or bamboo blend recommended for drape
Yardage
- Approximately 800 to 1000 yards (730 to 915 meters)
Color
- Forest green or your choice
- A yarn with good drape is essential here. Stiff acrylic will not give you that beautiful flow in the peplum and sleeves. Look for cotton, bamboo, Tencel blends, or a soft mercerized cotton.
Size
- 4.0mm (US G/6) or size needed for gauge
Notions
- Yarn needle for weaving ends and seaming
- Stitch markers (at least 6)
- Measuring tape
- Scissors
- 1/4 inch elastic for sleeve cuffs (approximately 20 inches total)
- Gauge
- 18 stitches and 20 rows = 4 inches (10 cm) in single crochet
Progress tracker
0 of the 21 rounds on this page are ticked.
The pattern, round by round
Kept in the order and the wording the source used. Tick a round as you finish it; the ticks stay on this device.
Foundation
Round 1
Sc in 2nd ch from hook and in each ch across. Turn. (72 sc)
Round 2
Ch 1, working in back loops only (BLO), sc in each st across. Turn. (72 sc) Working in the back loop only creates those beautiful horizontal ridges you see in the finished piece. This is what gives the bodice that ribbed, almost smocked appearance.
Round 3
through 40: Repeat Row 2. (72 sc) Your back panel should measure approximately 8 inches wide and 10 inches tall at this point.
Cuff Ruffle
Ch 60.
Join with sl st to form a ring, being careful not to twist.
Round 1
Ch 1, sc in each ch around. Join. (60 sc)
Round 2
through 4: Ch 1, sc in each st around. Join. (60 sc)
Round 5
Increase Round Ch 1, *sc in next 2 sts, 2 sc in next st. Repeat from * around. Join. (80 sc)
Round 6
through 10: Ch 3 (counts as dc), dc in each st around. Join. (80 dc)
Round 11
Increase Round Ch 3, *dc in next 3 sts, 2 dc in next st. Repeat from * around. Join. (100 dc)
Round 12
through 20: Ch 3, dc in each st around. Join. (100 dc)
Round 21
Increase Round Ch 3, *dc in next 4 sts, 2 dc in next st. Repeat from * around. Join. (120 dc)
Round 22
through 28: Ch 3, dc in each st around. Join. (120 dc) This creates the balloon effect. Your sleeve should be puffing out beautifully now.
Round 29
Decrease Round Ch 3, *dc in next 4 sts, dc2tog. Repeat from * around. Join. (100 dc)
Round 30
Ch 3, *dc in next 3 sts, dc2tog. Repeat from * around. Join. (80 dc)
Round 31
through 33: Ch 1, sc in each st around. Join. (80 sc)
Round 34
Gathering Round Ch 1, *sc in next st, skip 1 st. Repeat from * around. Join. (40 sc)Fasten off, leaving a long tail for seaming.
Ruffle Edge at Shoulder
Join yarn at gathering round.
Round 1
Ch 1, 2 sc in each st around. Join. (80 sc)
Round 2
Ch 1, *sc, skip 1, 5 dc in next st, skip 1. Repeat from * around. Join. Fasten off.
Armhole Shaping
Round 41
Ch 1, sl st in first 6 sts, ch 1, sc in BLO across next 60 sts, leave remaining 6 sts unworked. Turn. (60 sc)
Round 42
Ch 1, sc2tog, sc in BLO across to last 2 sts, sc2tog. Turn. (58 sc)
Round 43
through 46: Repeat Row 42. (50 sc after Row 46)
Round 47
through 50: Ch 1, sc in BLO across. Turn. (50 sc) Fasten off and weave in ends.
Sleeve Length
For larger sizes, add multiples of your stitch repeat to the foundation chain and adjust sleeve circumference accordingly.
Color
A yarn with good drape is essential here. Stiff acrylic will not give you that beautiful flow in the peplum and sleeves. Look for cotton, bamboo, Tencel blends, or a soft mercerized cotton.
Notions
Yarn needle for weaving ends and seaming Stitch markers (at least 6)
Measuring tape Scissors 1/4 inch elastic for sleeve cuffs (approximately 20 inches total)
Right Front
Skip center 8 stitches on Row 41 for the center front opening. Join yarn and work the right side as a mirror image of the left, reversing all shaping.
Check your count
- Foundation · Round 1: 72 sts
- Cuff Ruffle · Round 5: 80 sts
- Cuff Ruffle · Round 12: 100 sts
- Cuff Ruffle · Round 30: 80 sts
- Cuff Ruffle · Round 34: 40 sts
- Ruffle Edge at Shoulder · Round 1: 80 sts
Finish
- Weave in every yarn end along the back-loop ridges so the horizontal texture stays unbroken.
- Thread the quarter-inch elastic through each finished cuff and secure it snugly before closing the loop.
- Seam the right front to the back panel and steam-block the whole top flat to set the drape.
Bigger or smaller
- Larger
- Add extra repeats of the back-loop-only row before starting the armhole shaping, lengthening and widening the torso to suit a taller or fuller fit.
- Smaller
- Drop to a 4.0mm hook with a finer DK yarn and check gauge closely, which tightens the fabric and shrinks the finished bodice without changing any stitch counts.
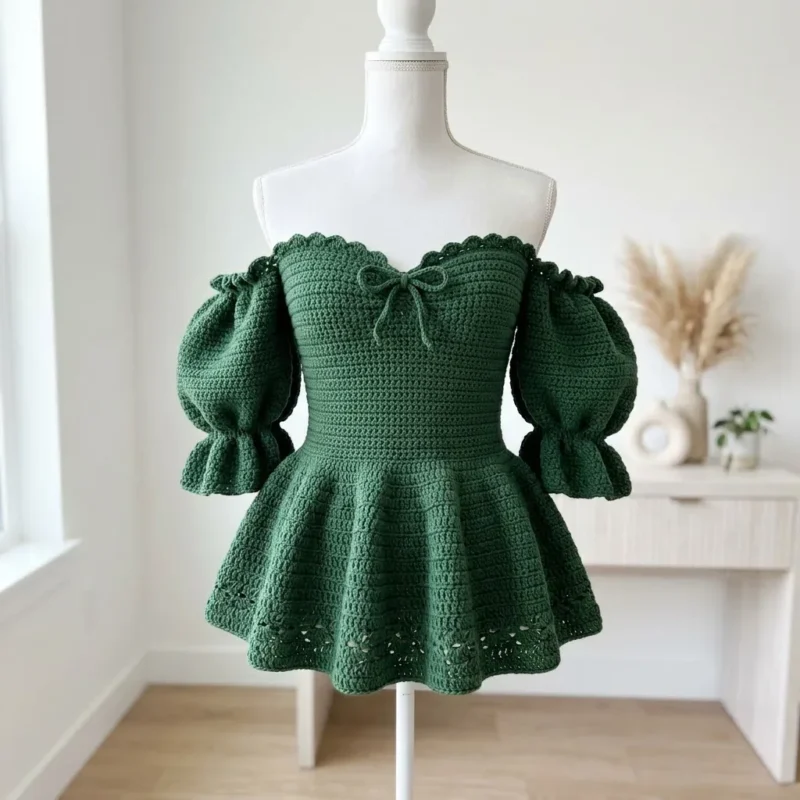
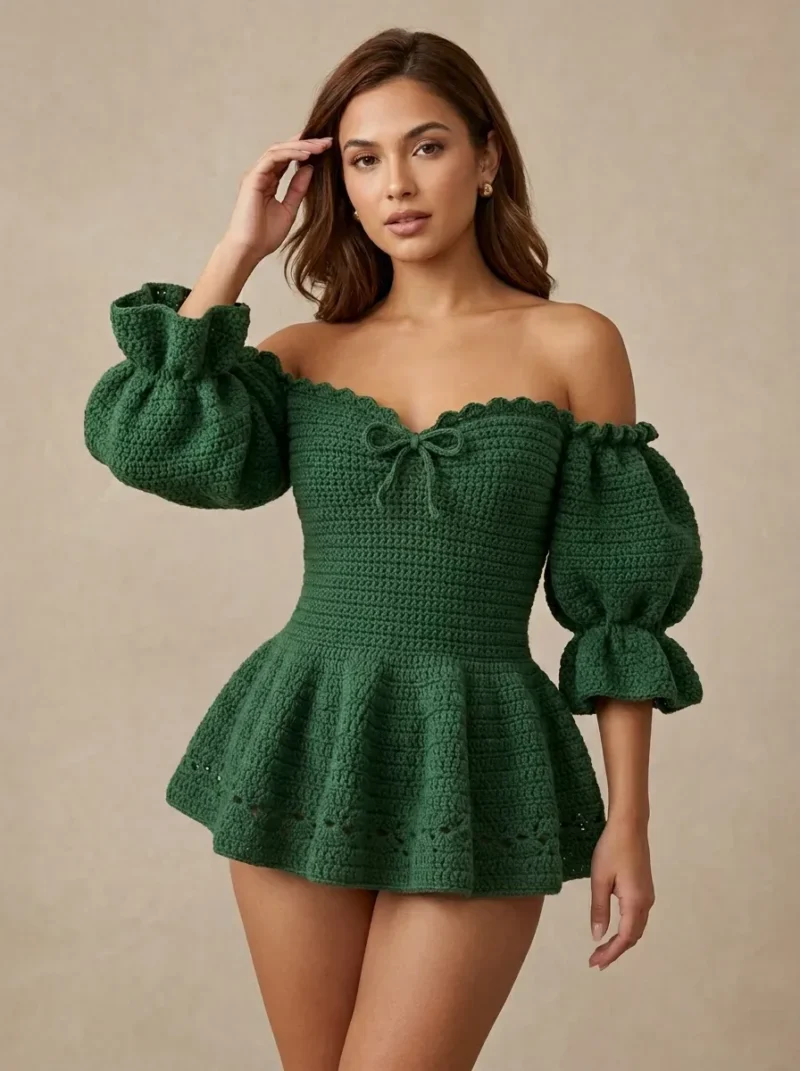
Photographs of this one
Every photograph on this page was taken by whoever published the pattern, and they are printed in the order the source listed them.
FAQs
Asked and answered
These answers came from whoever first published the pattern, kept word for word.
Why does the back panel only use back loop only stitches
Working every row through the back loop leaves the front loops stacked into horizontal ridges across the bodice. That ridging is what gives the top its smocked, fitted look without any shaping stitches.
What yarn works best for the drape this pattern needs
Cotton blends, bamboo blends, or soft mercerized cotton all hold the fluid look the peplum and sleeves depend on. Stiff acrylic will not flow the same way, even at the right gauge.
How is the elastic used in the cuffs
Quarter-inch elastic threads through the finished cuff ruffle to gather it snugly at the wrist. About twenty inches total covers both sleeves once the ruffles are complete.
Can the ruffle rounds be worked in a different color
Yes, the pattern notes forest green as a suggestion, not a requirement. Any yarn that matches the required gauge and drape will work for the ruffles or the main body.