 STITCH ROUND
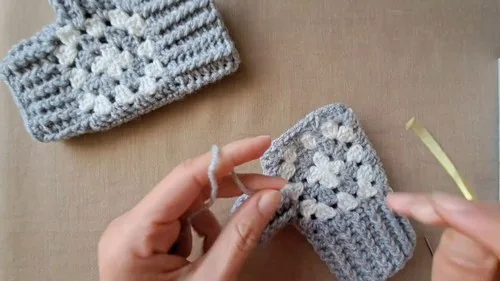
 Granny square fingerless gloves to crochet in a weekend
Three rounds build a granny square into cozy fingerless gloves with sharp corner shaping.
- Skill
- Beginner
- Rounds
- 3 rounds
- Yarn weight
- Worsted
- Hook
- 4.0 mm
- Time
- 2-3 hours

Beginner
What the original page called it. Nothing here is graded a second time.

3 rounds
Each one gets its own line, with a box beside it to tick as you go.

Worsted
What the sample was made in. Any weight works — the size moves with it.
About this pattern
This granny square fingerless gloves pattern builds from a single magic ring into a four-corner square across three focused rounds. Each round adds a fresh layer of double crochets around the center, so the shape grows outward in neat concentric layers rather than long rows. By the end of the main pattern, the square sits ready for seaming into a cozy, open-fingered mitt. Working from a short round count keeps the project approachable for a single evening, with a clear stopping point before assembly begins.
The shaping lives entirely in the corners, where three double crochets flank a chain-2 space on every round. Slow down while working each corner so the chain-2 gap stays open and the three-dc groups land squarely, since a tight corner pulls the whole square out of shape. Side spaces take plain groups of three dc with no chain between them, so keep track of which space comes next while moving around the round. A careful join with a slip stitch back into the beginning chain-3 keeps every round flat before starting the next one.
- Form a magic ring, then work double crochet groups around it to open the square's first layer.
- Join the round with a slip stitch, then slip stitch across to reach the next corner space.
- Build each corner by placing a double crochet group on either side of a chain-2 space.
- Fill the side spaces with plain double crochet groups as the square grows outward.
- Keep repeating the corner and side pattern until the granny square reaches the planned size.
- Weave in yarn tails and seam the finished square into the shape of a glove.
What goes wrong
- Losing track of corner spaces Count the four chain-2 corners at the end of every round so none gets skipped or doubled.
- Mixing up corner and side groups Remember corners always get a chain-2 space between double crochet groups, while side spaces take three dc with no chain.
- Skipping the joining slip stitch Always close the round with a slip stitch into the top of the beginning chain-3 before moving on.
- Uneven tension at the corners Keep stitch tension consistent around corner spaces so the square stays flat instead of curling or puckering.
Yarn, hook and the rest
Copied from the source pattern's own materials list.
- Medium weight (worsted) yarn
- 4.0 mm or 4.5 mm crochet hook
- Yarn needle
- Scissors
Progress tracker
0 of the 3 rounds on this page are ticked.
The pattern, round by round
Kept in the order and the wording the source used. Tick a round as you finish it; the ticks stay on this device.
Main Pattern
Round 1
Forming the Center Chain 3 (counts as a double crochet). Work 2 double crochets (dc) into the magic ring.Chain 2, then repeat 3 dc, chain 2 three more times (you’ll have four groups of 3 dc separated by chain-2 spaces).Slip stitch into the top of the beginning chain-3 to join the round.
Round 2
Expanding the Square Slip stitch across to the next chain-2 corner space. In the corner space: chain 3 (counts as dc), work 2 dc, chain 2, and 3 more dc.In the next corner: (3 dc, chain 2, 3 dc) .In the side space: 3 dc only .Continue this pattern around the square.Slip stitch into the top of the beginning chain-3 to join.For Round 3: Repeat Granny Square Pattern Slip stitch to the next corner.In each corner space: (3 dc, chain 2, 3 dc) .In each side space: 3 dc only .Work all the way around and join with a slip stitch.
Round 4
Final Round of the Square Repeat the same pattern as previous rounds. Once the square is complete, slip stitch into the top of the beginning chain-3.Chain 1, cut the yarn, and weave in all loose ends.
Assembling the Gloves Sewing the Squares Together Take two finished granny squares.
Flip one so the wrong side is facing out.
Align the squares with wrong sides facing each other.
Using a yarn needle and matching yarn, stitch together one full side, starting from one corner.
Leave about 6 stitches unstitched in the middle for the thumbhole.
Continue stitching from the opposite side of the thumbhole to the end corner.
Cut yarn and weave in ends.
Repeat the same process for the second glove.
Join
Step 1Weave in all remaining yarn ends using the yarn needle.
Step 2Turn the gloves right side out.
Step 3Your granny square fingerless gloves are now ready to wear!
Finish
- Weave in every yarn tail with the yarn needle before closing up the seam.
- Seam the edges of the granny square together to form the glove shape.
- Turn the finished glove right side out so the seam sits hidden on the inside.
Bigger or smaller
- Smaller
- Use the 4.0 mm hook with the same worsted yarn to tighten the gauge and produce a snugger finished square.
Photographs of this one
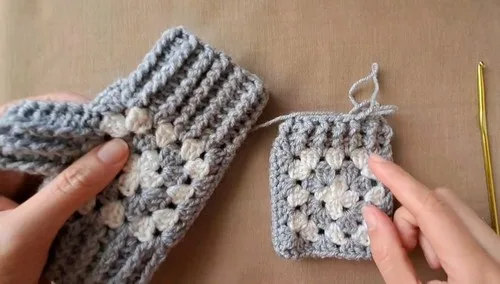
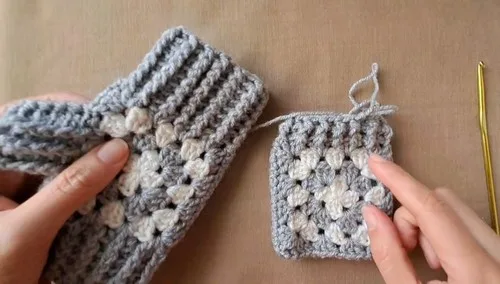
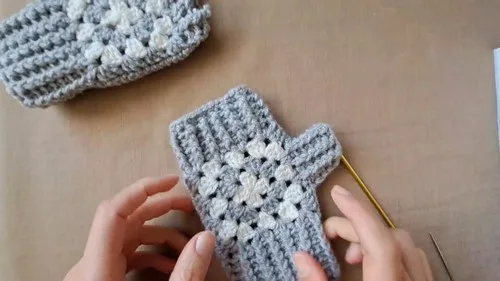
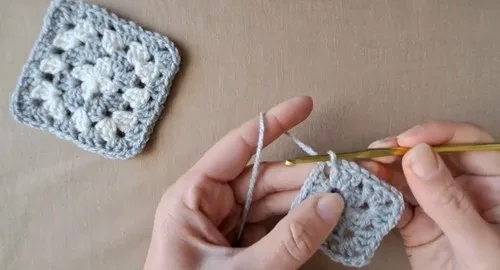
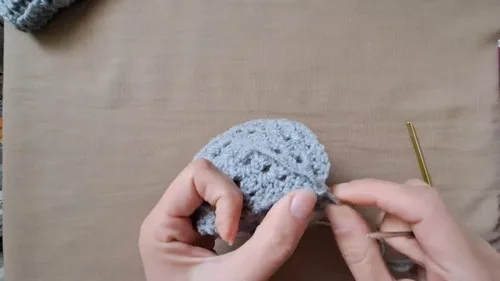
Every photograph on this page was taken by whoever published the pattern, and they are printed in the order the source listed them.
FAQs
Asked and answered
These answers came from whoever first published the pattern, kept word for word.
What yarn and hook work best for this pattern?
Medium weight worsted yarn pairs well with either a 4.0 mm or 4.5 mm hook. Pick the larger hook for a looser fabric or the smaller one for a tighter, firmer square.
Is this pattern suitable for a first granny square project?
Yes, the techniques are limited to a magic ring, double crochet, chain spaces, and slip stitch joins. The corner shaping repeats the same way every round, so it becomes familiar quickly.
How many rounds make up the main square?
The main pattern works up in three rounds. Each round adds one more layer of corner and side groups around the previous one.
How does the finished square become a glove?
Once the rounds are complete, weave in the ends, seam the edges together, and turn the piece right side out. The seam then sits hidden on the inside of the finished glove.