 STITCH ROUND
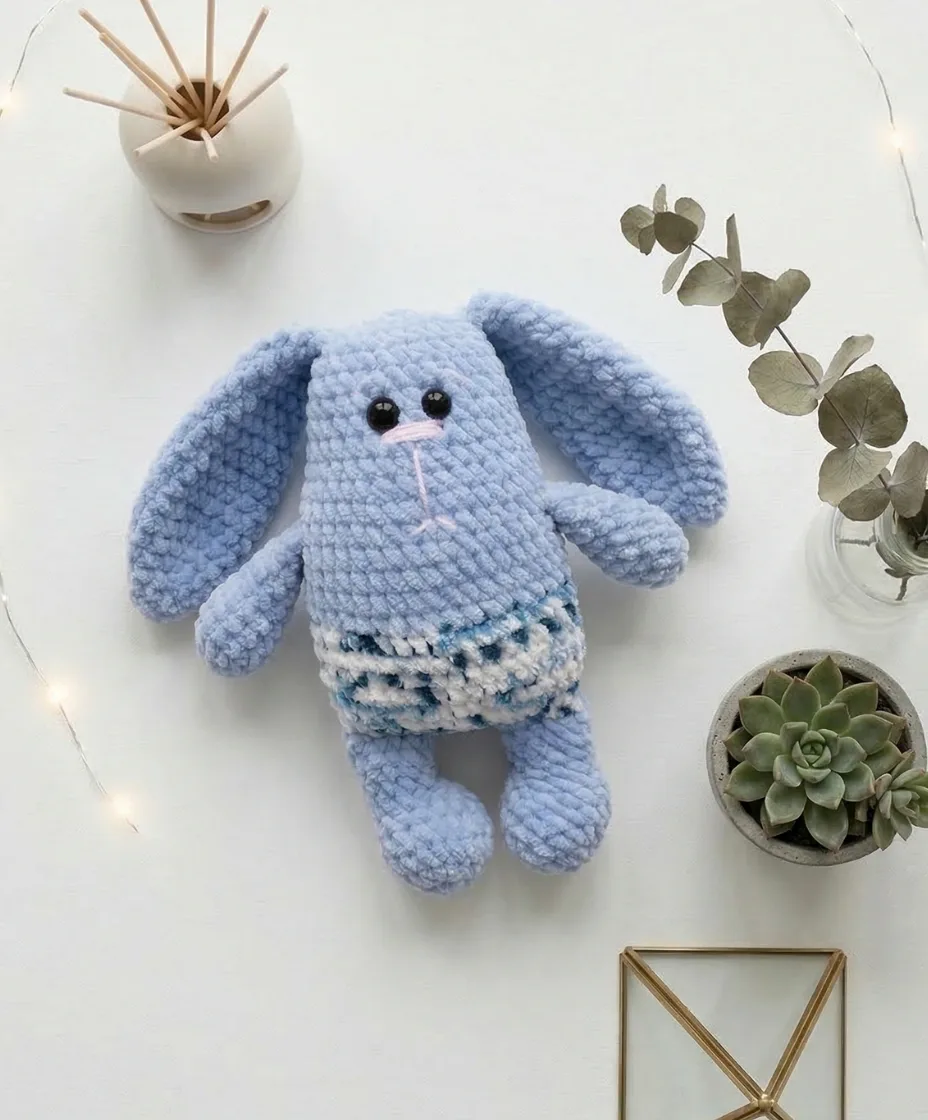
 Plush bunny amigurumi: a soft mini-pillow crochet friend
34 rounds to tick off across arms, ears, legs and body for a soft, squishy plush bunny.
- Skill
- Intermediate
- Rounds
- 34 rounds
- Yarn weight
- Worsted
- Hook
- 4 mm
- Time
- 4-6 hours

Intermediate
What the original page called it. Nothing here is graded a second time.

34 rounds
Each one gets its own line, with a box beside it to tick as you go.

Worsted
What the sample was made in. Any weight works — the size moves with it.
About this pattern
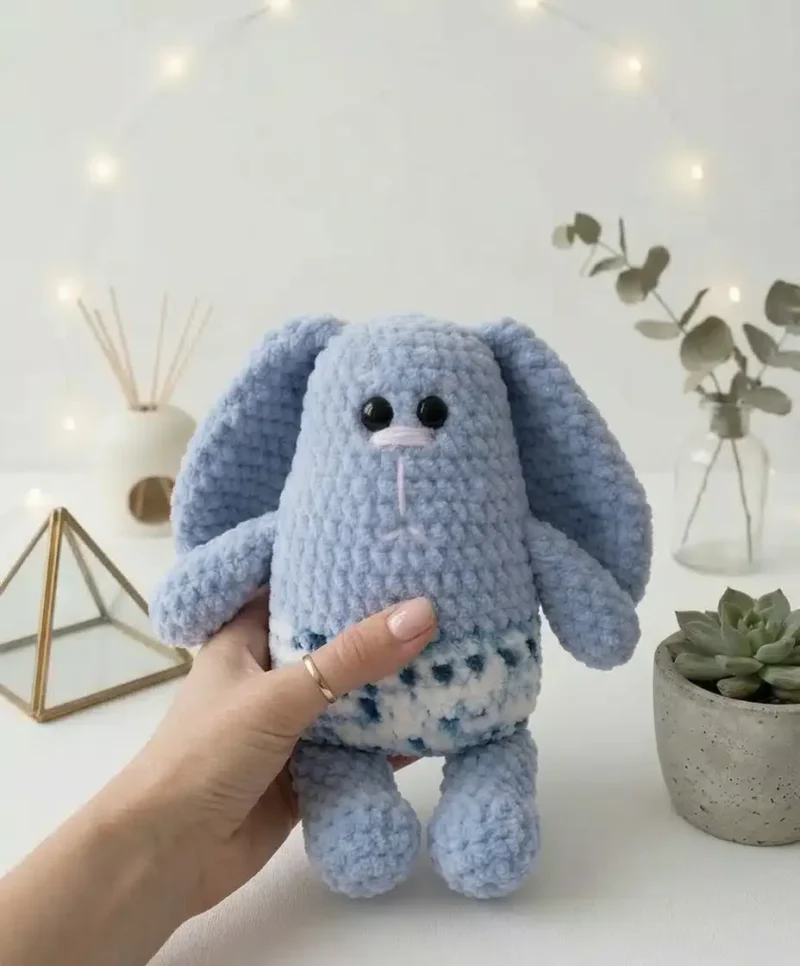
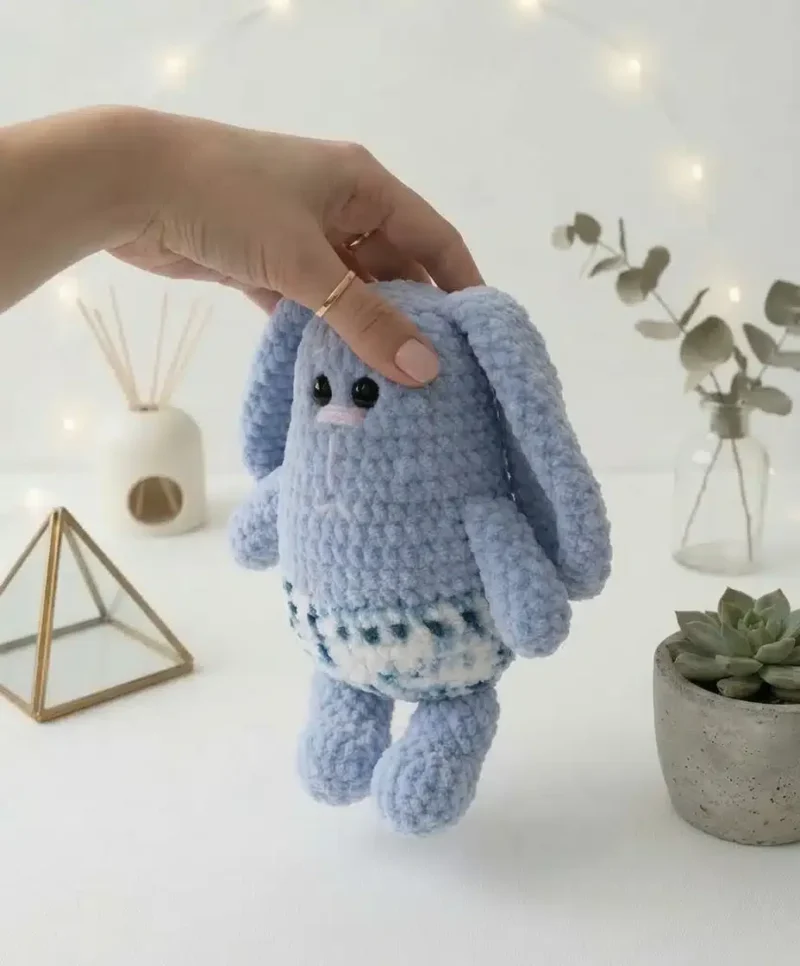
This bunny breaks down into three pieces to tick off: arms at 9 rounds each, ears at 13 rounds each, and a combined legs-and-body section running 21 rounds. Worked in plush yarn with a 4mm hook, the whole thing stays small enough to finish in a single sitting or two, with the legs-and-body piece as the main event.
Shaping runs on straightforward increase and decrease rounds, with the arms and ears following a simple inc-then-sc-then-dec rhythm. Slow down through the legs into the body, where the piece shifts from two separate leg tubes into one continuous shape and stitch counts climb fastest.
This pattern is written in US crochet terminology and worked in continuous spirals rather than joined rounds, so keep a stitch marker in the first stitch of each round to track where you are.
- Start with the arms, working two identical small tubes that finish stuffed and set aside.
- Move to the ears, shaping each one with increase rounds before flattening for attachment later.
- Crochet the legs first, then continue directly from the legs into one combined body piece.
- Stuff the body lightly throughout, keeping it soft rather than firm for that mini-pillow feel.
- Place the safety eyes into the body before closing it up, spacing them evenly by eye.
- Finish by attaching the arms and ears and embroidering the face details in pink cotton yarn.
What goes wrong
- Losing track of the round Work in continuous spirals without slip stitching, and keep a stitch marker in the first stitch of every round so the count never drifts.
- Overstuffing the body Add polyfill in small amounts and check firmness as it fills, stopping while the piece still feels soft and squishy rather than tight.
- Placing the eyes off-center Lay the body flat and count stitches to each side before inserting the safety eyes between the marked rounds, then secure from the inside once spacing looks even.
- Mismatched legs before joining Complete both legs to the same round before continuing into the body, checking they match in height and stitch count by eye.
Yarn, hook and the rest
Copied from the source pattern's own materials list.
- Plush yarn (e.g., Himalaya Dolphin Baby, Sweet Snuggles) – less than one skein in your chosen main color
- Pink YarnArt Jeans yarn (or similar sport/DK weight cotton yarn) for embroidery
- Crochet hook size 4mm
- Safety eyes, 12mm (or 10mm for a slightly smaller look, depending on your preference)
- Polyfill stuffing
- Tapestry needle
- Scissors
- Stitch markers
Progress tracker
0 of the 34 rounds on this page are ticked.
The pattern, round by round
Kept in the order and the wording the source used. Tick a round as you finish it; the ticks stay on this device.
Arms (Make 2)
Round 1
6 sc in mr (6)
Round 2
6 inc (12)
Rounds 3–5
Sc in each st around (3 rounds) (12)
Round 6
(1 sc, 1 dec) x 4 (8)
Rounds 7–9
Sc in each st around (3 rounds) (8)Stuff only the bottom part of the arm lightly, keeping the top flat.Fold the opening flat and sc across 4 stitches through both layers to close. Fasten off and weave in ends.
Your little arms are ready to hug!
Ears (Make 2)
Round 1
6 sc in mr (6)
Round 2
(1 sc, 1 inc) x 3 (9)
Rounds 3–4
Sc in each st around (2 rounds) (9)
Round 5
(2 sc, 1 inc) x 3 (12)
Round 6
Sc in each st around (12)
Round 7
(1 sc, 1 inc) x 6 (18)
Rounds 8–13
Sc in each st around (6 rounds) (18)
Round 14
(1 sc, 1 dec) x 6 (12)Fold the opening flat and sc across 6 stitches through both layers to close. Fold again and sc across 3 stitches through both layers. Fasten off, leaving a long tail for sewing.
Look at those sweet bunny ears taking shape!
Legs (Make 2) & Body
Stuff only the bottom part of the legs lightly.
Leg 1:
Round 1
6 sc in mr (6)
Round 2
6 inc (12)
Round 3
(1 sc, 1 inc) x 6 (18)
Round 4
Sc in each st around (18)
Round 5
5 sc, 4 dec, 5 sc (14)
Round 6
5 sc, 2 dec, 5 sc (12)
Round 7
4 sc, 2 dec, 4 sc (10)
Rounds 8–10
Sc in each st around (3 rounds) (10)Fasten off, weave in ends.
Your first little leg is done! Now for the second.
Leg 2: Repeat Rnd 1-10 for Leg 2. Do NOT fasten off.
If you’re making shorts, this is where you’d change color before joining. If it’s a solid-color bunny, continue with your main color.
Joining Legs & Starting Body:
Flatten Leg 1 and sc across 5 stitches through both layers to close. Ch 1. Flatten Leg 2 and sc across 5 stitches through both layers to close. The yarn is now at the end of the 5 sc closing stitches of Leg 2.
Round 11
From your current position at the end of Leg 2’s closure, continue working around the perimeter of the joined legs and chain. Work 5 sc along the side of the 5 closing stitches of Leg 1 (where you previously flattened and crocheted across). Then, work 5 sc into the ch-1 space you created between the legs. Next, work 5 sc along the side of the 5 closing stitches of Leg 2. You have now worked along one side of the joined legs. Turn your work around (this is not a traditional turn, but rather working along the other side of the oval you’re creating). Now, work 5 sc along the other side of the 5 closing stitches of Leg 2, then 5 sc into the other side of the ch-1 space , and finally, 5 sc along the other side of the 5 closing stitches of Leg 1. (30)
This round creates the flat, oval base of your bunny! Use a stitch marker to mark the start of the next round.
Round 12
(4 sc, 1 inc) x 6 (36)
Round 13
(5 sc, 1 inc) x 6 (42)
Rounds 14–18
Sc in each st around (5 rounds) (42)
If you’re adding shorts, now is the perfect time to change to your main body color!
Rounds 19–22
Sc in each st around (4 rounds) (42)
Time to attach those adorable arms!
Round 23
19 sc, 4 sc (working through both layers of arm and body), 16 sc, 2 sc (working through both layers of arm and body) (42)
Round 24
2 sc (working through both layers of arm and body), 40 sc (42)
Round 25
(5 sc, 1 dec) x 6 (36)
Rounds 26–27
Sc in each st around (2 rounds) (36)
Round 28
(4 sc, 1 dec) x 6 (30)
Rounds 29–30
Sc in each st around (2 rounds) (30)
Round 31
(3 sc, 1 dec) x 6 (24)
Rounds 32–33
Sc in each st around (2 rounds) (24)Add 3 offset sc here if needed to center the closing seam later. Your exact number might vary due to tension.Fasten off, leaving a long tail for sewing.
Your bunny’s body is complete! Don’t forget to stuff it lightly for that squishy feel.
Join
Step 1Now for the magical part — bringing your Cuddly Bunny to life!
Step 2First, gently stuff the main body of your bunny with polyfill. Remember our “mini pillow” goal, so don’t overstuff; keep it soft and squishy.
Step 3Next, let’s give your bunny some adorable eyes. Position the 12mm safety eyes between Rnds 28 and 29 on the body, making sure they are evenly spaced and centered. Once you’re happy with their placement, secure them firmly from the inside.
Step 4Using your pink YarnArt Jeans yarn and tapestry needle, embroider a sweet little nose and mouth on your bunny’s face. You can create a simple triangle for the nose and a small “Y” shape for the mouth, or get creative with your own design!
Step 5Now, take those lovely long tails from your ears and attach them to the top of the bunny’s head. Position them symmetrically, perhaps slightly forward, to give your bunny a friendly, alert expression. Use your tapestry needle to securely sew them in place, weaving the yarn tails discreetly into the head.
Step 6Finally, with the long tail left from the body, fold the top opening flat and sew it closed across the 24 stitches. This will create a neat, flat top to your bunny’s head, perfect for snuggling. Weave in any remaining yarn ends securely into the body, and give your finished Cuddly Bunny a gentle squeeze!
Check your count
- Arms (Make 2) · Round 1: 6 sts
- Arms (Make 2) · Round 2: 12 sts
- Arms (Make 2) · Rounds 3–5: 12 sts
- Arms (Make 2) · Rounds 7–9: 8 sts
- Ears (Make 2) · Round 2: 9 sts
- Ears (Make 2) · Round 5: 12 sts
Finish
- Weave in every yarn tail from the arms, ears, and legs-and-body piece before assembly begins, tucking ends inside the stuffing so nothing shows on the surface.
- Stuff the body lightly and evenly, favoring the soft mini-pillow feel over a firm shape, and top off the arms and ears the same way before closing them.
- Attach the arms and ears to the body with a tapestry needle, then embroider the face using pink YarnArt Jeans yarn once the safety eyes are secured.
Bigger or smaller
- Smaller
- Drop to a finer sport or DK weight yarn with a smaller hook, which tightens the fabric and shrinks the finished bunny while keeping the same shaping sequence.
Photographs of this one
Every photograph on this page was taken by whoever published the pattern, and they are printed in the order the source listed them.
FAQs
Asked and answered
These answers came from whoever first published the pattern, kept word for word.
What yarn weight works best for this bunny?
Plush yarn such as Himalaya Dolphin Baby or Sweet Snuggles gives the intended soft, huggable texture. Less than one skein of the main color covers the whole toy.
Do the legs and body get made separately?
No, the legs are worked first and then the pattern continues directly into the body as one connected piece. Only the arms and ears are made as separate, individually stuffed parts.
How firm should the stuffing be?
Keep it light rather than firm, since the bunny is designed as a soft mini-pillow toy. This applies to the body, arms, and legs alike.
Where exactly do the safety eyes go?
Position the 12mm safety eyes between rounds 28 and 29 on the body. Space them evenly and center them before securing from the inside.