 STITCH ROUND
 Tie-Neck Goose Amigurumi Worked in One Piece
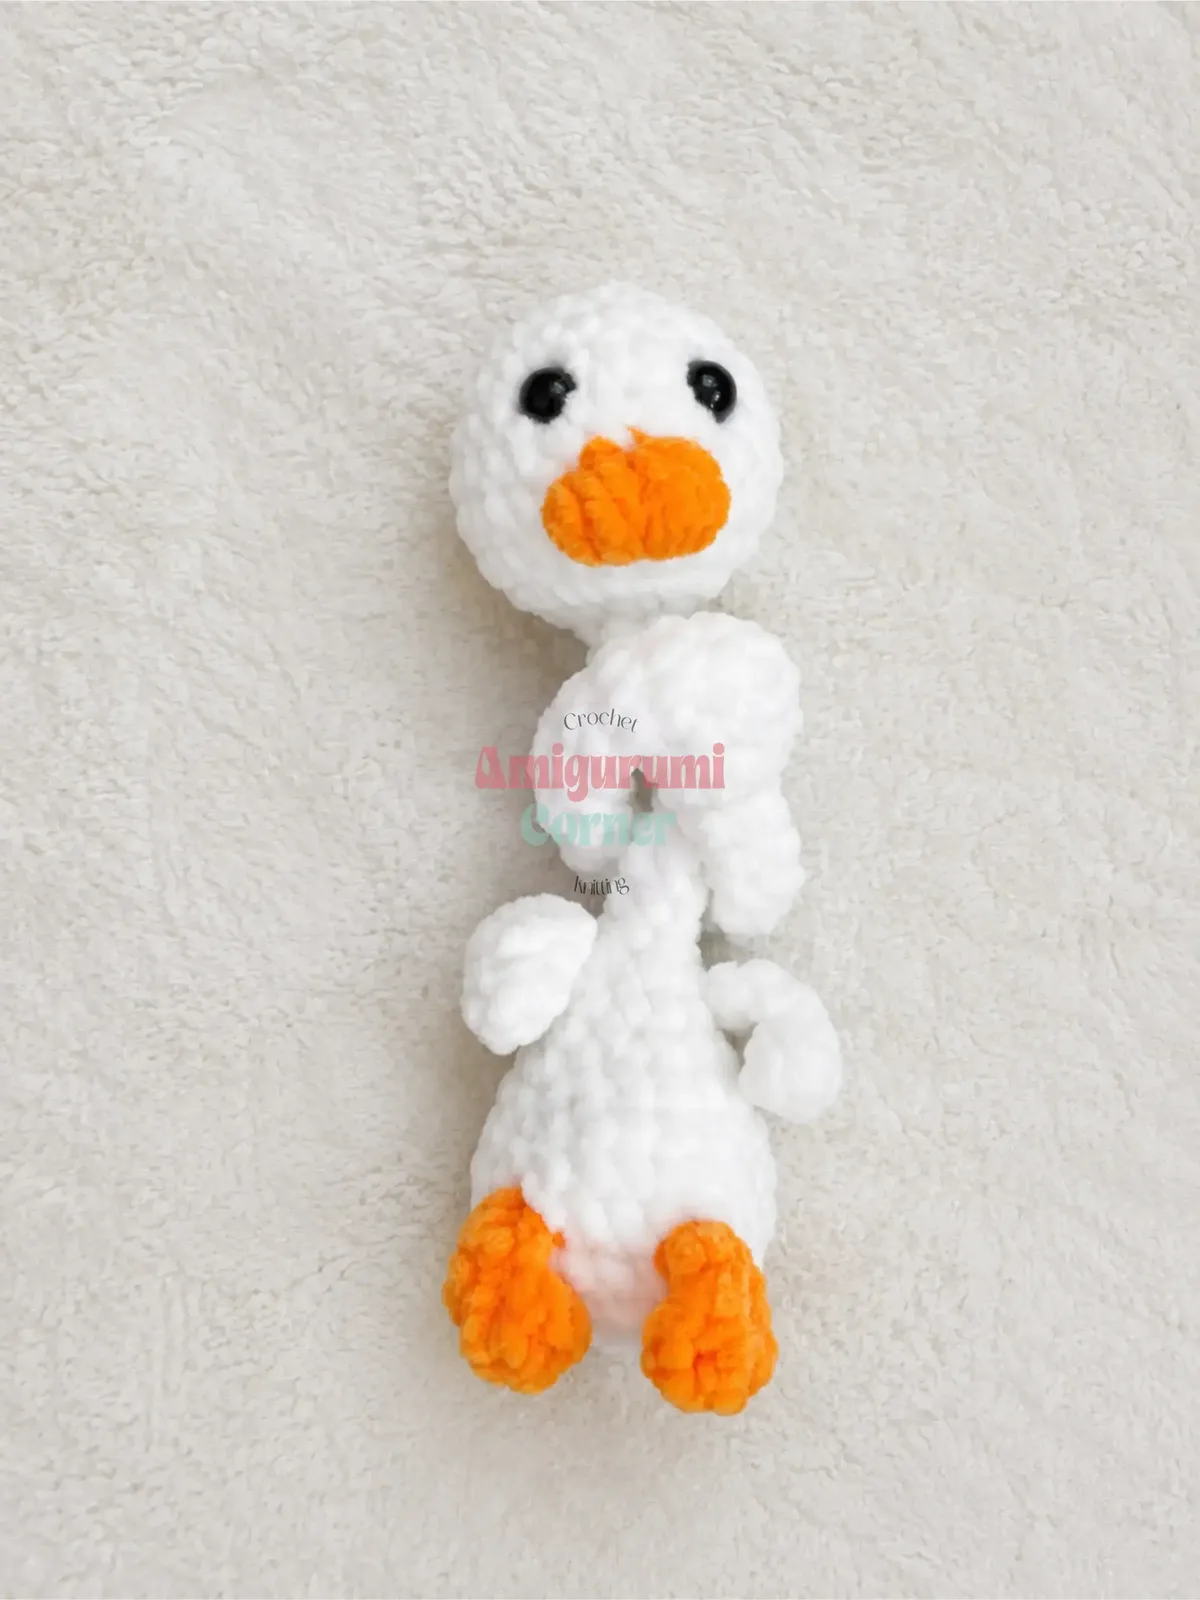
Crochet a tie-neck goose amigurumi worked in one continuous piece across 57 rounds, with a soft, bendable neck.
- Skill
- Intermediate
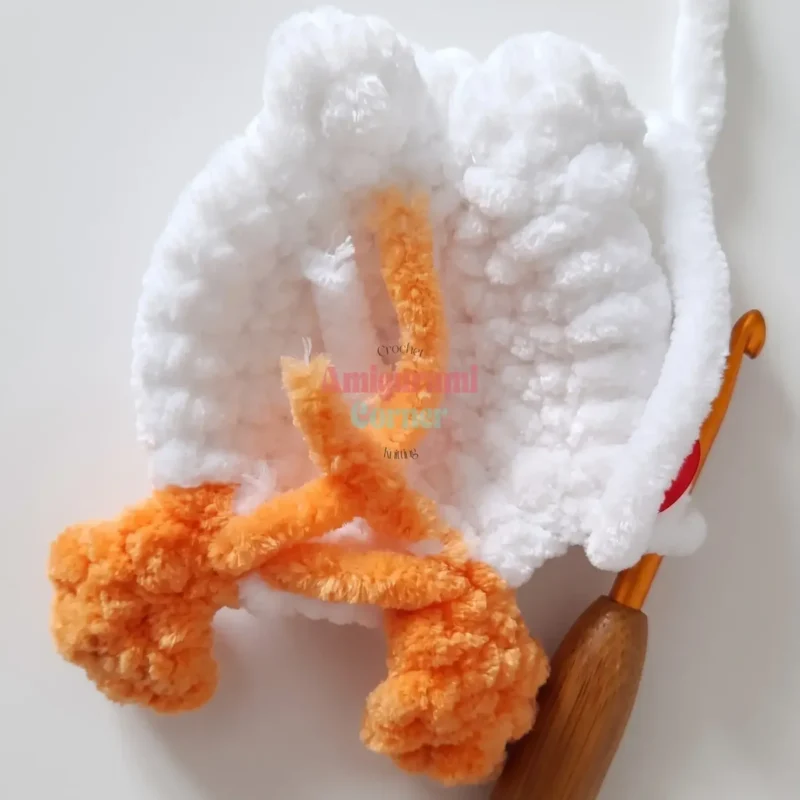
- Rounds
- 21 rounds
- Yarn weight
- Bulky
- Hook
- 4 mm
- Time
- 4-6 hours

Intermediate
What the original page called it. Nothing here is graded a second time.

21 rounds
Each one gets its own line, with a box beside it to tick as you go.

Bulky
What the sample was made in. Any weight works — the size moves with it.
About this pattern
This goose is a single continuous piece: head, neck, and body all built from the same White-and-Orange chenille-style strand across 57 rounds, no joining seams to hide and no separate parts to sew on later. Each round ticks off in a spiral, so the stitch count climbs steadily until the shaping kicks in. Chenille yarn hides small tension slips, which makes this a forgiving project for anyone ready to move past a basic sphere amigurumi.
The head grows fast with increases, then pulls back in with decreases to form the rounded skull and beak area, so slow down right around that turn and check the shape against the photo before continuing. The neck section is worked plain, with no stuffing added, so it stays soft enough to bend into a pose. Keep tension even through that stretch since loose stitches there will show once the piece is handled.
This pattern is written in US crochet terminology and worked in continuous spiral rounds — do not join or chain up unless otherwise noted. Gauge is not critical here; it only affects the finished size of your goose, which measures approximately 13 inches (33 cm) tall when made with the materials listed above. Stitch counts are given at the end of each round in parentheses.
- Start the head with a magic ring and build it up in increasing rounds until it rounds out.
- Attach the safety eyes while the head opening is still wide enough to reach inside.
- Work the shaping decreases that close the head, then move straight into the neck rounds.
- Crochet the neck without adding any stuffing so it stays soft and can hold a bent pose.
- Continue into the body, stuffing as the rounds build so it fills out evenly before closing.
What goes wrong
- Stuffing the neck by accident Check before adding fiberfill that the section is the plain, unshaped neck and not the head or body. The neck needs to stay soft so the goose can bend into a pose.
- Placing eyes after the head closes Insert the 10 mm safety eyes before the shaping decreases finish the head, while there is still enough opening to reach the backing washers. Waiting until the head is sealed makes attaching them nearly impossible without unpicking stitches.
- Losing the round marker in a spiral This piece is worked in continuous spiral rounds with no joins, so it is easy to drift off the start point. Keep a stitch marker in the first stitch of each round and move it up every round.
- Overstuffing the head seam Pack the head firmly enough to hold its round shape, but stop before the chenille stitches stretch and gap at the seam. A slightly softer head looks better than a lumpy, overfilled one.
- Rushing through Round 5 Round 5 packs the feet, color changes, and front-loop wing detail into a single round, so it's the easiest place to lose count. Work slowly, keep a stitch marker at the round start, and count stitches after each color change before moving on.
- Working too loose on chenille yarn Chenille-style yarn is stretchier and less structured than cotton or acrylic, so stitches worked too loosely let stuffing peek through, especially around the head and body. Keep your stitches slightly snug and consistent throughout.
- Decreases that show on the head a clean invisible decrease, insert your hook into the front loop of the next stitch and the front loop of the following stitch, then pull yarn through both loops at once before completing the single crochet as normal. This keeps decreases smooth and nearly invisible along the goose's rounded head and tail.
Yarn, hook and the rest
Copied from the source pattern's own materials list.
Yarn
- Wolans Bunny Baby chenille-style yarn (Bulky, CYCA #5) in White and Orange
Hook
- US G/6 (4 mm)
Safety Eyes
- 2, 10 mm, safety-lock backing
Other Supplies
- Fiberfill stuffing
- Stitch marker
- Yarn/tapestry needle
- Scissors
Progress tracker
0 of the 21 rounds on this page are ticked.
The pattern, round by round
Kept in the order and the wording the source used. Tick a round as you finish it; the ticks stay on this device.
Head, Neck & Body (worked in one piece)
Begin with White yarn.
Round 1
6 sc in MR. (6)
Round 2
inc in each st around. (12)
Round 3
sc, inc repeat around. (18)
Round 4
2 sc, inc repeat around. (24)
Round 5
2 sc, change to Orange, ch 5, work 2 dc starting in the 3rd ch from hook, ch 2, sc in the same ch, then work 2 sc down the remaining chain to form the first foot, change to White and work 4 sc, change to Orange and repeat the same foot shape for the second foot, 8 sc, working in FLO of this round: 2 dc, ch 2, sc repeat 3 times, 7 sc to complete the round. (24)
Round 6
sc in each st around. (24)
Round 7
13 sc, dec 3 times, 5 sc. (21)
Round 8
5 sc, dec repeat 3 times. (18)
Round 9
4 sc, dec repeat 3 times. (15)
Round 10
3 sc, dec repeat 3 times. (12)Begin stuffing the head firmly before continuing.
Round 11
1 sc, ch 7, starting in the 2nd ch from hook work 6 dc, 5 sc, ch 7 again, starting in the 2nd ch from hook work 6 dc, 6 sc — this forms both wings. (12)
Round 12
dec 6 times. (6)
Do not stuff the neck. Leave it soft and flexible for posing.
Rounds 13–47
sc in each st around. (6)
Round 48
inc in each st around. (12)
Round 49
inc in each st around. (24)
Round 50
sc in each st around. (24)Begin stuffing the body firmly, adding more as you complete each round.
Round 51
18 sc, change to Orange and work Puff(3), Puff(3), 4 sc — this forms the tail feathers. (24)
Rounds 52–54
sc in each st around. (24)
Round 55
2 sc, dec repeat 6 times. (18)
Round 56
1 sc, dec repeat 6 times. (12)
Round 57
dec 6 times. (6)Fasten off, leaving a long tail. Thread the tail onto your yarn needle and weave through the remaining 6 stitches. Pull tight to close the opening.
Join
Step 1Before completing the shaping decreases on the head (between Rounds 3 and 4), position and attach your 10 mm safety eyes, spacing them evenly on either side of the orange beak shape.
Step 2Add stuffing to the head as you work Rounds 8 through 12, packing it firmly enough to hold its round shape without overstuffing the seam.
Step 3Leave the neck (Rounds 13–47) completely unstuffed so it stays soft, bendable, and able to hold a pose.
Step 4Stuff the body generously as you complete Rounds 50 through 57, working the stuffing into the tail and rear evenly before closing.
Step 5Use the fastened-off tail from the final round to close the last opening with a woven cinch, then secure with a few small stitches.
Step 6Weave in all remaining ends throughout the piece, including at the color changes for the feet, wings, and tail feathers.
Check your count
- Head, Neck & Body (worked in one piece) · Round 7: 21 sts
- Head, Neck & Body (worked in one piece) · Round 48: 12 sts
- Head, Neck & Body (worked in one piece) · Round 57: 6 sts
Finish
- Weave in the starting tail and the color-change tail from the orange beak section before any stuffing goes in, so they do not get buried and forgotten.
- Stuff the head firmly between rounds as directed, then add stuffing to the body generously near the final rounds, checking the neck stays empty and floppy throughout.
- Close the last round with a cinch seam, pull it tight, and run the tail through the body to anchor it before trimming.
Bigger or smaller
- Smaller
- Drop to a lighter weight chenille or smooth yarn with a smaller hook to shrink the finished size. Stitches will sit tighter and the goose will come out noticeably more compact using the same 57 rounds.
Photographs of this one
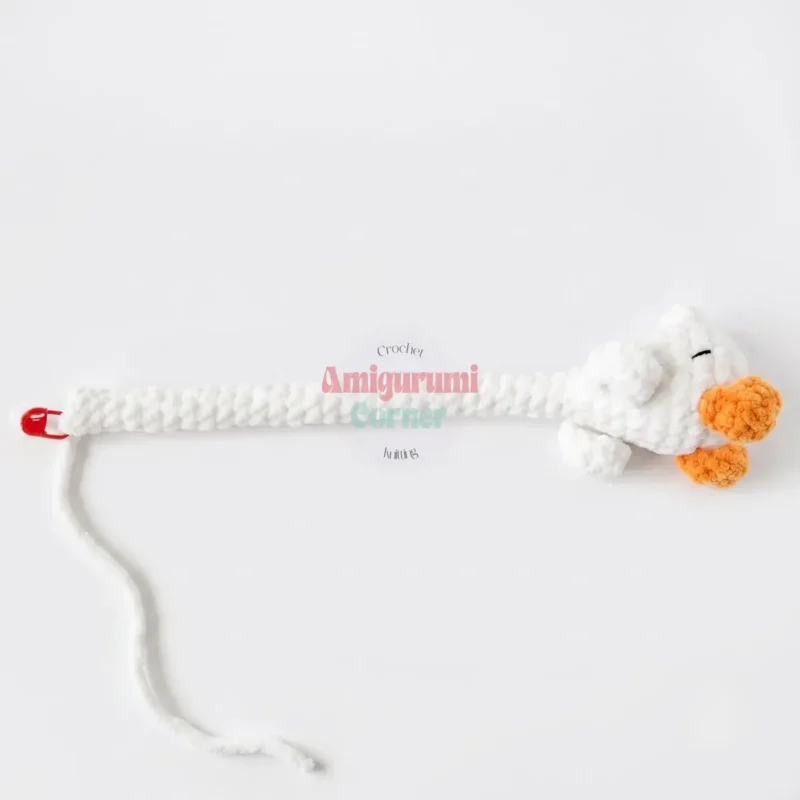
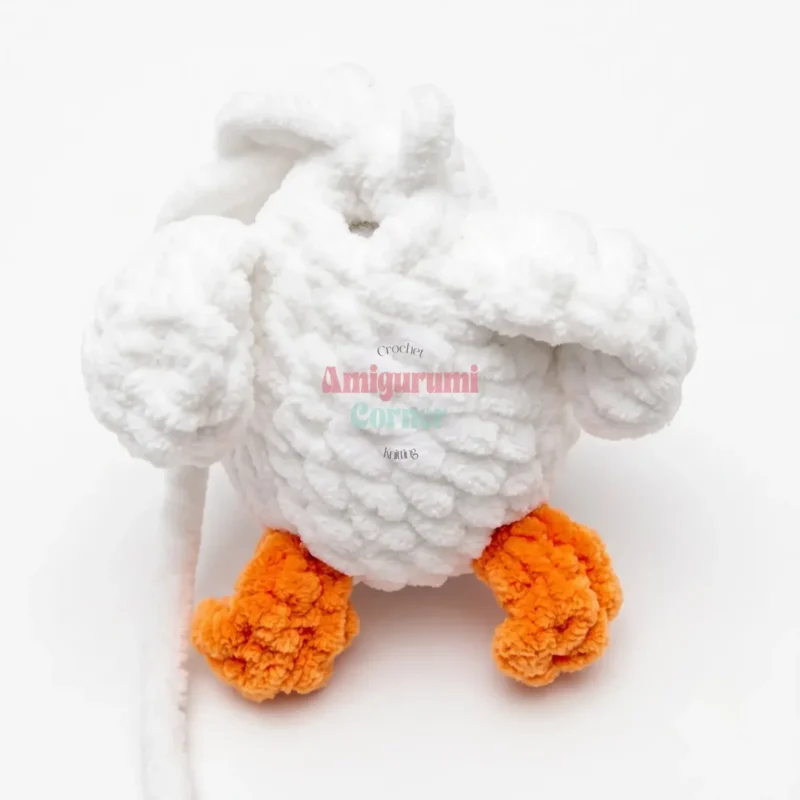
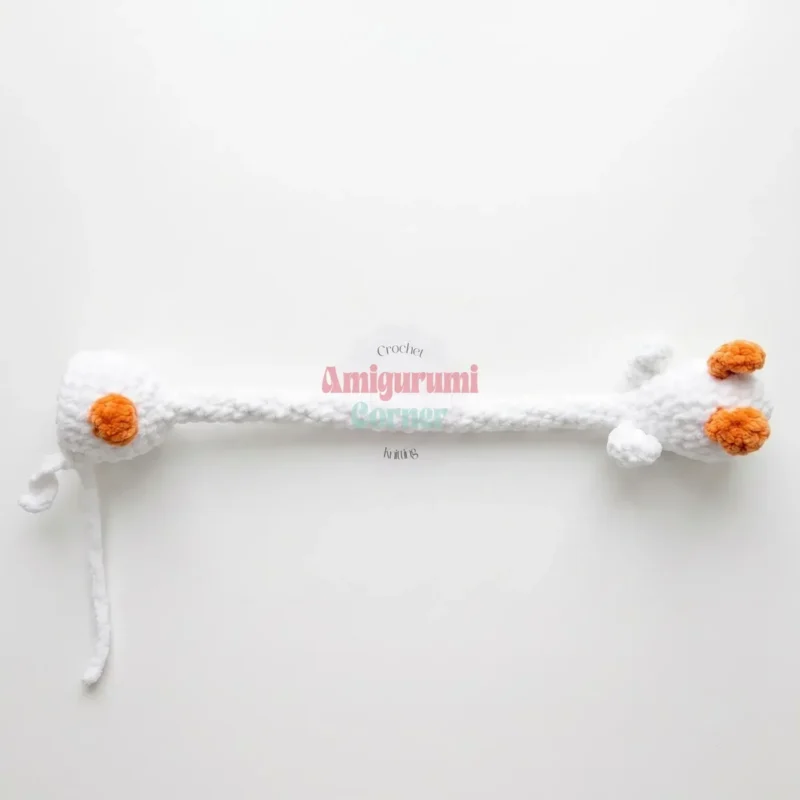
Every photograph on this page was taken by whoever published the pattern, and they are printed in the order the source listed them.
FAQs
Asked and answered
These answers came from whoever first published the pattern, kept word for word.
Can the goose be made without chenille yarn?
Yes, any yarn that matches the Bulky #5 weight will work with the US G/6 (4 mm) hook. Chenille gives the soft, feathery texture shown in the pattern, but a smooth yarn will still produce the same shape, though the finished goose may come out slightly smaller and less plush.
Why does the neck stay unstuffed?
Leaving the neck section empty is what lets the finished goose hold a bent or curved pose. Stuffing it would stiffen the neck and remove that pose-ability.
When exactly do the safety eyes go in?
They go in before the shaping decreases close up the head, right after the orange beak shaping. Attaching them too late makes it difficult to reach the backing washers inside the head.
Does the whole goose use one continuous piece?
Yes, the head, neck, and body are all worked together in one spiral without joining or chaining up, aside from the color changes for the feet, wings, and tail feathers. There is no separate assembly of body parts.
What finished size can I expect from this pattern?
Using the yarn and hook listed in the materials, the finished goose measures approximately 13 inches (33 cm) tall. Substituting a thinner or thicker yarn will change the finished size accordingly, so keep that in mind if you want a specific size for a gift or display piece.
How are the legs, feet, and wings made without sewing on separate pieces?
The feet are crocheted directly into Round 5 using a color change and a small chain-and-double-crochet shape, and the wings are formed the same way in Round 11 using chains and double crochet stitches worked into the body. This one-piece construction method means there are no extra parts to sew on separately, which keeps the finished goose seamless and sturdy.