 STITCH ROUND
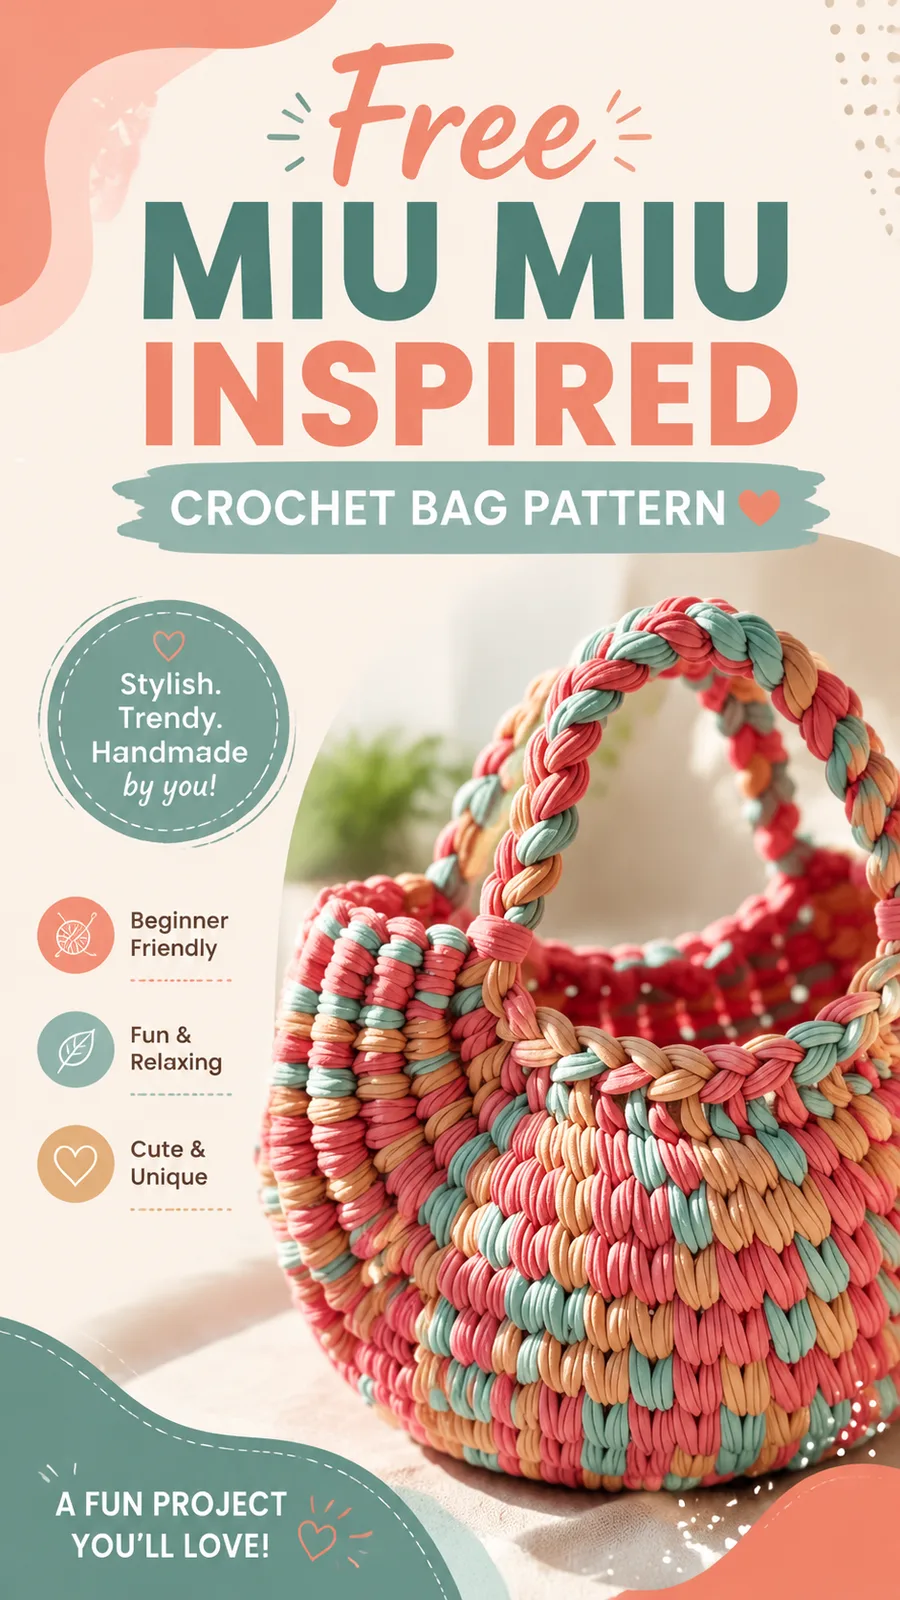
Puff stitch bubble bag crochet pattern with two panels
Six rows shape each panel, two more build the handle, for a plush puff-stitch bubble tote bag.
- Skill
- Confident Beginner
- Rounds
- 9 rounds
- Yarn weight
- Worsted
- Hook
- 4.0 mm
- Time
- 4-6 hours

Confident Beginner
What the original page called it. Nothing here is graded a second time.

9 rounds
Each one gets its own line, with a box beside it to tick as you go.

Worsted
What the sample was made in. Any weight works — the size moves with it.
About this pattern
This bubble bag comes together from two identical body panels, each ticked off in six rows of single crochet and texture stitching, followed by a separate handle piece worked in two short rows of half double crochet. The compact, rounded shape is sized for daily essentials like sunglasses, a wallet, or small craft supplies. Working the panels first keeps the project organized, with the handle added once both body pieces are complete and ready to join along the sides and bottom.
The shaping lives in the puff stitch row, where grouped stitches are worked into selected spaces to raise bubble-like sections above the base fabric. Slow down here, since even spacing between puff placements determines how evenly the texture reads across the panel. The following row settles the texture by working a plain stitch into each puff space, smoothing the surface before the next few rows of plain single crochet continue the panel toward its finished length.
This pattern uses US crochet terminology and calls for a suggested category 4 medium cotton yarn, chosen for its durability and shape retention; a cotton blend also works well for a slightly softer drape. Color changes may be added every few rows to create a striped pastel effect, or three to five contrasting shades can be combined for a brighter design.
- Build two matching body panels in sturdy single crochet before any texture work begins.
- Work the puff stitch row across the panel to raise bubble-like sections above the base fabric.
- Smooth the puff texture into the next row by crocheting over each puff space with a plain stitch.
- Join the two panels along the sides and bottom to form the body of the bag.
- Add the handle section afterward, worked separately for extra strength and stability.
- Finish the top edge with one round of single crochet, joined with a slip stitch for a clean border.
- Weave in all loose ends and shape the finished bag before it carries daily essentials.
What goes wrong
- Uneven Puff Stitches If your texture stitches look inconsistent, focus on pulling each puff loop to the same height. Keeping even tension creates a more professional bubble effect.
- Bag Losing Its Shape Cotton yarn naturally relaxes over time. If your bag feels too flexible, consider adding a lightweight lining or reinforcing the base seam.
- Color Changes Looking Messy Change colors at the end of rows and weave in ends as you go. This prevents a large amount of finishing work at the end.
Yarn, hook and the rest
Copied from the source pattern's own materials list.
- 350 yards (320 meters) medium weight cotton yarn
- 4.0 mm US G/6 crochet hook
- Yarn needle
- Scissors
- Stitch markers
- Optional fabric lining for extra structure
Progress tracker
0 of the 9 rounds on this page are ticked.
The pattern, round by round
Kept in the order and the wording the source used. Tick a round as you finish it; the ticks stay on this device.
Body Panel (Make 2)
Construction Notes: The bag is worked in rows. Turning chains do not count as stitches unless stated. Make two identical body panels. Color changes may be added every few rows to create a striped pastel effect similar to the inspiration piece.
Row 1
Ch 41. Sc in second ch from hook and across. Turn. (40 sc)
Row 2
Ch 1, sc across. Turn. (40 sc)
Row 3
Ch 1, sc in first 3 sts, puff st in next st, *sc in next 4 sts, puff st in next st; repeat from * until 4 sts remain, sc in last 4 sts. Turn. (40 sts)
Row 4
Ch 1, sc across, working 1 sc into each puff stitch space. Turn. (40 sts)
Row 5
Ch 1, sc in each stitch across. Turn. (40 sts)Row 6: Repeat Row 3.Row 7: Repeat Row 4.Rows 8-25: Repeat Rows 5-7 six times, ending after a Row 7 repeat. (40 sts)
Row 26
Ch 1, sc across. Fasten off.
Handle (Make 2)
Row 1
Ch 61. Hdc in second ch from hook and across. Turn. (60 hdc)
Rows 2–5
Ch 1, hdc across. Turn. (60 hdc) Fasten off, leaving a long tail for sewing.
Border Finishing
Border Round
Attach yarn at the top edge of the bag and work one round of single crochet around the opening. Join with a slip stitch, fasten off, and weave in ends.
This simple border helps stabilize the opening and gives the crochet bubble bag a clean finish.
Join
Step 1Place the two body panels together with the textured sides facing outward.
Step 2Using a yarn needle and matching yarn, sew the side edges and bottom edge together using a whip stitch or mattress stitch.
Step 3Position each handle approximately 2 inches (5 cm) from each side edge.
Step 4Sew each handle securely with multiple passes of yarn for reinforcement.
Step 5Weave in all loose ends.
Check your count
- Body Panel (Make 2) · Row 1: 40 sts
- Body Panel (Make 2) · Row 2: 40 sts
- Body Panel (Make 2) · Row 3: 40 sts
- Body Panel (Make 2) · Row 5: 40 sts
- Handle (Make 2) · Row 1: 60 sts
Finish
- After assembly, gently shape the bag by smoothing the panels and lightly blocking the crochet fabric. Avoid excessive heat or aggressive stretching, especially with cotton fibers.
- Hand wash or use a gentle wash cycle with mild detergent.
- Lay flat to dry to preserve the shape.
- Store handles without heavy pressure to prevent stretching.
- Remove stains gently instead of scrubbing textured stitches.
Bigger or smaller
- Finished Size
- Approximately 9 inches wide x 7 inches tall (23 x 18 cm), excluding handles.
- Gauge
- 18 single crochet stitches x 20 rows = 4 inches x 4 inches (10 x 10 cm).
- Wider bag
- a wider bag, add chains in multiples of 4 to the starting chain.
- Taller bag
- a taller bag, add additional texture rows before finishing.
- Longer handles
- longer handles, increase the starting chain length.
- Firmer bag
- a firmer bag, use a smaller hook or add fabric lining.
- Brighter design
- a brighter design, combine three to five contrasting yarn colors.
- Pro Tip
- Always check your gauge before making major size changes. A tighter stitch tension creates a stronger bag fabric, while loose tension may cause the finished tote to stretch.
FAQs
Asked and answered
These answers came from whoever first published the pattern, kept word for word.
Can this bag be made without stitch markers?
Stitch markers help track puff stitch placement across the texture row, but careful counting can stand in for them if preferred.
Does the bag need a fabric lining?
Lining is optional since the dense puff fabric already adds structure, but a fabric lining can be added for extra support when carrying cosmetics or craft supplies.
How are the two panels joined together?
The two body panels are crocheted separately, then joined around the sides and bottom, with the handle section added afterward for strength and stability.
How much yarn does the bag use?
The pattern calls for 350 yards of medium weight cotton yarn worked with a 4.0 mm hook, enough to cover both panels and the handle.