 STITCH ROUND
 Puffy crochet heart keychain pattern in nine rounds
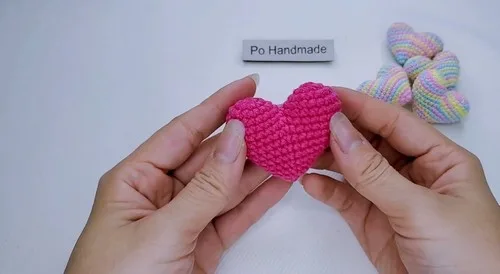
Nine rounds build a puffy crochet heart for a keychain, bag charm, or soft toy.
- Skill
- Intermediate
- Rounds
- 9 rounds
- Yarn weight
- Worsted
- Hook
- 1 mm
- Time
- 4-6 hours

Intermediate
What the original page called it. Nothing here is graded a second time.

9 rounds
Each one gets its own line, with a box beside it to tick as you go.

Worsted
What the sample was made in. Any weight works — the size moves with it.
About this pattern
This puffy heart starts life as two matching halves, each built from a magic ring and worked flat through nine rounds before they're joined into one plump shape. Every round adds shaping, so the piece grows from a tight little circle into a rounded lobe ready to be paired with its twin. Because both halves follow the same nine rounds, once the first is done, the second moves fast.
The early rounds carry the workload: increases stack up quickly to swing the stitch count wide, then later rounds settle into steadier shaping to pull the heart lobes into place. Slow down right where the increase pattern shifts from stitch-and-stitch to stitch-and-inc, since that's where the curve of the heart actually forms. A dropped increase here throws off the whole silhouette, so count before moving on.
- Start each half with a magic ring, then close it tight before working the first round of single crochets.
- Build up the round count with steady increases that flare the circle out into a heart lobe shape.
- Drop a stitch marker into the first stitch of each round to keep track of where rounds begin and end.
- Repeat the same round sequence to make a second matching half for the other side of the heart.
- Hold both halves together and single crochet around the outer edge to fuse them into one piece.
- Stuff the heart before the seam closes fully, then finish joining and tuck in the last stitches.
What goes wrong
- Loose magic ring center Pull the tail firmly before working the first round so no hole remains at the tip of the heart.
- Losing track of round starts Move the stitch marker into the first stitch of every new round instead of leaving it behind, so the join point stays accurate.
- Uneven increase placement Work each increase directly into the stitch it belongs to rather than shifting it over, or the heart lobes end up lopsided.
- Sealing the seam before stuffing Add stuffing while a gap is still open in the joining round, then finish closing it with the needle.
Yarn, hook and the rest
Copied from the source pattern's own materials list.
- 1 mm crochet hook
Progress tracker
0 of the 9 rounds on this page are ticked.
The pattern, round by round
Kept in the order and the wording the source used. Tick a round as you finish it; the ticks stay on this device.
Main Pattern
Round 1
Chain 1 6 single crochets (sc) into the magic ring Pull the ring tight to close Slip stitch (sl st) into the first sc to joinFor Row 2 Chain 1 Increase (inc) in each stitch around (2 sc in each stitch)Place a stitch marker in the first sc Total: 12 sc Sl st into the first sc to join
Round 3
Chain 1 Repeat (1 sc, 1 inc) around Place a stitch marker in the first sc Total: 18 scSl st into the first sc to join
Round 4
Chain 1 1 sc in each stitch around Total: 18 sc Sl st into the first sc to join Make Second HalfRepeat Rows 1–4 Do not cut the yarn on the second piece Joining the Two Halves (Row 5)Insert hook into the first stitch of the first piece and sl st Chain 1 Sc around both halves: 18 sc per half Total: 36 scSl st to join and chain 1 Use a needle to close the small gap between the two halves
Round 6
1 sc in each stitch around Total: 36 sc Sl st to join For Row 7 Chain 1 Sc 7 Decrease (dec) twiceSc 14 Decrease (dec) twice Sc 7 Sl st to join
Round 8
Chain 1 1 sc in each stitch around Total: 32 sc Sl st to join
Round 9
Chain 1 Sc 6 Decrease (dec) twice Sc 12 Decrease (dec) twice Sc 6 Total: 28 sc Sl st to joinFor Row 10 Chain 1 Sc 5 Decrease (dec) twice Sc 10 Decrease (dec) twice Sc 5 Total: 24 sc Sl st to join
Round 11
Chain 1 Sc 4 Decrease (dec) twice Sc 8 Decrease (dec) twice Sc 4 Total: 20 sc Sl st to joinFor Row 12 Chain 1 Sc 3 Decrease (dec) twice Sc 6 Decrease (dec) twice Sc 3 Total: 16 sc Sl st to join
Round 13
Chain 1 Sc 2 Decrease (dec) twice Sc 4 Decrease (dec) twice Sc 2 Total: 12 sc Sl st to joinChain 1 and stuff the heart
Round 14
Final Row 6 decreases (6A) Total: 6 sc Sl st to join Cut yarn, leaving a long tailUse a needle to weave through the front loops of the last 6 stitches and pull tight Weave in the ends securely
Join
Step 1Insert hook into the first stitch of the first piece and sl st
Step 2Chain 1
Step 3Sc around both halves: 18 sc per half
Step 4Total: 36 sc
Step 5Sl st to join and chain 1
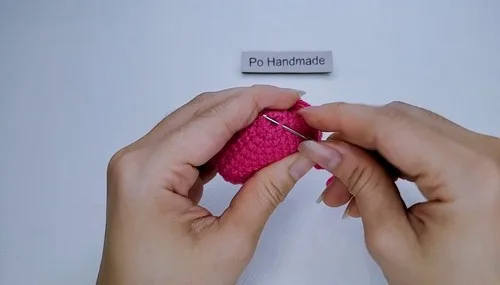
Step 6Use a needle to close the small gap between the two halves
Finish
- Weave in loose ends from the magic ring closures and any color changes before joining the halves.
- Add stuffing to the heart shape before the final stitches of the joining seam are closed off.
- Use a needle to close the small gap left between the two halves for a smooth, seamless edge.
Bigger or smaller
- Smaller
- Stay with a fine hook and thin yarn, or work fewer rounds of the main pattern before joining, to keep the heart compact and charm-sized.
Photographs of this one
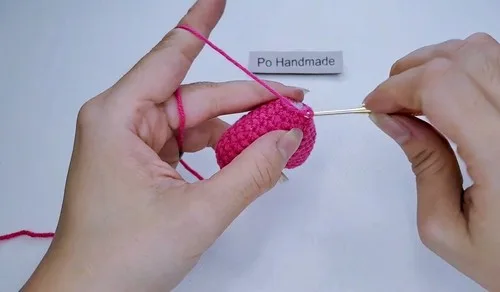
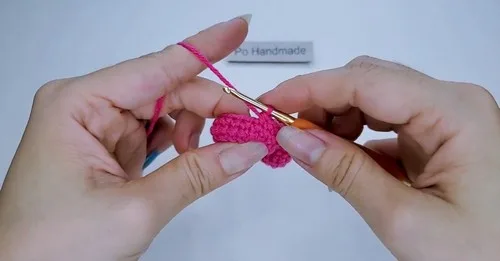
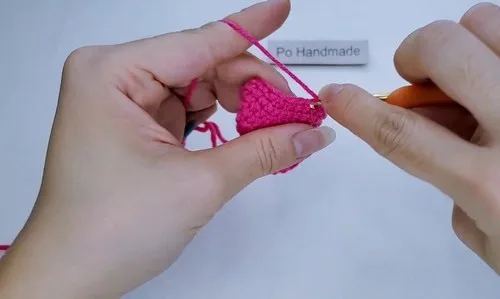
Every photograph on this page was taken by whoever published the pattern, and they are printed in the order the source listed them.
FAQs
Asked and answered
These answers came from whoever first published the pattern, kept word for word.
What yarn weight suits this pattern best?
The pattern works well with most yarn types, so the choice comes down to how tight or plump the final heart should look. A finer yarn with the 1 mm hook keeps stitches dense enough to hold the stuffing in.
How is the keychain hardware attached?
Once the two halves are joined and stuffed, a keyring or clasp can be looped through the top stitches or a short chain added at the join. Secure it with the same yarn tail used to close the seam.
Does the heart really need stuffing?
Stuffing is what gives the piece its puffy shape, so it should go in before the joining seam closes completely. Skipping it leaves the heart flat instead of rounded.