 STITCH ROUND
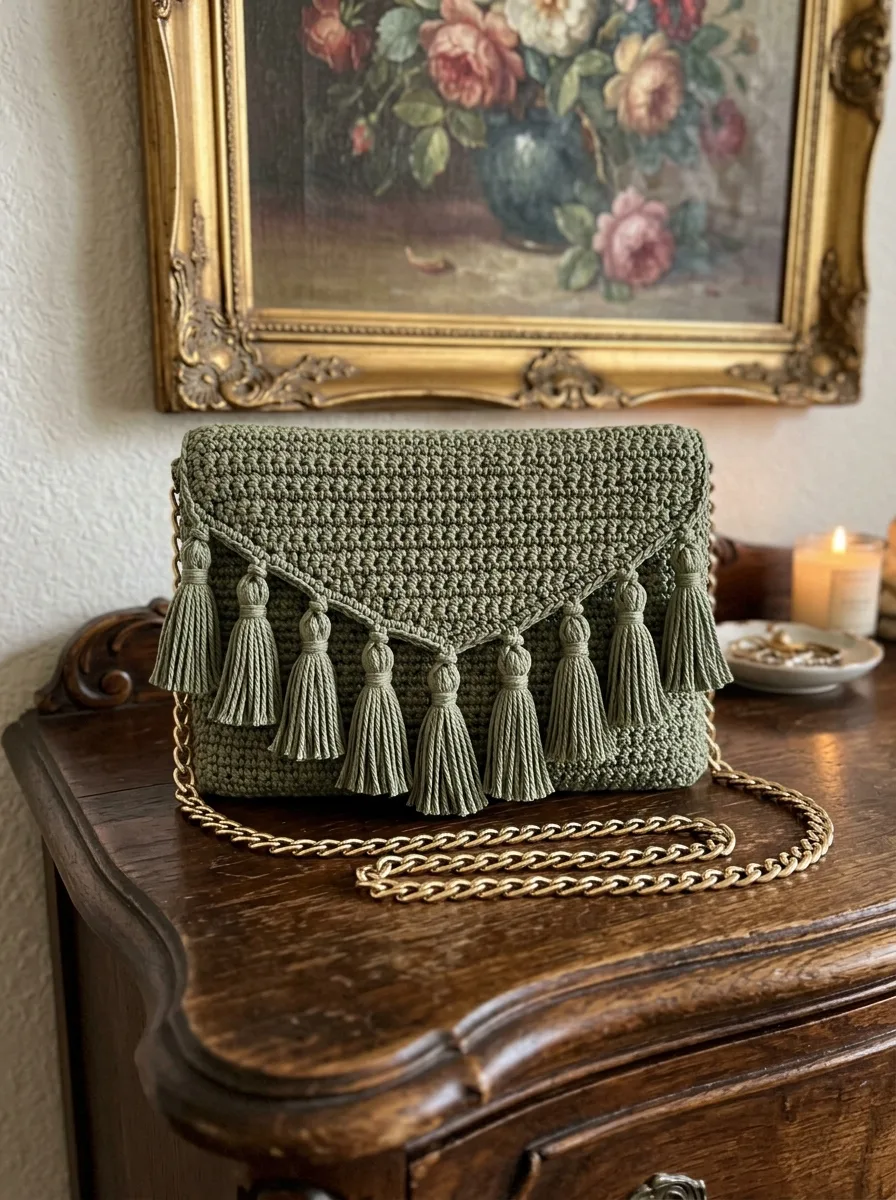
 Sage green tassel bag crochet pattern with a pointed flap
8 rows tick off a folded sage green bag with a pointed flap and tassels.
- Skill
- Intermediate
- Rounds
- 8 rounds
- Yarn weight
- DK
- Hook
- 3.5 mm
- Time
- 4-6 hours

Intermediate
What the original page called it. Nothing here is graded a second time.

8 rounds
Each one gets its own line, with a box beside it to tick as you go.

DK
What the sample was made in. Any weight works — the size moves with it.
About this pattern
This is a folded rectangle bag with a pointed flap, and the body ticks off in just 2 rows thanks to a long repeat section worked back and forth. The flap takes 6 rows on its own, shaped separately before it ever meets the body. Sage or olive DK cotton with a tight twist keeps the finished piece structured rather than floppy, so pick a hook no larger than 3.5mm and check gauge stays snug.
The real shaping happens in the flap, where the row count holds steady before decreases pull the fabric into a point. Slow down there and watch the edges rather than racing to the last row. The body needs less attention mid-work but rewards a check of the stitch count every so often, since the BLO technique makes it easy to lose track of where a row starts and ends.
Gauge matters for bags because it affects the final size and structure. Work 20 stitches and 18 rows in the main stitch pattern to get a 10cm x 10cm (4 inch x 4 inch) square. If your square is larger, go down a hook size; if smaller, go up a hook size.
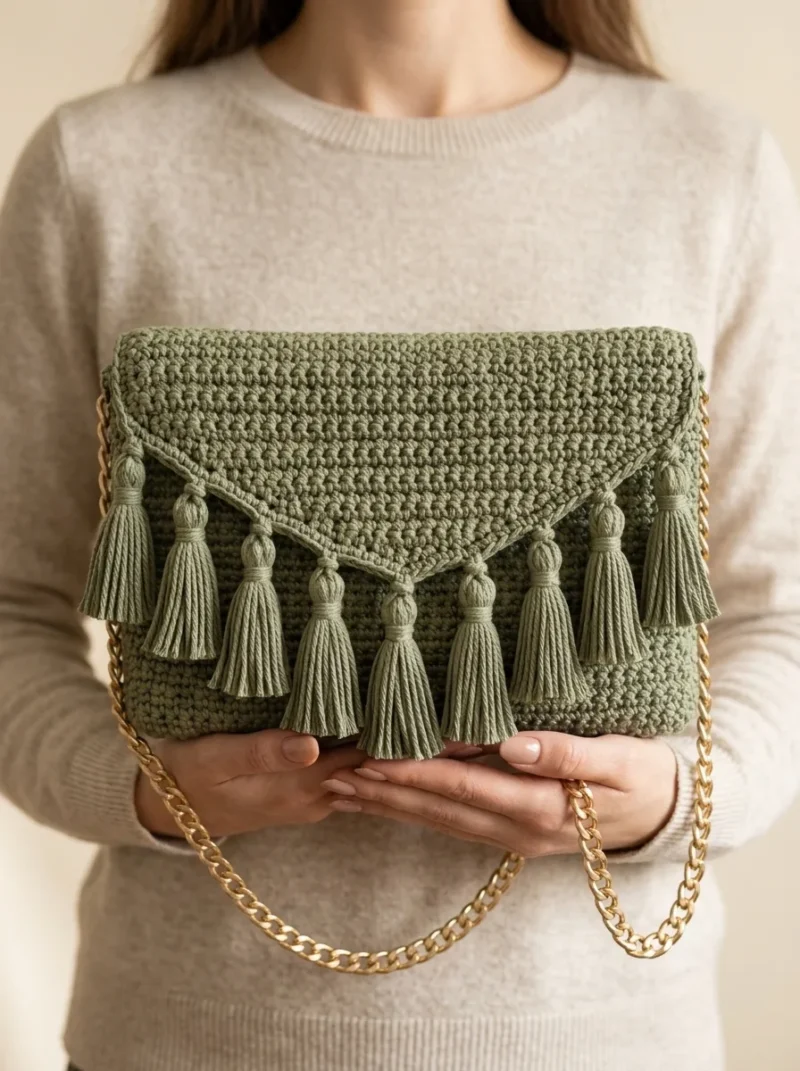
Finished dimensions: width approximately 24cm (9.5 inches); height approximately 16cm (6.5 inches) not including the flap; flap depth approximately 12cm (5 inches) at the center point.
a different look, try this pattern in cream, terracotta, mustard, or charcoal.
- Crochet one long rectangle using back loop only stitches to build the ridged texture for the body.
- Work the pointed flap as a separate piece, starting flat before shaping narrows it to a point.
- Fold the rectangle into front, back, and bottom panels, leaving a section at the top for the flap base.
- Seam the sides of the folded body to close the bag into its finished shape.
- Attach the pointed flap to the back panel so it closes over the front.
- Add tassels, thread the chain strap through the D-rings, and line the inside if wanted.
What goes wrong
- Losing the back loop only rhythm Check every few rows that the front loops are still stacking up untouched. A single skipped BLO row flattens the ridge texture for the rest of the piece.
- Skipping the wet block before folding Block the rectangle flat and let it dry before folding it into panels. Folding an unblocked piece locks in wonky edges that are hard to fix later.
- Rushing the flap decrease rows Slow down once the pointed shaping starts and count stitches after each row. A missed decrease throws off the symmetry of the point.
- Leaving off the tassels Do not treat the tassels as optional trim. They are part of the design and finish the piece the way the pattern intends.
Yarn, hook and the rest
Copied from the source pattern's own materials list.
Yarn
- Approximately 200 grams of DK weight cotton or cotton blend yarn in sage green or olive green
- I recommend a smooth, tightly twisted cord yarn or macrame style cotton for the best stitch definition
- Look for yarn with a slight sheen for that polished look
Hook
- 3.5mm crochet hook (US E/4)
- A smaller hook creates tighter fabric, which you want for a bag that holds its shape
Notions
- Tapestry needle for weaving ends
- Scissors
- Gold chain strap (approximately 120cm long)
- Two small gold D-rings or jump rings for attaching the chain
Optional
- fabric lining and sewing needle with thread
- Stitch markers
Progress tracker
0 of the 8 rounds on this page are ticked.
The pattern, round by round
Kept in the order and the wording the source used. Tick a round as you finish it; the ticks stay on this device.
The Bag Body (Worked Flat, Then Folded)
We are making one long rectangle, then folding it to create front, back, and bottom in one piece. Smart, right? Fewer seams means a cleaner finish.
Foundation Row: Ch 49.
Row 1
Sc in 2nd ch from hook and in each ch across. (48 sts)
Row 2
Ch 1, turn. Working in BLO, sc in each st across. (48 sts)Rows 3 through 70: Repeat Row 2. You should now have a long rectangle with beautiful horizontal ridges from the back loop only technique. This is the texture you see in the photo.A quick note: Those ridges happen because when you work in back loop only, the front loop creates a visible horizontal bar. Pretty clever trick for adding visual interest to basic single crochet.Count your rows. You need exactly 70 rows to have enough fabric for the front, bottom, and back panels.Fasten off. Weave in ends.
The Pointed Flap
This is where the magic happens. The flap is worked separately and attached to the back of the bag.
Foundation Row: Ch 49.
Row 1
Sc in 2nd ch from hook and in each ch across. (48 sts)
Row 2
Ch 1, turn. Working in BLO, sc in each st across. (48 sts)Rows 3 through 8: Repeat Row 2. (48 sts each row) Now we begin the shaping to create the pointed center.
Row 9
Ch 1, turn. Sk first st, sc in BLO across to last 2 sts, sk 1 st, sc in last st. (46 sts)
Row 10
Ch 1, turn. Sc in BLO across. (46 sts)
Row 11
Ch 1, turn. Sk first st, sc in BLO across to last 2 sts, sk 1 st, sc in last st. (44 sts)
Row 12
Ch 1, turn. Sc in BLO across. (44 sts) Continue this pattern of decreasing on odd rows and working even on even rows until you have 4 stitches remaining.
Final decrease rows:
When you reach 4 sts, work: Sk 1, sc2tog (insert hook in next st, pull up loop, insert hook in following st, pull up loop, yarn over and pull through all 3 loops), sk last st. (1 st)
Fasten off, leaving a long tail.
Folding and Seaming the Body
Lay your rectangle flat with the ridges running horizontally.
Fold the bottom edge up approximately 16cm (about 28 rows). This becomes your bag front.
Fold the top edge down to meet the fold you just made. This is your bag back.
You should now have three layers stacked: front panel, back panel, and a small section remaining at the top that will become your flap base.
Seaming the sides:
Using your tapestry needle and matching yarn, whip stitch or mattress stitch the side edges together through all layers. Work from bottom fold to top edge on both sides.
Turn right side out. Your bag body is complete.
Attaching the Flap
Position the straight edge of your flap along the back top edge of your bag, right sides facing out.
Using whip stitch, sew the flap securely to the bag back. Make sure your stitches are tight and even.
Making the Tassels
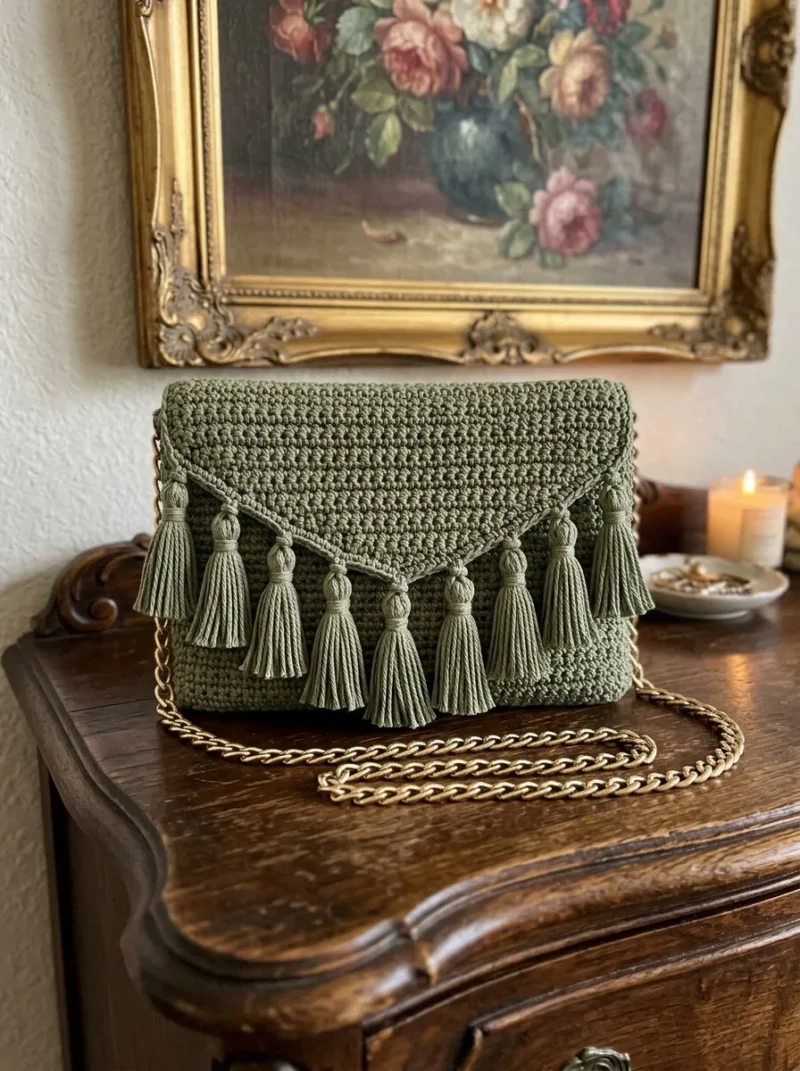
I count approximately 9 tassels along the flap edge in the photo. These are what take this bag from nice to absolutely gorgeous.
For each tassel: 1. Cut 20 strands of yarn, each about 15cm long.
2. Bundle the strands together evenly.
3. Fold the bundle in half.
4. Using a separate piece of yarn, tie tightly around the bundle about 1.5cm below the fold. This creates the tassel head.
5. Wrap additional yarn around this tie point several times to create a neat, bulbous head. Secure with a knot.
6. Trim the tassel ends evenly.
Attaching tassels:
Space your 9 tassels evenly along the pointed edge of the flap. Use the folded loop at the top of each tassel to attach through the edge stitches. Pull the tassel body through the loop and tighten.
Adding the Chain Strap
This step requires your D-rings or jump rings.
Attach one D-ring to each inside side seam at the top of your bag. You can sew these in place with yarn or use small pliers to secure jump rings through the fabric.
Thread your gold chain through both D-rings. The chain should be long enough to wear crossbody or over one shoulder, approximately 120cm works well.
Optional: Adding a Fabric Lining
If you want extra durability and a polished interior, cut fabric to fit inside your bag with a 1cm seam allowance. Sew the lining pieces together, slip inside the bag, and hand stitch around the top edge.
This step is completely optional but makes the bag feel more finished.
Check your count
- The Bag Body (Worked Flat, Then Folded) · Row 1: 48 sts
- The Bag Body (Worked Flat, Then Folded) · Row 2: 48 sts
- The Pointed Flap · Row 1: 48 sts
- The Pointed Flap · Row 2: 48 sts
- The Pointed Flap · Row 9: 46 sts
- The Pointed Flap · Row 11: 44 sts
Finish
- Weave in every loose end from the body and flap pieces with a tapestry needle before assembly.
- Wet block the rectangle flat first, then block the flap separately so the point holds its shape.
- Seam the folded body, attach the flap, tie on the tassels, and fit the chain strap through the D-rings last.
Bigger or smaller
- Larger
- Add more foundation chains and rows to the body rectangle before folding, which lengthens and widens the finished bag.
- Smaller or firmer
- Drop to a smaller hook than the 3.5mm called for to tighten the fabric further, which shrinks the bag slightly and makes it hold its shape even better.
Photographs of this one
Every photograph on this page was taken by whoever published the pattern, and they are printed in the order the source listed them.
FAQs
Asked and answered
These answers came from whoever first published the pattern, kept word for word.
Why work the body in back loop only?
The BLO technique creates the horizontal ridge texture seen across the front and back panels. Skipping it produces a smoother, less structured fabric that will not match the photo.
Can the gold chain be swapped for a crocheted strap?
Yes, that is listed as one of the customization ideas for an all-fiber look. Attach it the same way, through the D-rings at the top of the bag.
Is the fabric lining necessary?
No, the lining is listed as optional. It adds structure and hides seams but the bag holds its shape without it thanks to the tight stitch pattern.
What yarn works best for the ridged texture?
A smooth, tightly twisted cord yarn or macrame-style cotton gives the clearest stitch definition. A slight sheen also helps the finished bag look polished rather than matte.