 STITCH ROUND
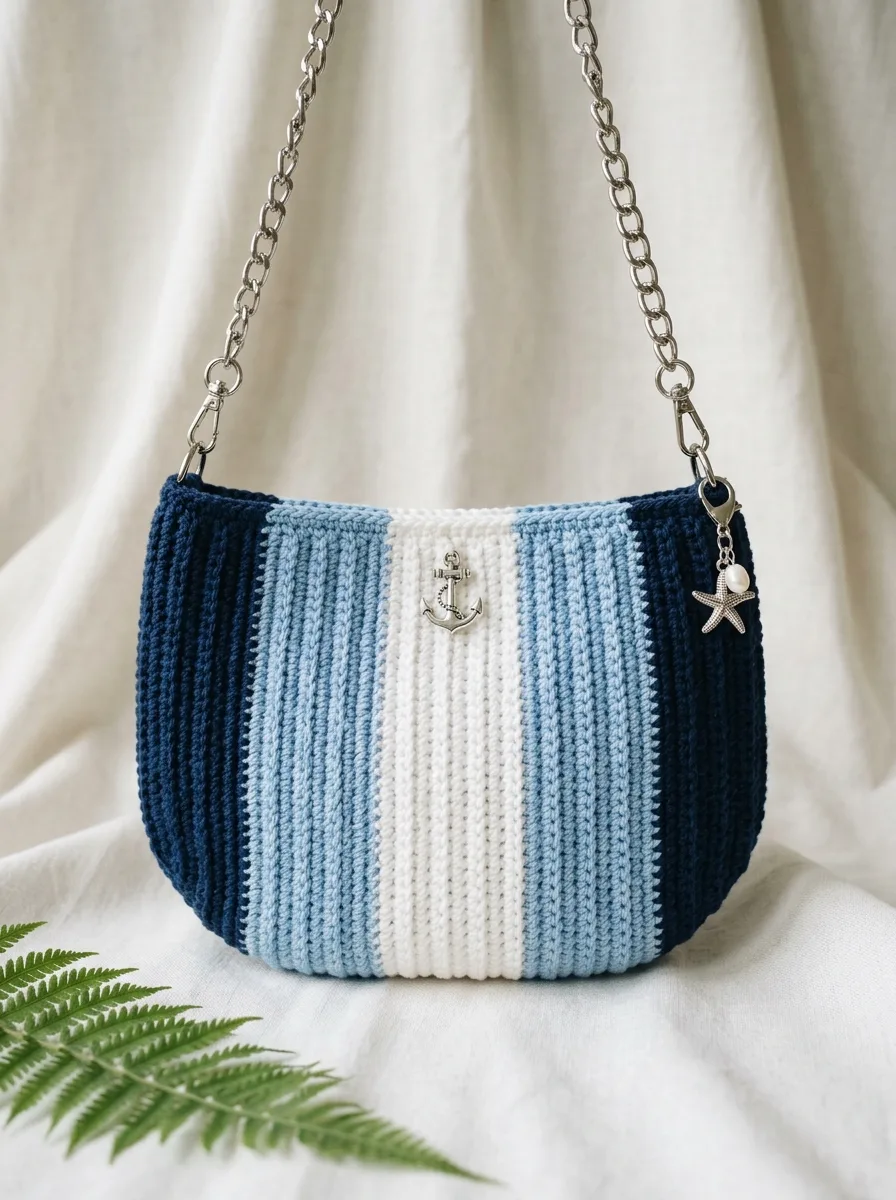
 Striped ribbed crochet clutch with a chain strap
Nine rounds to tick off for a striped ribbed clutch with a chain strap.
- Skill
- Beginner to Intermediate
- Rounds
- 9 rounds
- Yarn weight
- DK (3)
- Hook
- 3.5 mm
- Time
- 4-6 hours

Beginner to Intermediate
What the original page called it. Nothing here is graded a second time.

9 rounds
Each one gets its own line, with a box beside it to tick as you go.

DK (3)
What the sample was made in. Any weight works — the size moves with it.
About this pattern
This clutch builds from one flat rectangle worked sideways in rows, with the foundation chain setting the bag's height and the rows adding width. Across the pattern there are nine rounds to tick off: two for the main navy stripe section, three for the top border, and four single-round color changes that shift from navy to light blue to cream and back. Each one is short, so progress feels steady from the first chain to the last border stitch.
Shaping stays minimal since every row is a straight single crochet pass worked in the back loop only, which raises the vertical ridges without any increasing or decreasing. The real attention points are the four color changes, where the last stitch of one stripe needs to finish in the new color before the old yarn gets cut, and the final seaming step, where the rectangle folds in half and the bottom plus one side close up before the border goes on. Slow down at both.
- Chain a foundation row that sets the finished height of the clutch before turning to work back across it.
- Work steady single crochet rows in the back loop only to build the first navy stripe section.
- Change colors at the end of a row to shift from navy into light blue, then cream, then back again.
- Repeat the ribbed rows in each color until the striped rectangle reaches its full planned width.
- Fold the finished rectangle in half and seam the bottom edge plus one side to shape the bag.
- Turn the clutch right side out and work the border rounds around the top opening to finish the edge.
What goes wrong
- Working into both loops by accident Check that only the back loop sits under the hook on every stitch of the ribbing rows. Pulling through both loops flattens the ridge and breaks the pattern's texture.
- Stitch count drifting across rows Count stitches at the end of a few rows early on to confirm the total stays steady. A slipped first or last stitch is the usual culprit.
- Border pulling in or ruffling Add a few extra stitches where the border pulls in, or skip a stitch here and there where it ruffles, exactly as the pattern's own tip suggests. Aim for a border that lies flat against the top opening.
- Seaming on the wrong side Keep track of which side faces out before closing the bottom and side seams. Turning the bag right side out afterward should hide the seams on the inside, not leave them showing on the outside.
Yarn, hook and the rest
Copied from the source pattern's own materials list.
Yarn
- Color A (Navy Blue): approximately 50 grams / 85 yards
- Color B (Light Blue): approximately 40 grams / 70 yards
- Color C (Cream/White): approximately 25 grams / 45 yards
Yarn Weight
- DK weight (size 3) cotton or cotton blend yarn. I recommend a mercerized cotton for that smooth, slightly shiny finish you see in the photos.
Hook
- 3.5mm (US E/4) crochet hook. Adjust if needed to match gauge.
Notions
- Yarn needle for weaving ends
- Scissors
- 2 silver lobster clasp hardware pieces (for chain attachment)
- Silver chain strap, approximately 20 to 24 inches
- Anchor charm (optional)
- Starfish and pearl charm (optional)
- Stitch markers (helpful but not required)
Progress tracker
0 of the 9 rounds on this page are ticked.
The pattern, round by round
Kept in the order and the wording the source used. Tick a round as you finish it; the ticks stay on this device.
Body of the Bag
Round 1
Sc in 2nd ch from hook and in each ch across. Turn. (31 sts)
Round 2
Ch 1 (does not count as stitch here or throughout), sc in BLO of each st across. Turn. (31 sts)Rows 3 through 18: Repeat Row 2. (31 sts each row) You now have 18 rows of navy ribbing. This completes your first stripe.
Top Border
Turn your bag right side out. The seams should be on the inside now.
Join Color A (Navy) at one side seam at the top opening with a slip stitch.
Round 1
Ch 1, sc evenly around the entire top opening. Work approximately 1 sc into each row end. Join with sl st to first sc. (Approximately 80 sts)
Tip: You want your border to lie flat, not pucker or ruffle. If it pulls in, add a few extra stitches. If it ruffles, skip a stitch here and there.
Round 2
Ch 1, sc in each st around. Join with sl st. (80 sts)
Round 3
Ch 1, sc in each st around. Join with sl st. FO. (80 sts) Weave in all remaining ends.
Color Change to Light Blue
At the end of Row 18, on your last sc, complete the stitch but pull through with Color B (Light Blue) instead of navy. Cut the navy yarn, leaving a 6 inch tail to weave in later.
Round 19
through 34: Ch 1, sc in BLO of each st across. Turn. (31 sts each row) You now have 16 rows of light blue ribbing.
Color Change to Cream
At the end of Row 34, complete the final stitch with Color C (Cream). Cut the light blue yarn.
Round 35
through 46: Ch 1, sc in BLO of each st across. Turn. (31 sts each row) You now have 12 rows of cream ribbing in the center.
Color Change Back to Light Blue
At the end of Row 46, complete the final stitch with Color B (Light Blue) again. Cut the cream yarn.
Round 47
through 62: Ch 1, sc in BLO of each st across. Turn. (31 sts each row) You have another 16 rows of light blue.
Color Change Back to Navy
At the end of Row 62, complete the final stitch with Color A (Navy). Cut the light blue yarn.
Round 63
through 80: Ch 1, sc in BLO of each st across. Turn. (31 sts each row) After Row 80: Fasten off, leaving a long tail (approximately 18 inches) for seaming.
Foundation Chain
With Color A (Navy) and your 3.5mm hook: Ch 32.
Your chain should measure approximately 7 inches. If it is significantly off, adjust your tension or hook size.
Assembling the Clutch
Now comes the satisfying part. You are about to watch this rectangle become a bag.
Step 1: Fold
Lay your rectangle flat with the ribbed texture facing up. Fold it in half widthwise, bringing Row 1 to meet Row 80. The wrong sides should be facing each other (right sides facing out).
Step 2: Seam the Bottom
Using your long navy tail and yarn needle, whip stitch or mattress stitch along the foundation chain edge. This closes the bottom of the bag. Work through both layers, keeping stitches even and snug.
A quick note: Mattress stitch creates an invisible seam, which I prefer here. But whip stitch works perfectly fine and is faster. Use whatever feels comfortable.
Step 3: Seam One Side Continue seaming up one side edge, joining the row ends together. Stop when you reach the top.
Step 4: Leave Top Open
The opposite side edge and the entire top remain open for now. The open side will become your second side seam.
Wait, that sounds confusing. Let me clarify: you actually need to seam BOTH side edges. Seam the second side just like the first. Leave only the top open.
Weave in your seaming tail securely.
Check your count
- Body of the Bag · Round 1: 31 sts
- Body of the Bag · Round 2: 31 sts
- Top Border · Round 2: 80 sts
Finish
- Weave in the color-change tails left at each stripe transition before the bag gets folded and seamed.
- Seam the bottom edge and one side edge together to close the rectangle into a clutch shape.
- Attach the lobster clasps at the side seams and clip on the chain strap, adding the anchor or starfish and pearl charms if using them.
Bigger or smaller
- Hook and yarn swap
- A larger hook with a heavier yarn than the 3.5mm cotton called for scales the whole clutch up, while a finer yarn with a smaller hook tightens the gauge and shrinks it down.
- Stripe repeat count
- Adding or dropping a repeat of the color sequence before folding changes the rectangle's width, which in turn changes how wide the finished clutch sits once seamed.
Photographs of this one
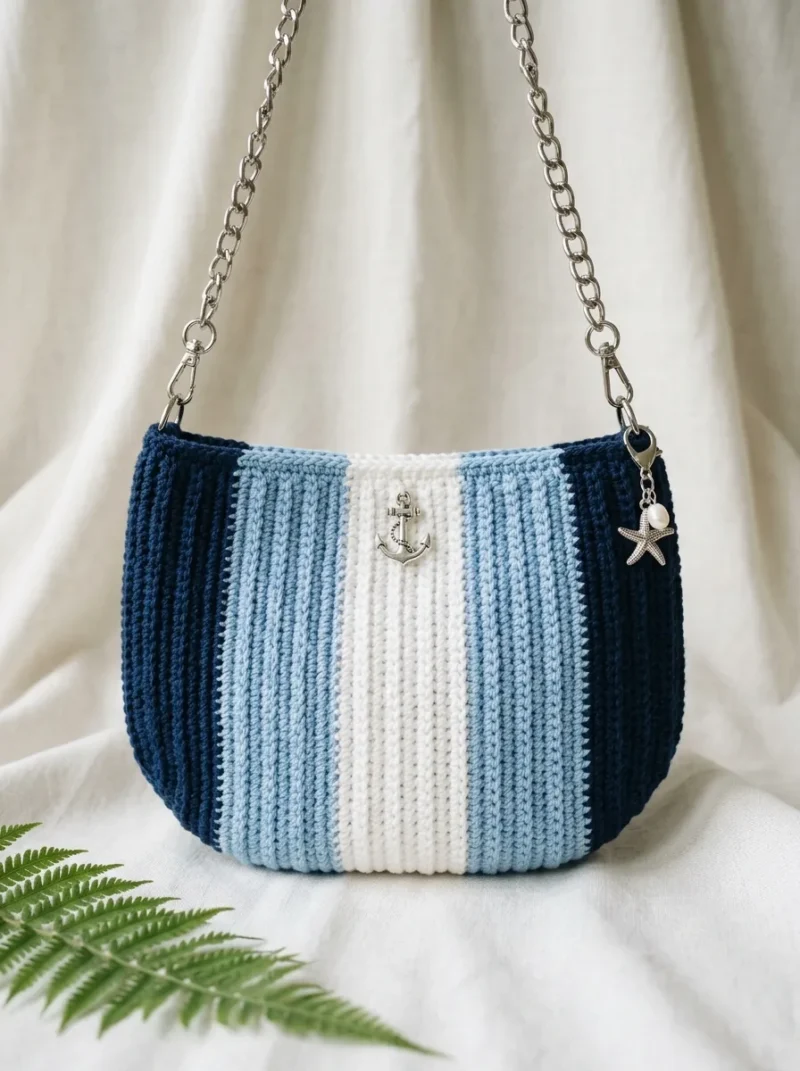
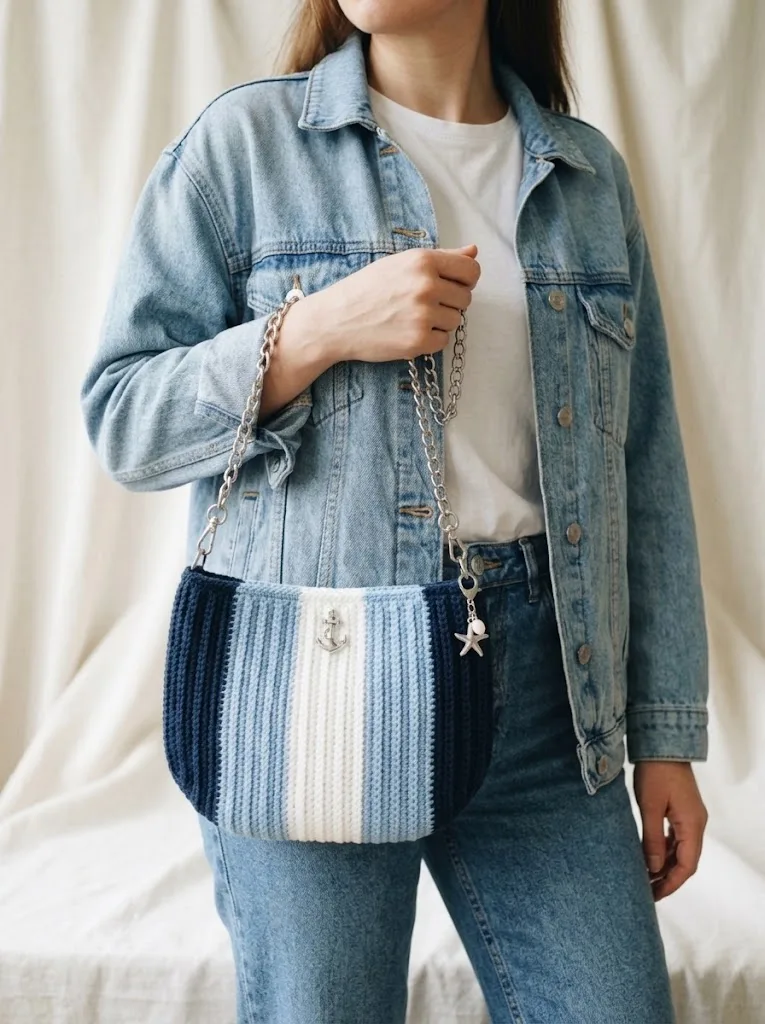
Every photograph on this page was taken by whoever published the pattern, and they are printed in the order the source listed them.
FAQs
Asked and answered
These answers came from whoever first published the pattern, kept word for word.
What yarn weight does this pattern call for?
The pattern uses DK weight (size 3) cotton or cotton blend yarn, ideally a mercerized cotton for a smooth, slightly shiny finish. A 3.5mm hook pairs with that weight, though the pattern notes it can be adjusted to match gauge.
What if working in the back loop only is new?
The pattern calls it one of the easiest modifications to learn and explains it before the ribbing rows begin. Working into just the back loop of each stitch is what creates the vertical ridge pattern running through every stripe.
Are the charms and chain strap required?
The silver chain strap and lobster clasps are part of the finished design, while the anchor charm and starfish and pearl charm are listed as optional. Either charm can be left off without affecting how the clutch comes together.
What causes the top border to pucker?
A tight border usually means too few stitches were worked into the row ends around the top opening. The pattern's own fix is to add a few extra stitches where it pulls in, or skip one here and there where it ruffles.