 STITCH ROUND
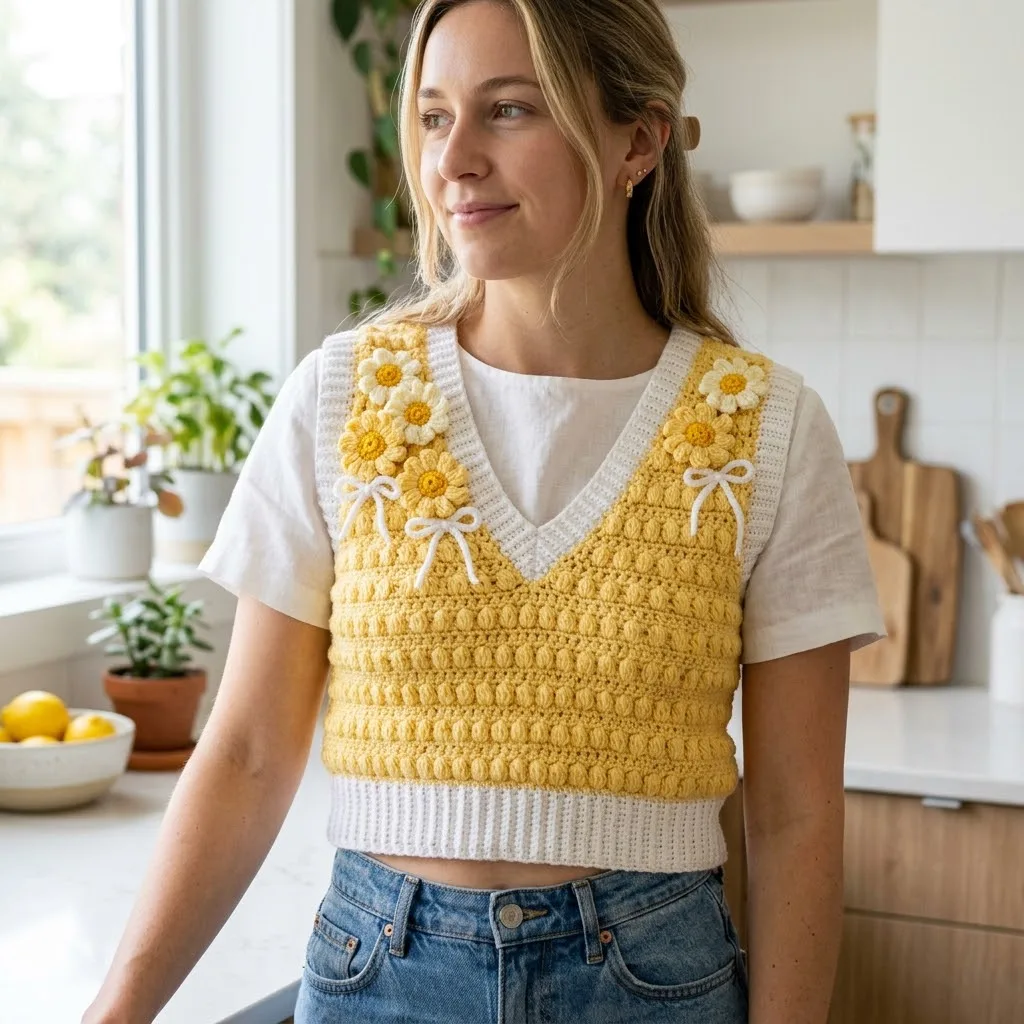
Sunshine daisy bow crochet vest with a bobble-stitch body
Sixteen rounds build a bobble-stitch vest with a ribbed hem and a daisy bow trim.
- Skill
- Intermediate
- Rounds
- 16 rounds
- Yarn weight
- Worsted
- Hook
- 5.0 mm
- Time
- 6-8 hours

Intermediate
What the original page called it. Nothing here is graded a second time.

16 rounds
Each one gets its own line, with a box beside it to tick as you go.

Worsted
What the sample was made in. Any weight works — the size moves with it.
About this pattern
The Sunshine Daisy Bow vest builds from the hem up, with sixteen rows and rounds in total carrying the piece from ribbed band to finished front panels. A stretchy cream ribbing starts the project on a smaller hook, then the main gold bobble-stitch body takes over for five rows before the fronts split. Separate daisy pieces, a yellow centre and cream petals, work up alongside the vest and finish the look with a bow at the front.
Shaping happens in three stages: the armhole, the shoulder, and the move from Left Front to Right Front. Each shaping round shifts the stitch count in a way that is easy to lose track of mid-row, so slow down through the Armhole Shaping and Shoulder Shaping sections and check the pattern often. The Right Front needs to mirror the Left Front exactly, including which side the armhole curves toward, so lay the two pieces together before seaming to catch mismatches early.
- Crochet the ribbed hem in cream on the smaller hook, then rotate it to pick up stitches along the long edge.
- Divide the work into Left Front and Right Front, keeping the second panel a mirror image of the first.
- Shape each front through the armhole and shoulder sections so the top edges taper and close evenly.
- Make the daisy centre and petals separately in yellow and cream using the smaller hook.
- Wrap the finished centre into a bow shape and attach it to the vest front for the finishing detail.
What goes wrong
- Forgetting back-loop-only ribbing Work each ribbing row into the back loop only to keep the stretch the pattern relies on. Check the first few rows before continuing the full length.
- Losing bobble placement between rows Bobble rows shift the skip-and-bobble sequence by a stitch between repeats, which is easy to drift on. Count stitches before and after each bobble row to stay on track.
- Mixing up the two hook sizes The ribbing and daisy pieces use the smaller hook while the body uses the larger one. Swap hooks exactly when the pattern calls for it, not before or after.
- Right Front not mirroring Left Front The Right Front needs to shape in the opposite direction to the Left Front at the armhole and shoulder. Lay the two pieces side by side before seaming to confirm they match.
Yarn, hook and the rest
Copied from the source pattern's own materials list.
Yarn
- Main Colour (MC): 250 yards worsted weight yarn in golden yellow
- Contrast Colour (CC): 150 yards worsted weight yarn in cream or off-white
- Small amounts of yellow and cream for daisy centres and petals
- A soft acrylic blend or cotton-acrylic works beautifully for this project. Look for yarn with good stitch definition so your bobbles really pop. I recommend something like Lion Brand Basic Stitch or Paintbox Yarns Simply Aran.
Hook
- 5.0 mm (H/8) crochet hook for main body
- 4.0 mm (G/6) crochet hook for ribbing and flowers
Notions
- Yarn needle for seaming
- Stitch markers
- Scissors
- Measuring tape
- Gauge
- 16 stitches and 12 rows = 4 inches (10 cm) in bobble pattern with 5.0 mm hook.
- Please, please check your gauge. I know it’s tempting to skip this step, but garments that don’t fit are heartbreaking after all that work. Make a small swatch, measure it, and adjust your hook size if needed. Too big? Go down a hook size. Too small? Go up.
Progress tracker
0 of the 16 rounds on this page are ticked.
The pattern, round by round
Kept in the order and the wording the source used. Tick a round as you finish it; the ticks stay on this device.
Ribbed Hem
With CC (cream) and 4.0 mm hook:
Round 1
Ch 11, sc in 2nd ch from hook and in each ch across. (10 sts)
Round 2
68 Ch 1, turn, sc in BLO of each st across. (10 sts) This creates a stretchy ribbed band approximately 17 inches wide. Don’t fasten off.Rotateyour work 90 degrees to crochet along the long edge of the ribbing. You’ll pick up stitches along the row ends.
Body
Round 1
(WS): Ch 1, turn, sc in each st across. (68 sts)
Round 2
(RS): Ch 1, turn, sc in first st, *sk 1, bob in next st, sc in next 2 sts* repeat from * to last 3 sts, sk 1, bob in next st, sc in last st. (68 sts including bobbles)
Round 3
(WS): Ch 1, turn, sc in each st across, working 1 sc into the top of each bobble. (68 sts)
Round 4
(RS): Ch 1, turn, sc in first 3 sts, *sk 1, bob in next st, sc in next 2 sts* repeat from * to last st, sc in last st. (68 sts)
Round 5
(WS): Ch 1, turn, sc in each st across. (68 sts)Rows 6-33: Repeat Rows 2-5 seven more times. Your bobbles will create a lovely offset brick pattern.
Centre
With yellow and 4.0 mm hook, make a magic ring.
Round 1
Ch 1, work 6 sc into ring. Pull ring closed. Join with sl st to first sc. (6 sts)
Round 2
Ch 1, 2 sc in each st around. Join. (12 sts) Fasten off yellow. Join cream for petals.
Petals
Round 3
*Ch 4, sl st in 2nd ch from hook, hdc in next ch, dc in next ch, sk 1 st on centre, sl st in next st* repeat 6 times total. (6 petals)Fasten off, leaving a long tail for sewing.
Left Front
Row 26: Ch 1, turn, work in pattern across first 32 sts, sc2tog over next 2 sts. Leave remaining sts unworked. (33 sts)
Round 27
Ch 1, turn, sc2tog over first 2 sts, sc across in pattern. (32 sts)Rows 28-33: Continue in pattern, decreasing 1 st at neck edge every row. (26 sts after Row 33)
Round 34
Armhole Sl st in first 6 sts, ch 1, continue in pattern to neck edge, decrease 1 st. (19 sts)Rows 35-44: Continue in pattern, decreasing 1 st at neck edge every other row. (18 sts)Row 45: Work even. Fasten off. (18 sts)
Armhole Shaping
Round 34
Sl st in first 6 sts, ch 1, sc in same st, continue in bobble pattern across to last 6 sts, leave remaining sts unworked. (56 sts)
Rounds 35–44
Continue in established bobble pattern, maintaining sc rows between bobble rows. (56 sts)
Shoulder Shaping
Round 45
Ch 1, turn, sc in first 18 sts. Leave remaining sts unworked for first shoulder. Fasten off. (18 sts)Skip centre 20 sts for back neck. Rejoin yarn to work second shoulder.
Round 45
Second shoulder Join MC in st after centre gap, ch 1, sc in same st and in remaining 17 sts. Fasten off. (18 sts)
Small amounts
A soft acrylic blend or cotton-acrylic works beautifully for this project. Look for yarn with good stitch definition so your bobbles really pop. I recommend something like Lion Brand Basic Stitch or Paintbox Yarns Simply Aran.
Hook
5.0 mm (H/8) crochet hook for main body 4.0 mm (G/6) crochet hook for ribbing and flowers
Notions
Yarn needle for seaming Stitch markers Scissors Measuring tape
Transition Row
Body Rows 1-25: Work in bobble pattern exactly as for back panel.
V-Neck Shaping: You’ll now work each side of the V-neck separately.
Right Front
Join MC to centre of Row 26.
Row 26: Ch 1, sc2tog, work in pattern across remaining 32 sts. (33 sts) Work as for left front, reversing all shaping.
Centre wrap
These sweet little bows add such a feminine touch. Don’t stress about making them perfect. Handmade charm is the goal.
Check your count
- Ribbed Hem · Round 1: 10 sts
- Body · Round 1: 68 sts
- Body · Round 3: 68 sts
- Body · Round 4: 68 sts
- Body · Round 5: 68 sts
- Centre · Round 1: 6 sts
Finish
- Weave in every yarn end from the hem, body, and daisy pieces before assembling the vest.
- Secure the daisy centre and petals together, then wrap and stitch the bow in place at the front.
- Block the finished vest lightly to even out the bobble texture and help the fronts lie flat.
Bigger or smaller
- Larger or smaller overall
- Move to a heavier or lighter yarn weight and a correspondingly larger or smaller hook than the 5.0 mm and 4.0 mm specified. This loosens or tightens the bobble gauge and scales the whole vest up or down.
- Longer body
- Repeat the Body section's bobble-and-plain row sequence an extra time before starting the Armhole Shaping. This adds length to the torso before the fronts split for the armholes.
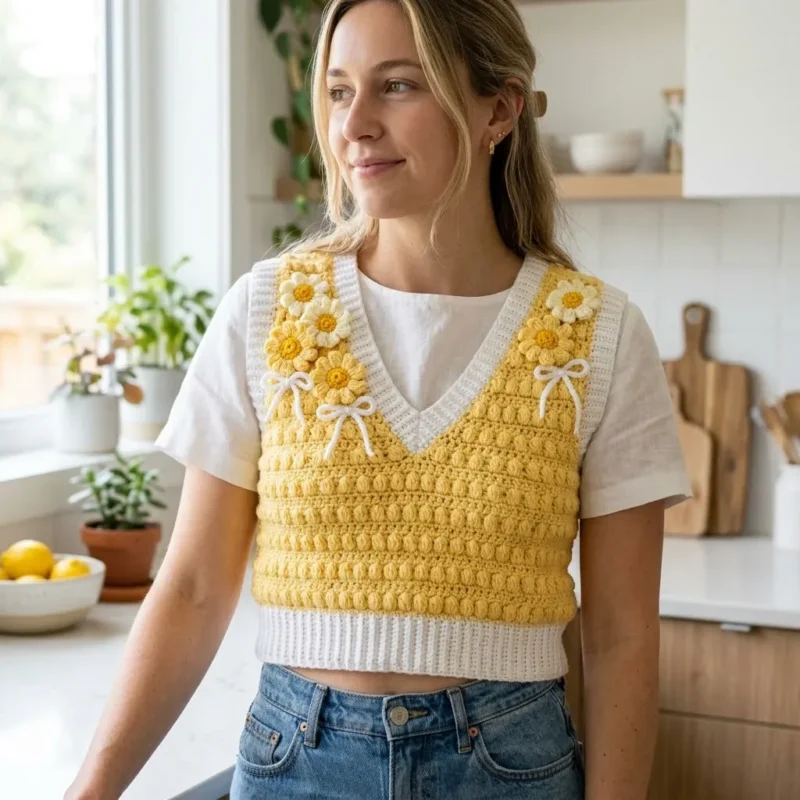
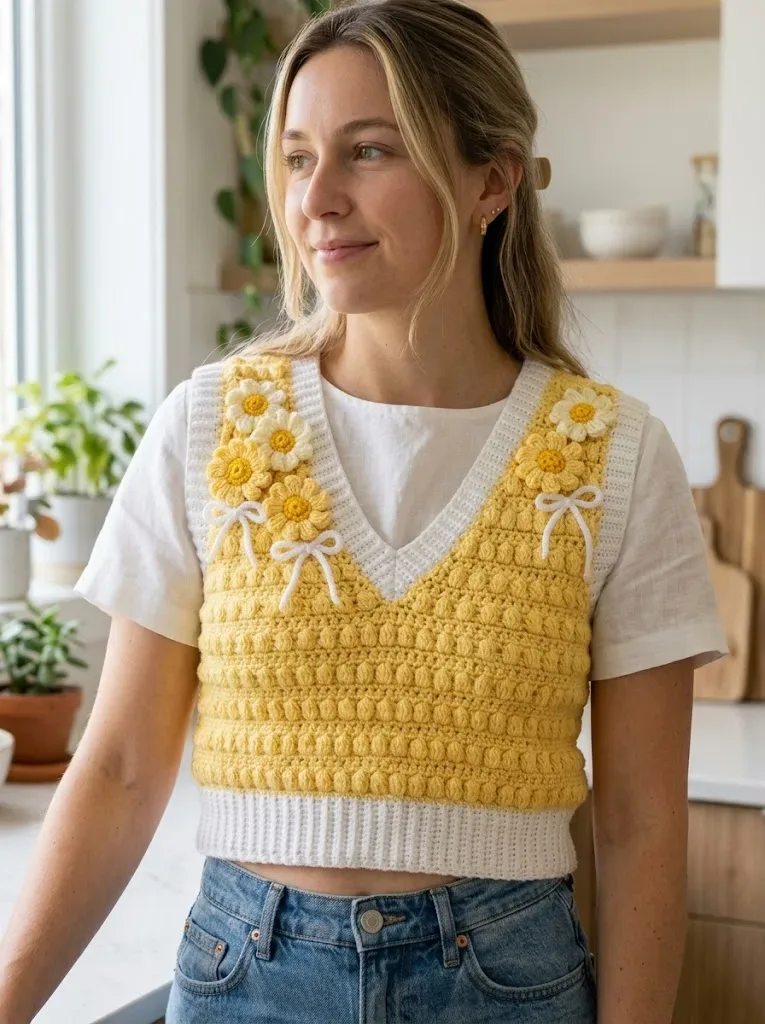
Photographs of this one
Every photograph on this page was taken by whoever published the pattern, and they are printed in the order the source listed them.
FAQs
Asked and answered
These answers came from whoever first published the pattern, kept word for word.
Why does the pattern use two different hook sizes?
The smaller 4.0 mm hook keeps the ribbed hem and daisy pieces tight and well-defined, while the larger 5.0 mm hook lets the bobble stitch in the body stay soft and show texture. Swapping hooks at the right point keeps the fit and the stitch definition working together.
What yarn works best for the bobble body?
A soft acrylic blend or a cotton-acrylic mix with good stitch definition shows off the bobbles clearly. Checking gauge in the bobble pattern with the 5.0 mm hook before starting is worth the extra swatch time.
How is the bow attached to the vest?
The daisy centre is worked first, then wrapped to form the bow shape before being stitched to the front of the vest. Securing it after the fronts are shaped keeps the placement accurate.
Do the Left Front and Right Front need to match exactly?
Yes, the Right Front should mirror the Left Front's armhole and shoulder shaping so the two sides meet evenly at the seams. Laying both pieces flat together before joining catches any shaping mismatch early.