 STITCH ROUND
 Textured crochet beret pattern for cozy fall hats
27 rounds to tick off as you make this cozy textured crochet beret for fall.
- Skill
- Intermediate
- Rounds
- 20 rounds
- Yarn weight
- Worsted
- Hook
- 5 mm
- Time
- 4-6 hours

Intermediate
What the original page called it. Nothing here is graded a second time.

20 rounds
Each one gets its own line, with a box beside it to tick as you go.

Worsted
What the sample was made in. Any weight works — the size moves with it.
About this pattern
This beret builds from a single magic ring into a rounded, oversized crown before narrowing into a fitted band, and the main pattern section covers 12 rounds of joined single crochet to get there. Each round adds controlled increases, so the piece grows from a tiny circle into a wide, flat top without any seams to sew. Working in joined rounds keeps the shape symmetrical and easy to check against a flat surface as the crown builds.
Once the crown reaches its full width, the shaping section takes over for 5 rounds, trading plain rounds with hdc2tog decrease rounds to pull the fabric inward into the classic beret curve. This is the section to slow down for, since skipping or miscounting a decrease round changes how quickly the hat tapers toward the head opening. Careful stitch placement here keeps the curve even all the way around before the ribbed edge begins.
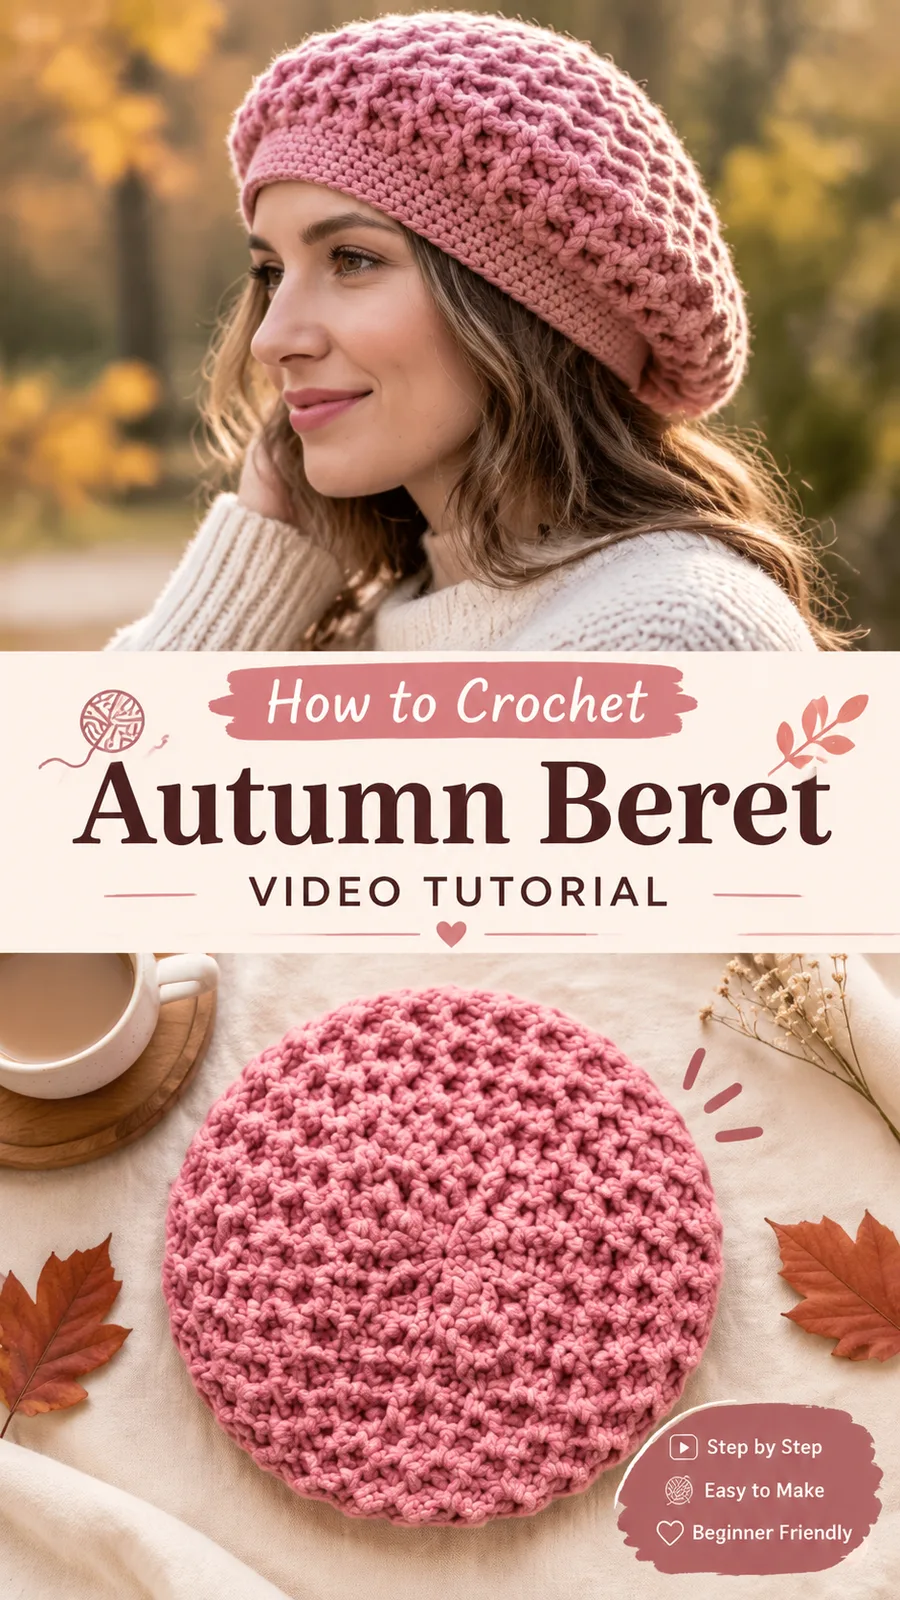
The pictured version uses a soft pink yarn for a feminine, autumn-inspired look, but the design works just as well in neutral shades, earthy tones, or bold seasonal colors.
Pro Tip: Crochet hats depend heavily on gauge. Before starting the full project, crochet a small swatch to confirm that your fabric stretches comfortably while maintaining its shape.
- A magic ring at the center starts the crown with a tidy ring of stitches to build from.
- Single crochet increases spiral outward round after round, flattening the crown into its wide, rounded top.
- Half double crochet decreases take over once the crown reaches full width, pulling the fabric inward.
- Plain half double crochet rounds alternate with decrease rounds, letting the beret curve gently toward the head.
- Single crochet rounds build the fitted ribbed edge that hugs the head after the crown shaping ends.
- A loose slip stitch round finishes the edge, giving the brim a neat border before fastening off.
What goes wrong
- Uneven increases in the crown Place a stitch marker in the first stitch of every round so increase points stay lined up instead of drifting around the circle.
- Counting the turning chain as a stitch The turning chain does not count as a stitch, so skip it when matching the round's stitch count. Slip stitches are also used only to join rounds and do not count as stitches.
- Hat becomes too flat If the crown does not develop enough shape, your increases may be too frequent. Check your stitch count after each round and make sure the increase pattern is followed carefully.
- Hat feels too loose A loose fit often comes from using a larger hook or a yarn with too much stretch. Consider reducing hook size slightly or adding extra ribbed edge rounds.
- Texture looks uneven Textured crochet stitches look best when your tension stays consistent. Avoid pulling cluster stitches too tightly because they need room to create their raised effect.
Yarn, hook and the rest
Copied from the source pattern's own materials list.
- 220 yards (201 meters) category 4 medium-weight yarn
- 5 mm crochet hook (US H-8)
- Yarn needle for weaving ends
- Stitch marker
- Measuring tape
- Scissors
Progress tracker
0 of the 20 rounds on this page are ticked.
The pattern, round by round
Kept in the order and the wording the source used. Tick a round as you finish it; the ticks stay on this device.
Main Pattern
Round 1
Make a magic ring. Ch 1, work 8 sc into ring. Join with sl st to first sc. (8 sts)
Round 2
Ch 1. Work 2 sc in each stitch around. Join. (16 sts)
Round 3
Ch 1. *1 sc in next stitch, 2 sc in next stitch. Repeat from * around. Join. (24 sts)
Round 4
Ch 1. *1 sc in next 2 stitches, 2 sc in next stitch. Repeat from * around. Join. (32 sts)
Round 5
Ch 1. *1 sc in next 3 stitches, 2 sc in next stitch. Repeat from * around. Join. (40 sts)
Round 6
Ch 1. *1 sc in next 4 stitches, 2 sc in next stitch. Repeat from * around. Join. (48 sts)
Round 7
Ch 1. *1 hdc in next 5 stitches, 2 hdc in next stitch. Repeat from * around. Join. (56 sts)
Round 8
Ch 1. *1 hdc in next 6 stitches, 2 hdc in next stitch. Repeat from * around. Join. (64 sts)
Round 9
Ch 1. Work 1 hdc in each stitch around. Join. (64 sts)
Round 10
Ch 1. *Textured Cluster in next stitch, 1 hdc in next 3 stitches. Repeat from * around. Join. (64 sts)
Round 11
Ch 1. Work 1 hdc in each stitch around. Join. (64 sts)
Round 12
Ch 1. *Textured Cluster in next stitch, 1 hdc in next 3 stitches. Repeat from * around. Join. (64 sts)
Shaping the Beret
Round 13
Ch 1. *Hdc in next 6 stitches, hdc2tog over next 2 stitches. Repeat from * around. Join. (56 sts)
Round 14
Ch 1. Work 1 hdc in each stitch around. Join. (56 sts)
Round 15
Ch 1. *Hdc in next 5 stitches, hdc2tog over next 2 stitches. Repeat from * around. Join. (48 sts)
Round 16
Ch 1. Work 1 hdc in each stitch around. Join. (48 sts)
Round 17
Ch 1. *Hdc in next 4 stitches, hdc2tog over next 2 stitches. Repeat from * around. Join. (40 sts)
Ribbed Edge
Round 18
Ch 1. Sc in each stitch around. Join. (40 sts)
Rounds 19–26
Ch 1. Sc in each stitch around. Join. (40 sts)
Final Round
Ch 1. Work slip stitch loosely around the edge for a neat finish. Join and fasten off.
Textured Autumn Crochet Beret
Pattern Description: This original crochet beret pattern creates a soft, rounded hat with a textured crown and comfortable fitted edge. The construction uses joined rounds and simple shaping techniques to create a wearable accessory inspired by classic handmade beret styles.
Skill Level: Confident Beginner. Finished Size: Adult medium, approximately 20 inches (51 cm) head circumference. Hat Depth: Approximately 10 inches (25.5 cm). Yarn: Suggested category 4 medium-weight soft yarn, approximately 220 yards (201 meters). Hook: Recommended 5 mm crochet hook (US H-8). Gauge: Approximately 14 single crochet stitches x 16 rounds = 4 inches (10 cm). Terminology: US crochet terminology.
Special Stitch
Textured Cluster: Yarn over, insert hook into indicated stitch, yarn over and pull up a loop. Repeat two more times in the same stitch. Yarn over and pull through all loops on hook. This creates a raised textured stitch.
Join
Step 1Blocking helps soften the fabric and improves the rounded beret shape. Gently wet the finished hat, remove excess water with a towel, and reshape it on a rounded surface. Allow it to dry completely before wearing.
Step 2For care, follow the yarn label recommendations. Many handmade crochet hats benefit from gentle washing and air drying to protect the stitch definition.
Check your count
- Main Pattern · Round 4: 32 sts
- Main Pattern · Round 8: 64 sts
- Main Pattern · Round 12: 64 sts
- Shaping the Beret · Round 13: 56 sts
- Shaping the Beret · Round 14: 56 sts
- Shaping the Beret · Round 15: 48 sts
Finish
- Use a yarn needle to weave in all loose ends securely.
- Lightly block the beret by shaping the crown into a rounded form.
- Allow it to dry naturally while maintaining the soft curve of the hat.
Bigger or smaller
- Smaller
- Stop the crown increases earlier and begin the shaping section sooner to reduce the crown circumference. For a small adult size, stop increasing after Round 7 or 8.
- Larger
- Add one or two additional increase rounds before shaping, using the same increase rhythm, for a large adult size.
- Slouchier
- Add extra textured rounds before beginning the decreases for a slouchier beret.
- Firmer winter hat
- Choose a wool blend yarn for a firmer winter hat.
- Fit tip
- The most important part of a well-fitting crochet beret is matching the crown diameter and band circumference to the intended wearer. Measure before finishing the edge for the best fit.
FAQs
Asked and answered
These answers came from whoever first published the pattern, kept word for word.
What yarn works best for this beret?
A soft category 4 medium-weight yarn with good drape, such as a wool blend, matches the recommended 5 mm hook and 220-yard quantity. This weight holds the textured stitch pattern without making the finished hat stiff.
Can the crown be adjusted for a different head size?
Yes, the increase rounds in the crown can be stopped earlier for a smaller size or extended by a round or two for a larger one. Moving into the shaping section sooner or later changes the final fit without altering the rest of the pattern.
Does this beret need blocking?
Blocking is recommended to soften the fabric and set the rounded crown shape. Wet the finished piece, blot out excess water, and reshape it over a rounded surface before letting it dry completely.