 STITCH ROUND
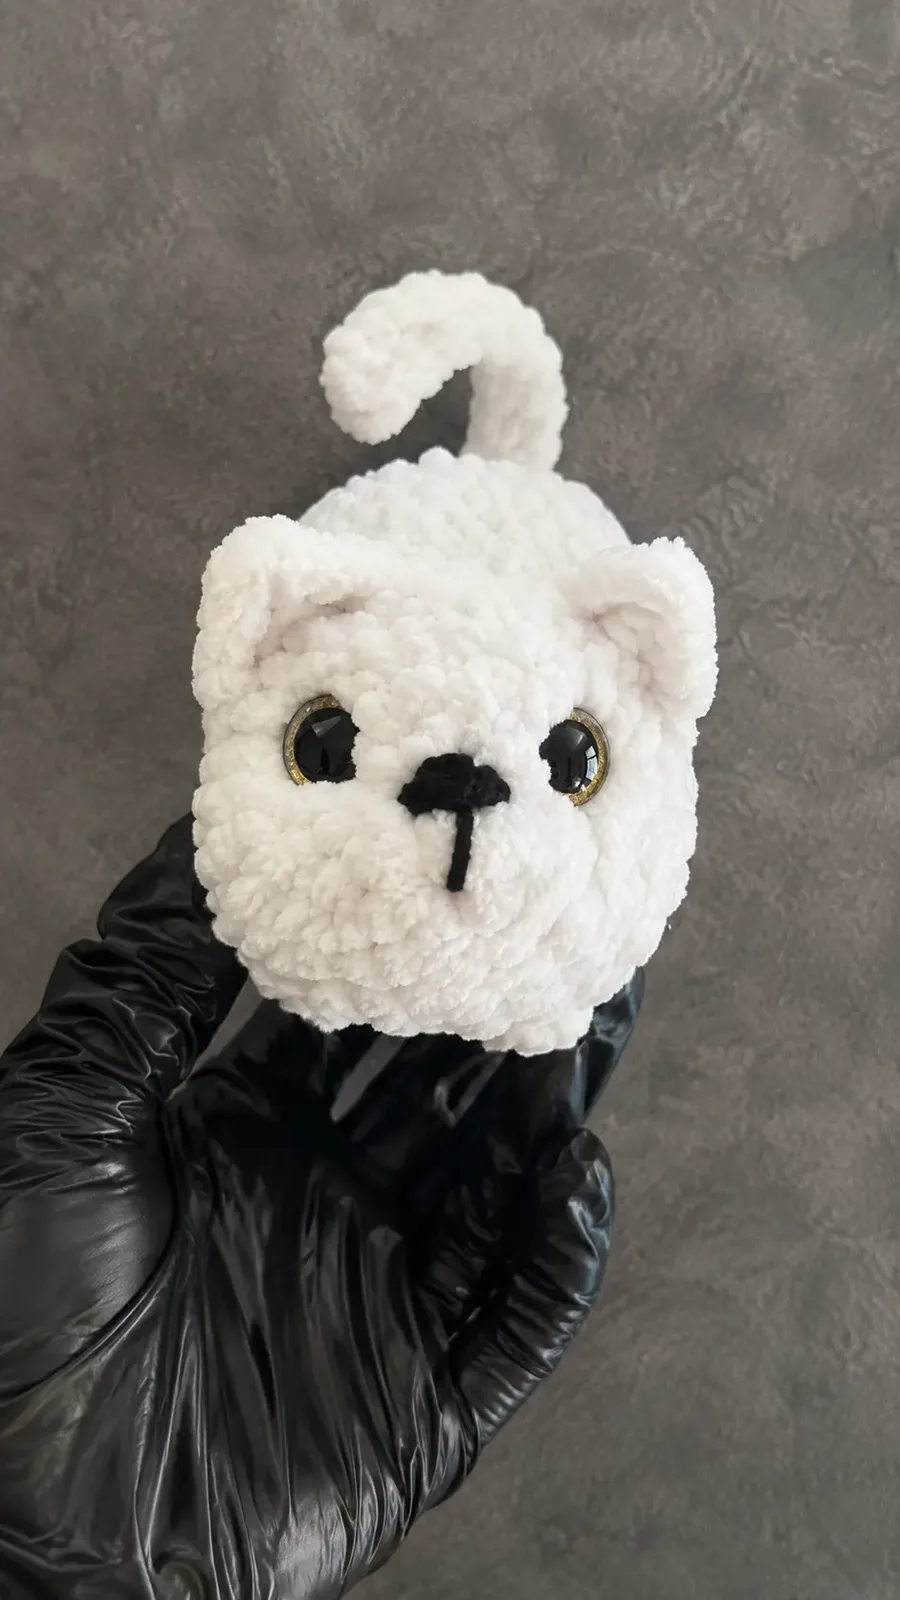
 Amigurumi cat plush pattern with popcorn stitch paws
20 rounds to tick off for a plush amigurumi cat with popcorn-stitch legs and two ear options.
- Skill
- Intermediate
- Rounds
- 21 rounds
- Yarn weight
- Plush/Chenille
- Hook
- 4 mm
- Time
- 4-6 hours

Intermediate
What the original page called it. Nothing here is graded a second time.

21 rounds
Each one gets its own line, with a box beside it to tick as you go.

Plush/Chenille
What the sample was made in. Any weight works — the size moves with it.
About this pattern
This little cat plush builds up over 20 rounds of the main piece, worked in plush yarn on a 4mm hook. The body starts small with a magic ring and grows through a run of increase rounds before settling into straight rounds, giving a compact shape that finishes fast once the rhythm is set. Expect a single continuous piece plus separately noted ear and leg options.
Shaping happens early, with increase rounds stacking one after another to widen the base before the straight rounds take over. Slow down through that increase stretch and again at the final decrease rounds, since plush yarn hides stitch definition and it is easy to lose track of placement. The popcorn-stitch legs also need a steady hand to keep each paw popping forward instead of flattening into the body.
- Start the body at the center with a magic ring and build outward through a series of increase rounds.
- Settle into straight rounds once the base reaches its full width, adding stuffing gradually as the piece grows.
- Work the popcorn-stitch legs separately, pushing each stitch outward so the paws stand out from the body.
- Choose one of the two ear styles, both built from a small cluster of stitches worked into a single point.
- Attach the safety eyes a couple of rounds above where the ears sit, spaced a few stitches apart.
- Close the final decrease rounds at the top of the body and embroider the face before sealing it shut.
What goes wrong
- Losing the round in plush yarn Place a stitch marker in the first stitch of every round and move it up as the work progresses. Checking stitch count without a marker is nearly impossible once the fuzzy texture hides the seam.
- Loose tension showing stuffing Work with firm, even tension throughout, since plush yarn naturally sits looser than standard worsted. If stuffing peeks through after the first few rounds, go down a hook size or tighten pull-through on each stitch.
- Flat popcorn-stitch paws Push each popcorn stitch toward the front of the work as it is made, not after the round is finished. Working them flush with the surrounding stitches leaves the paws looking like regular bumps instead of raised feet.
- Closing the body before embroidering Sew the nose and mouth lines while the opening at the top is still wide enough to reach inside and anchor the thread. Closing first makes it difficult to secure tails without them showing on the outside.
Yarn, hook and the rest
Copied from the source pattern's own materials list.
- Plush yarn
- Crochet hook 4mm
- Needle
- Scissors
- Eyes 12-10mm
- Embroidery thread for details
- Fiberfill stuffing
Progress tracker
0 of the 21 rounds on this page are ticked.
The pattern, round by round
Kept in the order and the wording the source used. Tick a round as you finish it; the ticks stay on this device.
Main Pattern
Round 1
6 sc in mr
Round 2
6 inc (12)
Round 3
(sc, inc)x6 (18)
Round 4
(2 sc, inc)x6 (24)
Rounds 5–6
24 sc (2 rounds)
Round 7
(2 sc, dec)x2, 16 sc (22)Step by step: Eyes 3-4 round, distance 6 stitches
Round 8
14 sc, popcorn, 3 sc, popcorn, 3 sc (22)
Round 9
(sc, inc)x5, 12 sc (27)
Round 10
27 sc
Round 11
(2 sc, inc)x5, 12 sc (32)
Rounds 12–13
32 sc (2 rounds)
Round 14
(2 sc, dec)x5, 12 sc (27)Step by step: Tail: 10 ch from second from hook: 9 sc
Round 15
19 sc, popcorn, 6 sc, popcorn (27)
Round 16
sc, (sc, dec)x3, tail, (sc, dec)x2, 12 (24)
Round 17
24 sc
Round 18
(2 sc, dec)x6 (18)
Round 19
(sc, dec)x6 (12)
Round 20
6 dec, pull opening tight, cut thread.
Ears Type 1
2 ch into the same st dc, tr, dc and 3 ch into the same stitch, sl st.
Ears Type 2
Attach yarn and in this same stitch sc, in the next: hdc, tr, hdc and ch, in the next sc, sl st (total 3 stitches for ear, hold toy facing you). 2 rounds above eyes, distance 2-3 sc.
Legs (sewn-on)
6 sc in mr, 6 inc, then 1-2 rounds 12 sc.
Check your count
- Main Pattern · Round 7: 22 sts
- Main Pattern · Round 14: 27 sts
- Main Pattern · Round 19: 12 sts
Finish
- Weave in all ends as each piece is completed, since plush yarn tails can peek through thin stitches if left loose.
- Stuff firmly but evenly before the last decrease rounds close the body, checking for lumps while the opening is still accessible.
- Embroider the nose and mouth with dark thread while an opening remains, then close the final round and secure the tail inside.
Bigger or smaller
- Smaller
- Drop to a finer yarn with a smaller hook, which tightens the gauge and shrinks the finished plush while keeping the same sequence of rounds. A standard worsted weight acrylic yarn with a 3.25mm or 3.5mm hook also works, though the finished kitty will turn out smaller than the plush-yarn version.
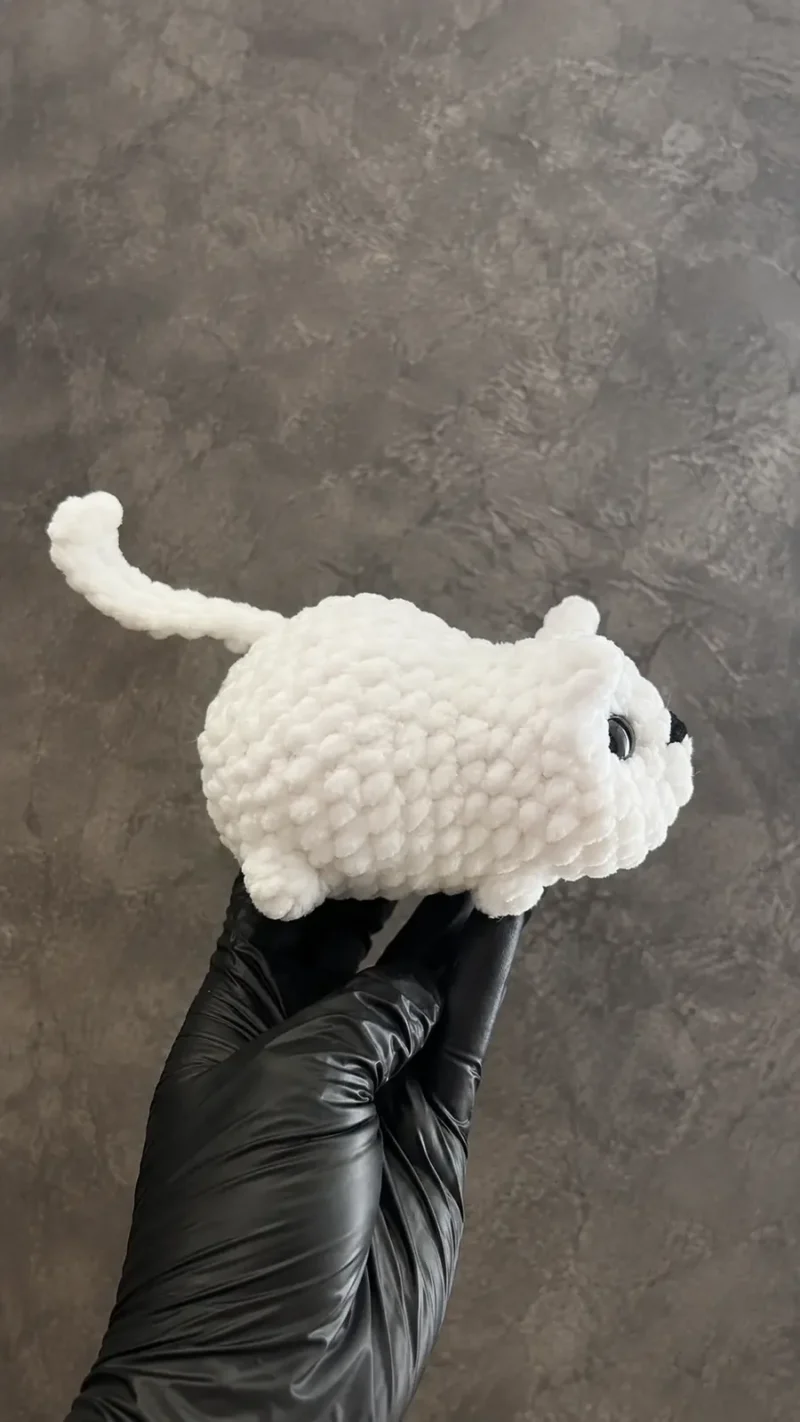
Photographs of this one
Every photograph on this page was taken by whoever published the pattern, and they are printed in the order the source listed them.
FAQs
Asked and answered
These answers came from whoever first published the pattern, kept word for word.
Which ear style should be used?
Either ear type works with the same body, so pick based on the look preferred since both are built from a small cluster of stitches in one spot. Type 1 uses double and treble crochet for a pointed shape, while type 2 adds a half double and chain for a slightly fuller ear.
Can the legs be sewn on instead of worked in place?
Yes, the pattern notes a sewn-on option starting with a magic ring and a round of increases before working straight rounds. This makes it easier to position the legs for a seated pose after the body is already stuffed.
Why does the stitch marker matter so much with this yarn?
Plush yarn obscures the usual visual cues that mark the start of a round, making miscounts easy to miss until several rounds later. A stitch marker in the first stitch keeps the increase and decrease rounds lined up correctly.
When should the eyes go in?
Attach the safety eyes a couple of rounds above the ear placement, spacing them a few stitches apart for a centered face. Doing this before the final rounds close makes it far easier to secure the backs from inside.