 STITCH ROUND
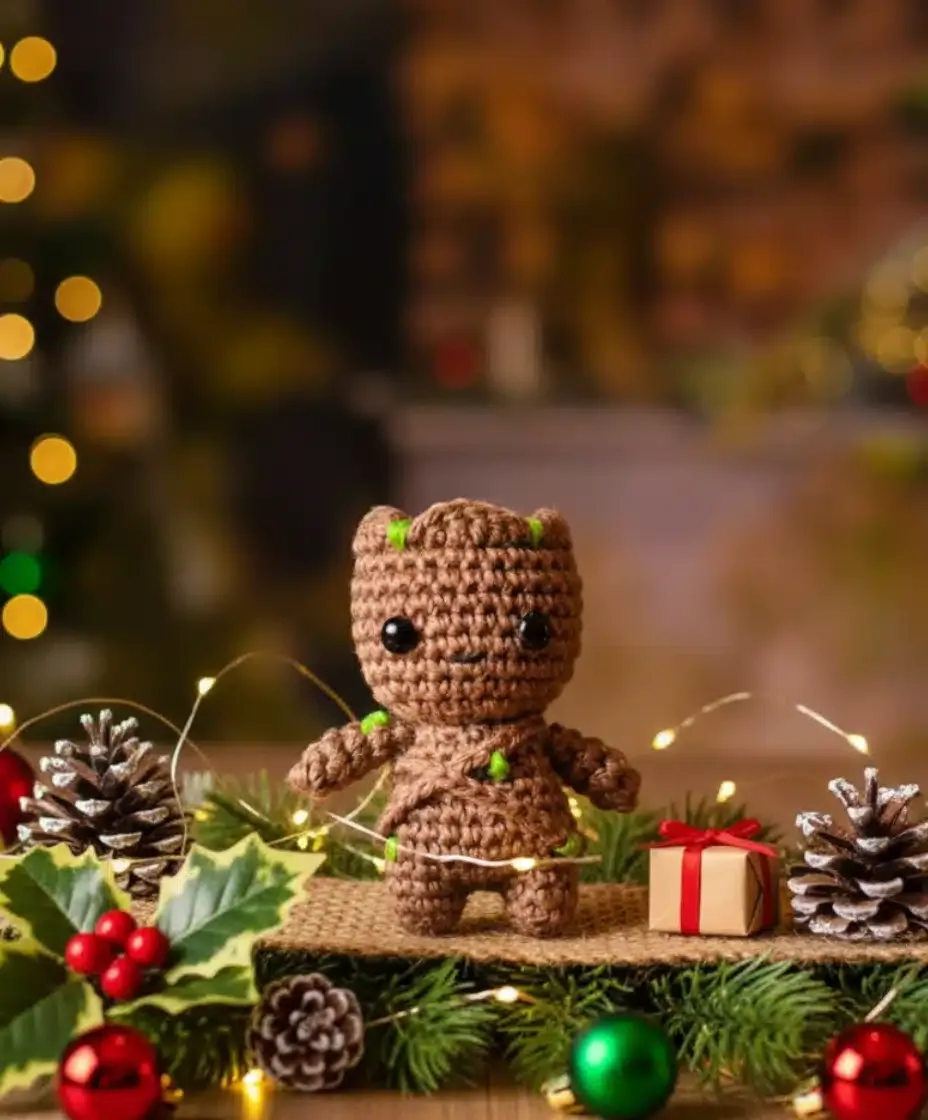
 Baby Groot amigurumi keychain crochet pattern
21 rounds to tick off for a mini Baby Groot amigurumi keychain, worked from legs to head in one seamless build.
- Skill
- Intermediate
- Rounds
- 21 rounds
- Yarn weight
- Worsted
- Time
- 4-6 hours

Intermediate
What the original page called it. Nothing here is graded a second time.

21 rounds
Each one gets its own line, with a box beside it to tick as you go.

Worsted
What the sample was made in. Any weight works — the size moves with it.
About this pattern
Baby Groot comes together as a small, seamless amigurumi built to sit in one hand or clip to a bag. The legs take 3 rounds each, the body adds 6 more, and the head brings the total shaping to 9 rounds before the arms finish the frame. Worked mostly in brown yarn with safety eyes and embroidery for the face, this is a compact project that ticks off fast once the base is set.
Shaping runs through increases that widen the body after the legs join and a front loop only round that starts the head with a defined neckline. Slow down at the leg-to-body join, where two separately made legs are connected with a short chain to form one continuous round. The head also deserves care around the safety eye placement, since that round sets the whole face before the remaining rounds close in.
- Crochet two small legs separately, then set one aside without fastening off.
- Join both legs with a short chain to start a single continuous body round.
- Increase around the body to widen it, then work even rounds up to the neck.
- Increase steadily through the head rounds and add safety eyes partway up.
- Attach arms to the finished body and add embroidered and vine details to close out the look.
What goes wrong
- Fastening off both legs Leave one leg's yarn attached so it can carry straight into the joining round. Fastening off both means rejoining yarn and extra ends to weave in.
- Missing the front loop only round Work only the front loops on the first head round to create the visible neckline ridge. Working into both loops flattens the transition between body and head.
- Placing safety eyes without checking spacing Test the eye position between rounds before locking the backs in place. Once attached, safety eyes cannot be moved without unpicking stitches.
- Under-stuffing before closing rounds Add stuffing gradually as each section nears its final rounds rather than all at once at the end. Firm, even stuffing keeps the body and head from looking lopsided.
Yarn, hook and the rest
Copied from the source pattern's own materials list.
- To make your Baby Groot amigurumi, you will need:
- Brown yarn
- Crochet hook (appropriate for your yarn weight)
- Sewing needle
- Green embroidery thread
- Black embroidery thread
- Safety eyes (choose a size that fits your desired Groot)
- Stuffing
Progress tracker
0 of the 21 rounds on this page are ticked.
The pattern, round by round
Kept in the order and the wording the source used. Tick a round as you finish it; the ticks stay on this device.
The Legs
We begin our Baby Groot with the legs. Take your time with these small pieces; patience is key!
Round 1
6 sc in MR – (6 stitches)
Round 2
2 sc, 1 inc, 3 sc – (7 stitches)
Round 3
7 sc – (7 stitches) Fasten off and create a second identical leg. Do not fasten off the second leg, as we will join it to the body.
Building the Body
The legs and body of our amigurumi are crocheted together to form a seamless base.
From the second leg, chain 2 stitches, then join the legs to form a continuous round.
Round 1
18 sc (across both legs and chains)
Round 2
3 sc, 1 inc, 8 sc, 1 inc, 5 sc – (20 stitches)
Rounds 3–6
20 sc – (20 stitches)
Round 7
3 sc, 1 dec, 8 sc, 1 dec, 5 sc – (18 stitches)
Round 8
3 sc, 1 dec, 7 sc, 1 dec, 4 sc – (16 stitches)
Round 9
(2 sc, 1 dec) * 4 – (12 stitches) Do not fasten off. Stuff the body firmly at this stage.
Crafting the Head
The head is crucial for capturing Baby Groot’s signature look. We’ll continue directly from the body’s last row.
Round 1
(FLO): (1 inc, 1 sc) * 6 – (18 stitches)
Round 2
(1 inc, 2 sc) * 6 – (24 stitches)
Round 3
(1 inc, 3 sc) * 6 – (30 stitches)
Rounds 4–9
30 sc – (30 stitches). Add safety eyes in row 6.
Round 10
(BLO): (1 dec, 3 sc) * 6 – (24 stitches)
Round 11
(1 dec, 2 sc) * 6 – (18 stitches) Stuff the head now, shaping it well.
Round 12
(1 dec, 1 sc) * 6 – (12 stitches)
Round 13
6 dec. (6 stitches) Fasten off. Now, let’s add some delightful detail to the head. Join your thread to the front loops of row 10.
Round 10
a: 1 ch, 1 hdc, 2 dc, 1 hdc, 1 sc, 1 ss, 1 sc, 2 hdc, 2 dc, 2 hdc, 1 sc, 1 ss, 1 sc, 1 hdc, 1 dc, 1 hdc, 1 ss, 1 ch, 1 hdc, 4 dc, 2 hdc, 2 sc. Join the row with a slip stitch.
Remember it later!
Adding the Arms
Next up are Baby Groot’s adorable little arms.
Round 1
6 sc in MR – (6 stitches)
Rounds 2–4
6 sc – (6 stitches)
Round 5
1 dec, 4 sc – (5 stitches) Make two arms.
Join
Step 1Your Baby Groot is almost complete! Now for the characteristic details that make him a true
Check your count
- The Legs · Round 1: 6 sts
- The Legs · Round 2: 7 sts
- Building the Body · Round 2: 20 sts
- Building the Body · Rounds 3–6: 20 sts
- Building the Body · Round 7: 18 sts
- Building the Body · Round 8: 16 sts
Finish
- Weave in all loose ends from color changes and fastened-off pieces, especially at the leg tops and arm joins.
- Stuff the body and head firmly as rounds close, adding extra fill around the neck join for a stable stand.
- Attach the arms and stitch on the embroidered and vine details to complete Baby Groot's finished look.
Bigger or smaller
- Larger
- Move up a hook size and use a heavier yarn weight than worsted to scale the whole toy up proportionally.
- Smaller
- Drop to a smaller hook with the same yarn to tighten stitches and shrink Baby Groot without changing the round counts.
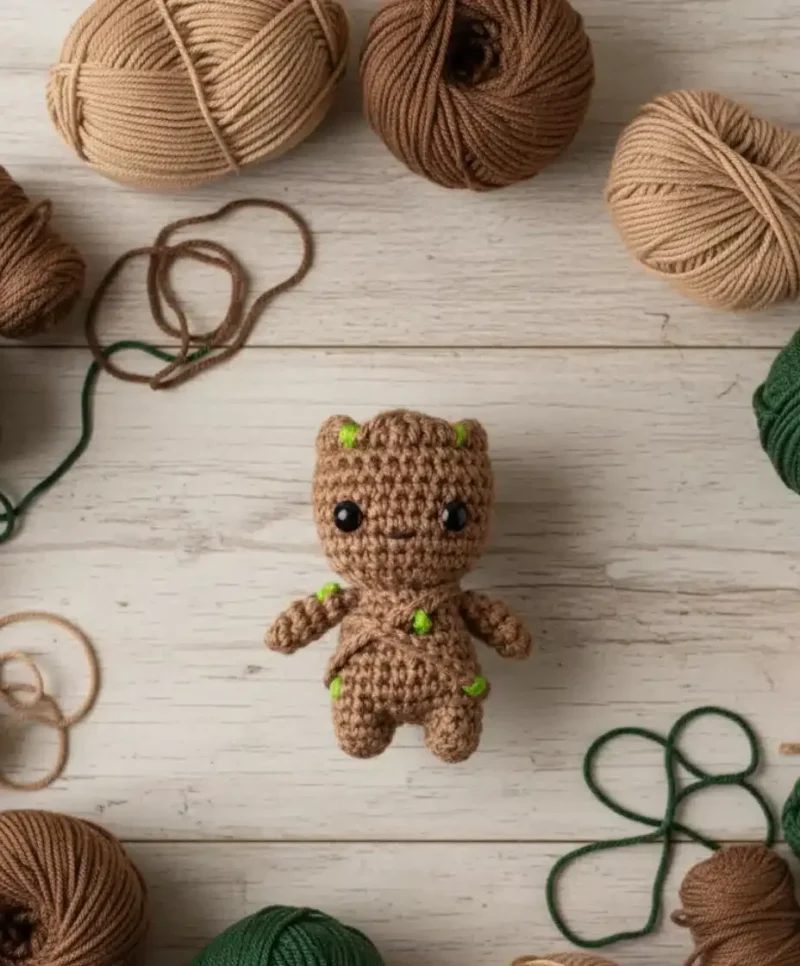
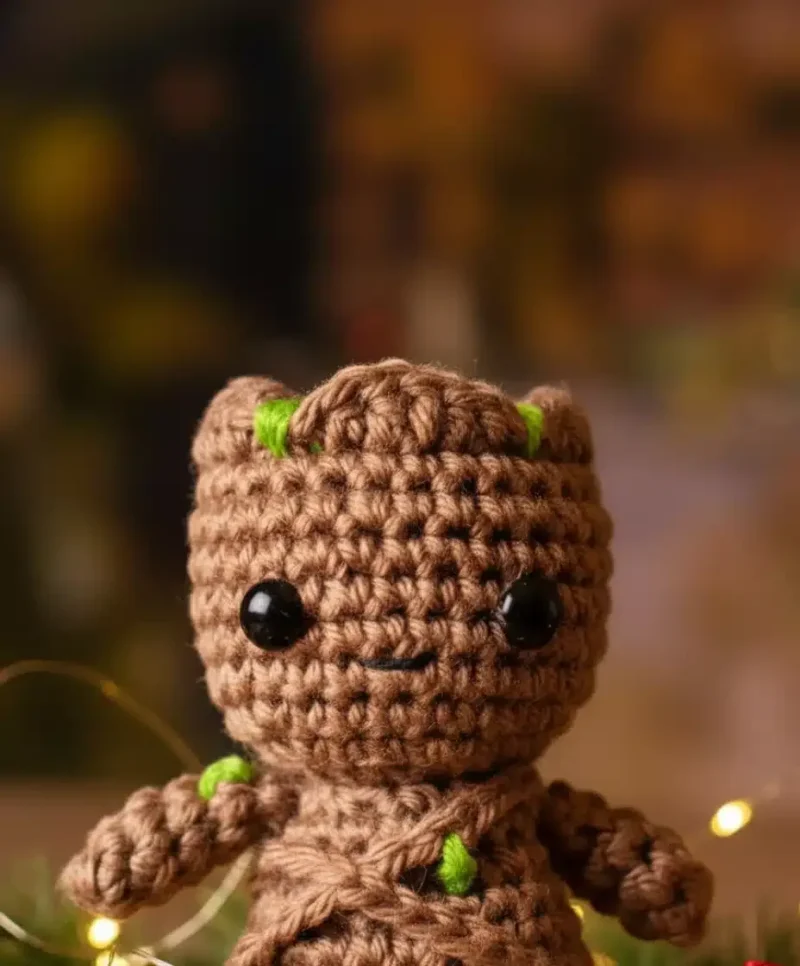
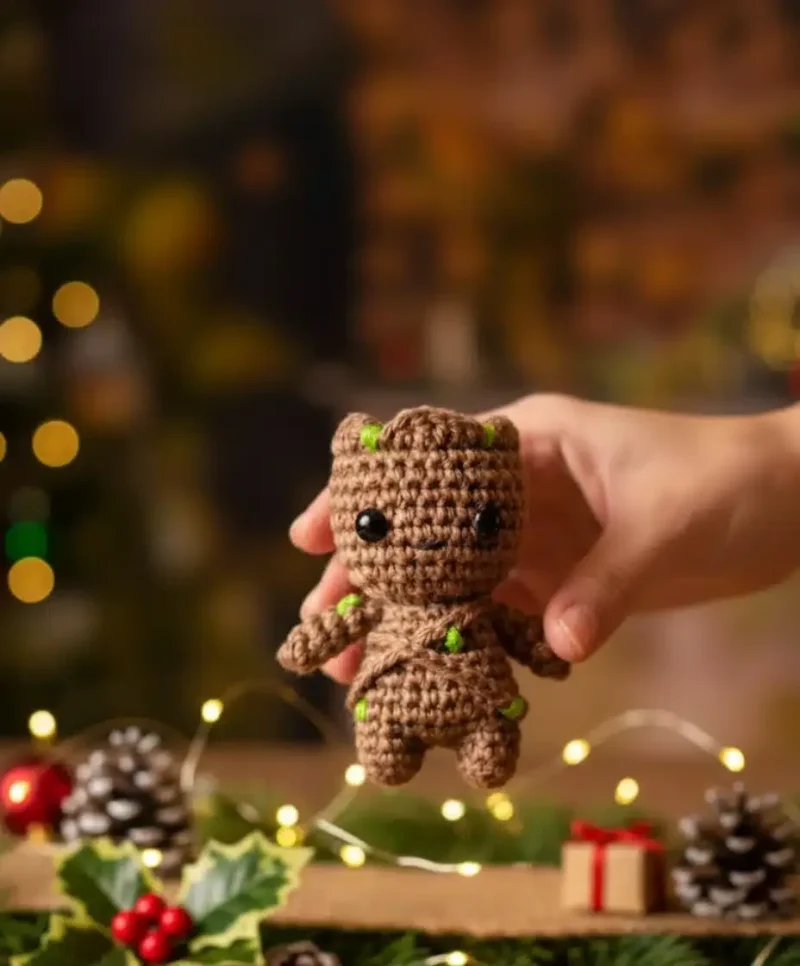
Photographs of this one
Every photograph on this page was taken by whoever published the pattern, and they are printed in the order the source listed them.
FAQs
Asked and answered
These answers came from whoever first published the pattern, kept word for word.
What does the front loop only round do for the head?
It leaves the back loops exposed to form a defined ridge where the head meets the body. This gives Baby Groot a distinct neckline instead of a smooth, seamless transition.
When should the safety eyes go in?
The pattern places them partway through the head rounds, once enough shaping is visible to judge spacing. Adding them too early or too late makes it harder to center the face correctly.
Is this a good project for a first amigurumi?
The leg join and front loop only round call for some prior amigurumi experience. A beginner who has completed a simpler toy first should manage it without trouble.