 STITCH ROUND
 Chicken bag crochet pattern with ruffled wings and curly tail
Five rounds shape the body of this crochet chicken bag with ruffled wings and a curly tail.
- Skill
- Intermediate
- Rounds
- 19 rounds
- Yarn weight
- Bulky
- Hook
- 2.75 mm
- Time
- 4-6 hours

Intermediate
What the original page called it. Nothing here is graded a second time.

19 rounds
Each one gets its own line, with a box beside it to tick as you go.

Bulky
What the sample was made in. Any weight works — the size moves with it.
About this pattern
This chicken bag comes together in five rounds for the body, worked as a continuous spiral and tracked with a stitch marker so the beginning of each round stays clear. Each wing takes seven rows once the foundation chain is turned flat, and the beak finishes in four short rounds. The legs are quick, worked flat in three rounds before folding closed. Every piece checks off fast, so progress is easy to track against the counts listed for each part.
Shaping concentrates in the wings, where flat rows build outward from a foundation chain to create a ruffled edge rather than a flat panel. Slow down on the rounds that increase stitch counts in pairs, since missing an increase throws off the curve of the wing and the roundness of the beak. The body's spiral construction means there is no joining slip stitch to mark round changes, so keep the stitch marker moving each round. Take extra care when folding the legs flat to close them, since an uneven fold leaves the legs lopsided once attached.
Finished size: this crochet chicken bag measures approximately 10 cm x 12.5 cm (about 4in x 5in), making it the perfect size for coins, a lip balm, or a little treasure collection. It's an intermediate-level project, and gauge is not critical — using the recommended yarn and hook sizes will produce a bag of this size. Stitch counts are given at the end of each round or row in parentheses so progress is always easy to check.
- Work the body in a continuous spiral, tracking the round beginning with a stitch marker throughout.
- Start each wing from a foundation chain, then turn and build flat rows outward for a ruffled edge.
- Crochet the beak in the round using the fine steel hook, shaping it to a short rounded point.
- Work each leg flat in the round, then fold and close the open end before fastening off.
- Make the crest and tail as separate accent pieces in the matching lighter-weight yarn.
- Sew the wings, legs, beak, crest and tail onto the body to finish the bag.
What goes wrong
- Losing track of the spiral round Without a joining slip stitch, it is easy to lose the round start. Keep a stitch marker in the first stitch of every round and move it up each time.
- Misplacing the wing increases The ruffled wing shape depends on increases landing in the same spaced pattern each row. Count stitches at the end of every row before turning to catch a missed increase early.
- Using the wrong hook for small parts Swapping the steel hook for the larger C-2 hook on the beak or legs makes those pieces too loose and floppy. Keep the Steel #8 hook for the beak and legs so stitches stay tight and tidy.
- Sewing the wing pocket shut Whipstitching all the way around the wing closes off the pocket opening. Stitch only the lower and side edges and leave the ruffled top edge open as directed.
- Loose tension on the body Because the bag holds its shape without any lining or structure, working too loosely through the body rounds leaves it feeling floppy. Keep tension tight for crisper edge definition, and go down a half hook size if the fabric still feels soft.
- Skipping fold-line markers The crest, tail, and strap all anchor to the two folded side edges of the oval body, so without markers it is easy to lose track of the fold points. Place stitch markers at the center stitches of each short end right after finishing the foundation round to save counting later.
- Closing the beak with no fill A beak closed flat with nothing inside looks one-dimensional. Tuck in the tiniest pinch of fiberfill or a small yarn scrap before working the final 4 sc that fold and close it, for a rounded, three-dimensional look.
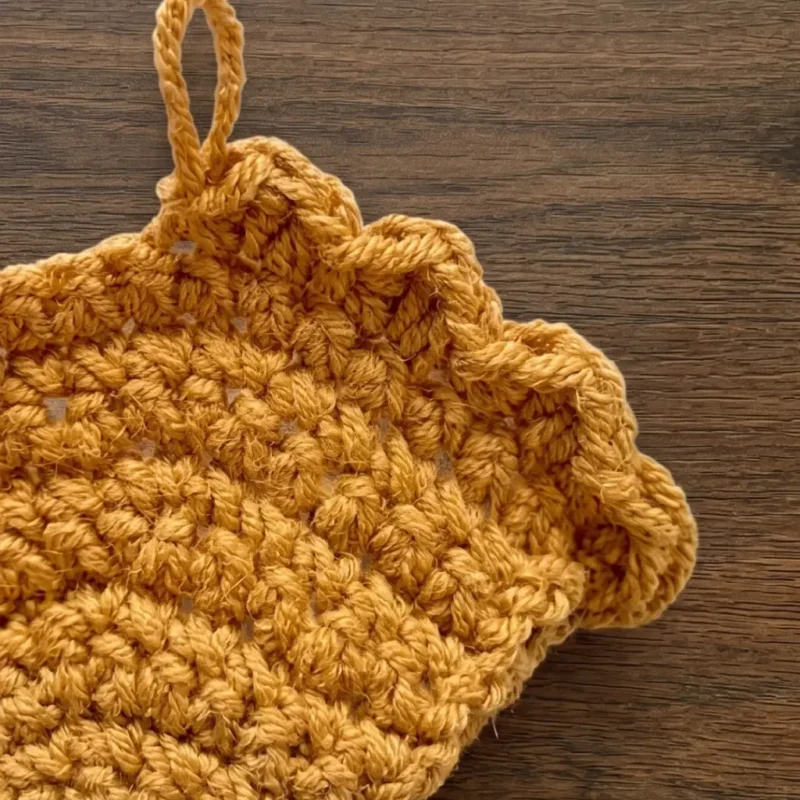
- Over-tightening the ruffle row Pulling the yarn too tight during the ruffle row keeps the hdc and dc stitches from flaring out like feathers. Work this row with a slightly looser tension, and wet-block the wings flat before sewing them on if the ruffle curls inward.
- Leaving the strap loosely attached The 160-chain strap takes strain during everyday use, so a loosely anchored end can pull free over time. After anchoring each end with a sl st into the front loop of the body, weave the yarn tail back through several stitches along the body edge before trimming to spread out the load.
Yarn, hook and the rest
Copied from the source pattern's own materials list.
- Yarn (Body): Himalaya Dolphin Baby #80301 — Bulky / Super Bulky weight
- Yarn (Crest & Tail): Gazzal Baby Bamboo #95233
- Yarn (Beak): Gazzal Baby Cotton #3417
- Yarn (Wings): Gazzal Baby Cotton #3447
- Yarn (Legs & Strap): Alize Bella #466
Embroidery thread
- Black cotton thread for embroidering the eyes
Hook
- US C-2 / 2.75 mm
Hook
- US Steel #8 / 1.5 mm (for smaller pieces)
- Matching yarn in corresponding colors for sewing on legs, wings, crest, and beak
Tools
- Yarn needle / tapestry needle with a large eye
- Scissors
- Stitch markers
- Fiberfill or a small scrap of yarn (optional, for lightly stuffing the beak before closing)
Progress tracker
0 of the 19 rounds on this page are ticked.
The pattern, round by round
Kept in the order and the wording the source used. Tick a round as you finish it; the ticks stay on this device.
Wings (make 2)
Use C-2 / 2.75 mm hook and Wing yarn (Gazzal Baby Cotton #3447).
Foundation: Chain 7. Starting in the 2nd chain from the hook, sc in the next 5 sts, 3 sc in the last chain. Rotate work to work along the opposite side of the foundation chain: sc in the next 5 sts. (13)
Continue working in flat rows. At the beginning of each row, chain 1 (does not count as a stitch), then turn.
Row 1
Ch 1, 5 sc, inc 3 times, 5 sc. (16)
Row 2
Ch 1, 5 sc, inc, 1 sc repeat 3 times, 5 sc. (19)
Row 3
Ch 1, 5 sc, 2 sc, inc repeat 3 times, 5 sc. (22)
Row 4
Ch 1, 5 sc, inc, 3 sc repeat 3 times, 5 sc. (25)
Row 5
Ch 1, 5 sc, 4 sc, inc repeat 3 times, 5 sc. (28)
Row 6
Ch 1, 5 sc, inc, 5 sc repeat 3 times, 5 sc. (31)
Row 7
Ch 1, 5 sc, 6 sc, inc repeat 3 times, 5 sc. (34)Now work the decorative edge along the curved edge using Front Loop Only (FLO).Ruffle Row: Ch 1. Working into the front loop only of each stitch: hdc, dc, hdc in the first loop, sl st in the next loop — repeat this sequence to the end of the row. Do not fasten off yet.Work sc evenly along the remaining straight edge of the wing to neaten it. Fasten off and leave a long yarn tail for sewing.
The wings attach over the remaining front loops of the body and form small pockets — leave the wing yarn tails un-woven until after the bag is fully assembled.
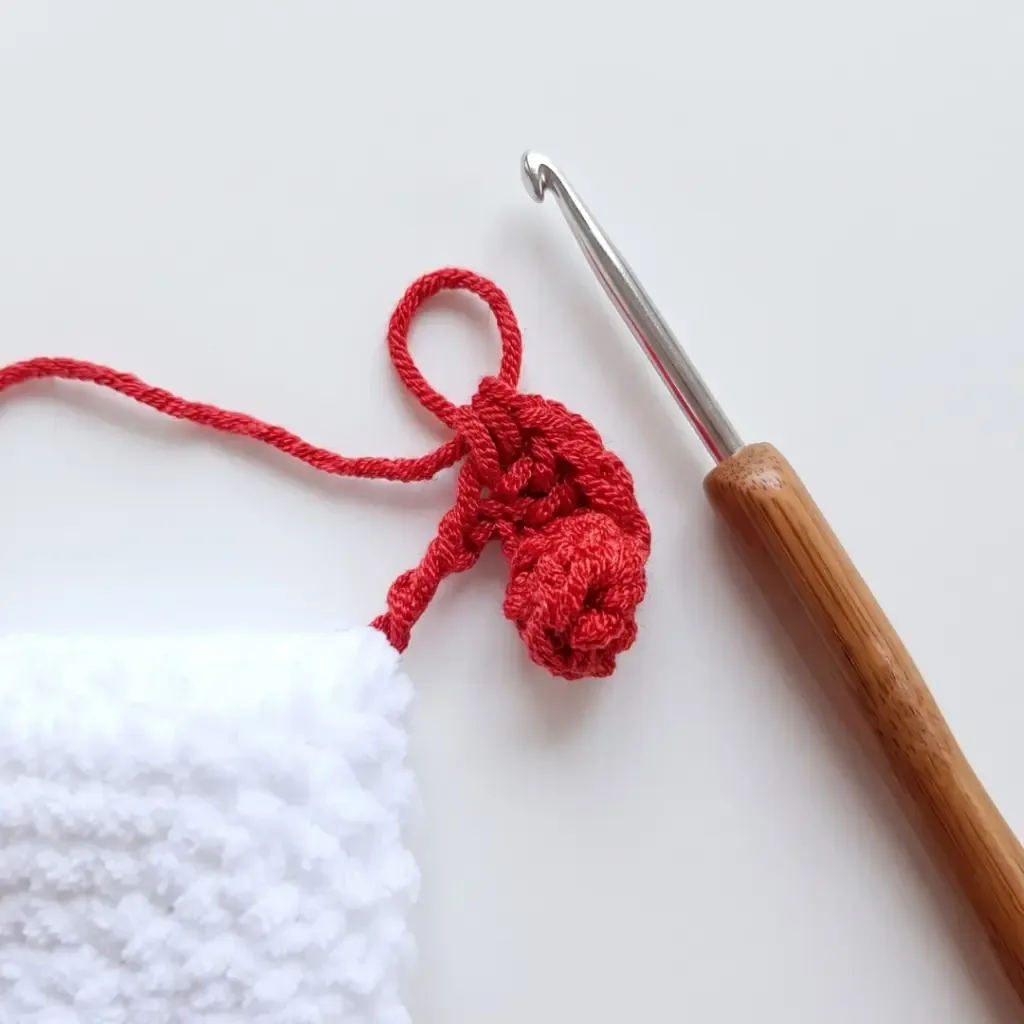
Beak
Use Steel #8 / 1.5 mm hook and Beak yarn (Gazzal Baby Cotton #3417).
Round 1
3 sc in MR. (3)
Round 2
inc in each st around. (6)
Round 3
sc in each st around. (6)
Round 4
1 sc, inc repeat 3 times. (9)Fold the beak flat and work 4 sc through both layers to close. Fasten off, leaving a long yarn tail for sewing.
Legs (make 2)
Use Steel #8 / 1.5 mm hook and Leg yarn (Alize Bella #466).
Round 1
5 sc in MR. (5)
Round 2
inc in each st around. (10)
Rounds 3–6
sc in each st around. (10) Work 4 rounds even. Fold flat and work 5 sc through both layers to close. Fasten off, leaving a long yarn tail for sewing.
Body
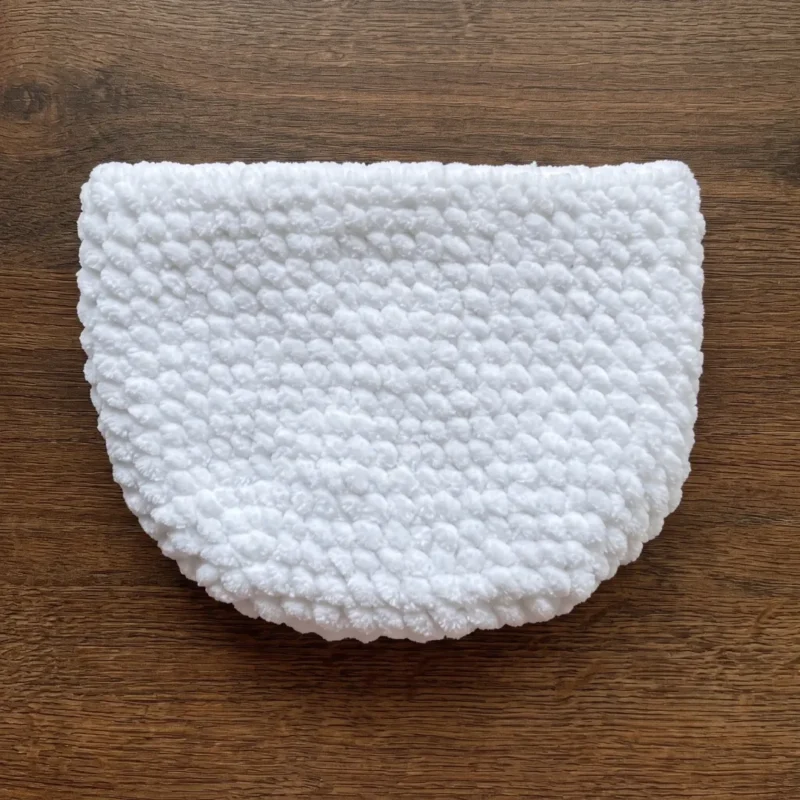
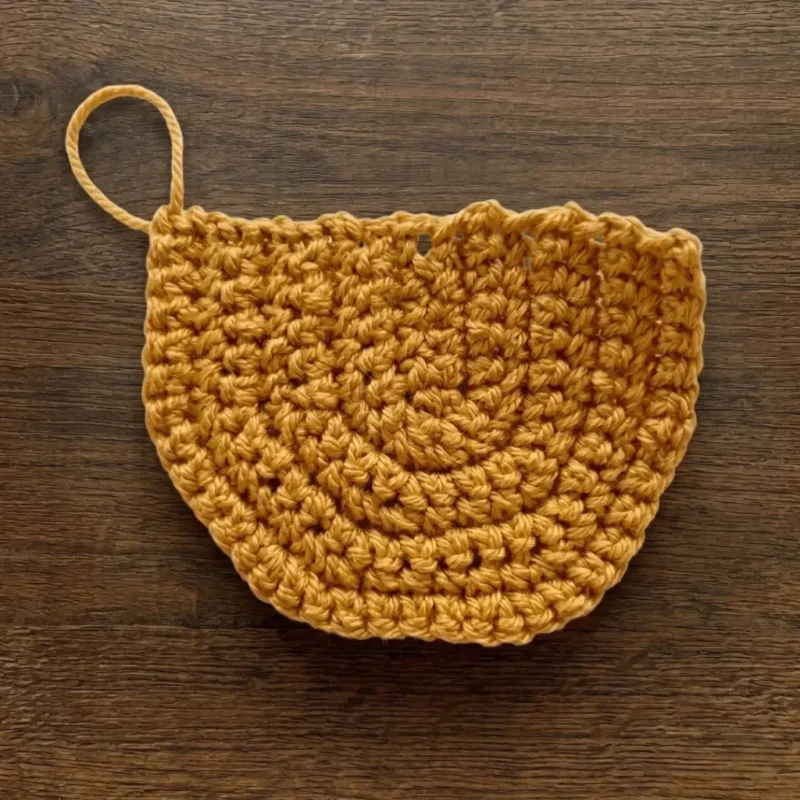
Use C-2 / 2.75 mm hook and Body yarn (Himalaya Dolphin Baby #80301).
Foundation: Chain 11. Starting in the 2nd chain from the hook, sc in the next 9 sts, 3 sc in the last chain. Rotate work to work along the opposite side of the foundation chain: sc in the next 9 sts, 3 sc in the last st. Mark the beginning of the round. (24)
Round 2
9 sc, inc 3 times, 9 sc, inc 3 times. (30)
Round 3
9 sc, inc, 1 sc repeat 3 times, 9 sc, inc, 1 sc repeat 3 times. (36)
Round 4
9 sc, inc, 2 sc repeat 3 times, 9 sc, inc, 2 sc repeat 3 times. (42)
Round 5
9 sc, inc, 3 sc repeat 3 times, 9 sc, inc, 3 sc repeat 3 times. (48)
Rounds 6–17
sc in each st around. (48) Work 12 rounds even. Sl st to close. Fasten off and weave in the end.
Tail
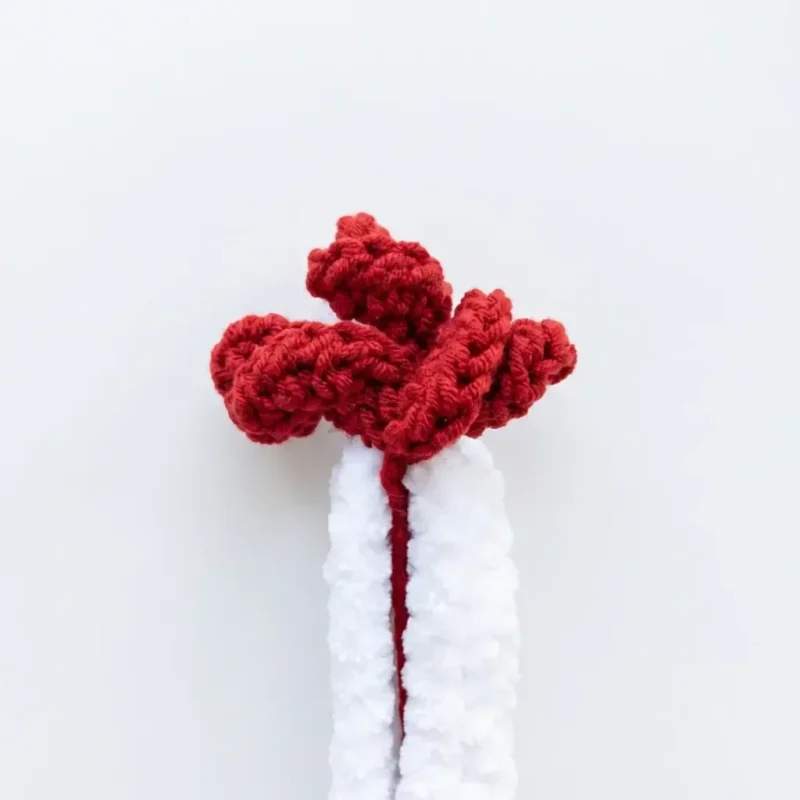
Use C-2 / 2.75 mm hook and Crest/Tail yarn (Gazzal Baby Bamboo #95233). Work directly onto the body.
Locate the stitch at one of the folded side edges of the bag. Join yarn with a sl st.
Curl 1: Ch 10. Starting in the 2nd chain from the hook, work 2 dc in each chain back down to the bag. Sl st into the body to anchor.
Curl 2: Repeat from Ch 10 into the same base stitch to create a second curl.
Curl 3: Repeat once more into the same base stitch.
You now have 3 curly tail feathers emerging from the same point. Fasten off and weave in the end.
Crest
Use C-2 / 2.75 mm hook and Crest/Tail yarn (Gazzal Baby Bamboo #95233). Work directly onto the body at the opposite fold from the tail.
Place stitch markers to identify 5 stitches on each side of the fold (10 sts total across the top edge).
Join yarn with a sl st just before the first marked stitch.
Crest Row: Into the next st: hdc, 2 dc, hdc. Sl st into the following st. Repeat this shell sequence 4 more times across the marked stitches (5 shells total).
Fasten off and weave in the end.
Join
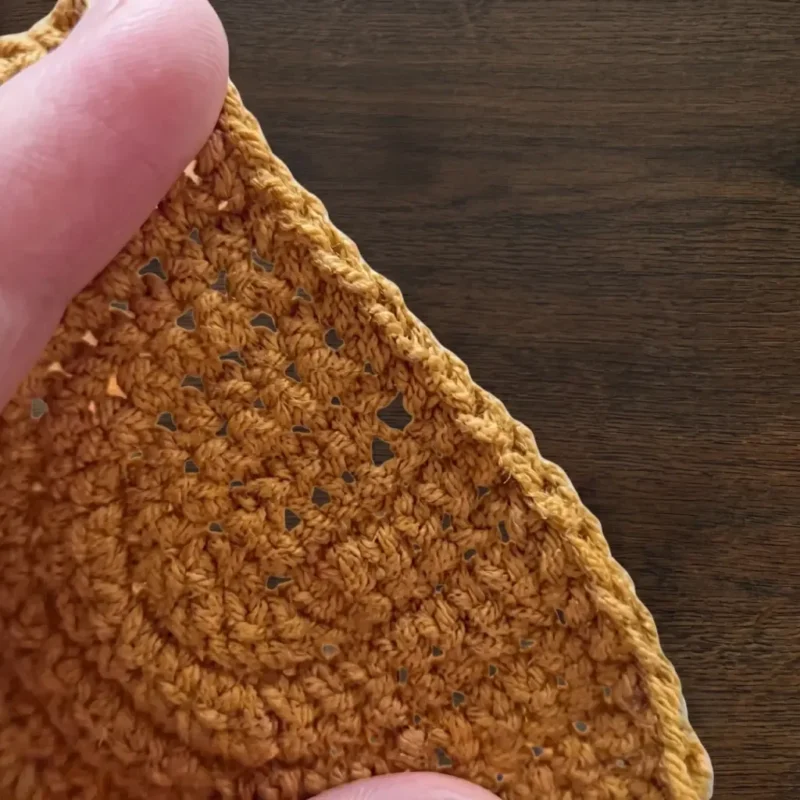
Step 1Attach the Wings: Working into the remaining back loops on the body, sew each wing onto the sides of the bag so the wing forms a small open pocket. Use the long yarn tails and a whipstitch to secure the lower and side edges, leaving the ruffled top edge open.
Step 2Attach the Legs: Using matching yarn and a yarn needle, sew each leg to the bottom edge of the bag, evenly spaced. Use the yarn tails and a whipstitch, pulling firmly to keep the legs upright.
Step 3Attach the Beak: Sew the folded beak onto the front center of the bag at a natural face position, using the yarn tail and small whipstitches.
Step 4Embroider the Eyes: Using black cotton embroidery thread, embroider two small eyes on either side of the beak with a satin stitch or several small straight stitches worked in a circle to build up each eye.
Step 5Make the Strap: Using C-2 / 2.75 mm hook and Leg/Strap yarn (Alize Bella #466), join yarn with a sl st into the front loop of a stitch at the fold below the crest. Chain 160. Join with a sl st into the front loop of the corresponding stitch at the opposite fold, below the tail. Working back along the strap in the opposite direction, work 160 sl sts back along the chain to reinforce it. Fasten off and weave in both ends.
Step 6Weave in all remaining ends securely on the wrong side of the bag.
Check your count
- Wings (make 2) · Row 2: 19 sts
- Wings (make 2) · Row 4: 25 sts
- Wings (make 2) · Row 6: 31 sts
- Wings (make 2) · Row 7: 34 sts
- Beak · Round 1: 3 sts
- Beak · Round 2: 6 sts
Finish
- Weave in all loose ends on the body, wings, beak, legs, crest and tail before assembly.
- Fold each leg flat and work the closing stitches through both layers, then fasten off and leave a tail for sewing.
- Whipstitch the wings, legs, beak, crest and tail onto the body using matching yarn and a yarn needle.
Bigger or smaller
- Larger
- Add extra plain rounds to the legs beyond the rounds already given before folding flat, which makes the legs longer relative to the body.
- Smaller
- Use a lighter-weight yarn with the Steel #8 hook throughout, or drop to a finer hook, to tighten stitches and shrink the whole bag.
Photographs of this one
Every photograph on this page was taken by whoever published the pattern, and they are printed in the order the source listed them.
FAQs
Asked and answered
These answers came from whoever first published the pattern, kept word for word.
What yarn weight does the body use?
The body uses a bulky to super bulky weight yarn, specifically Himalaya Dolphin Baby. This keeps the main bag thick and sturdy without extra rounds.
Why does the beak use a different hook?
The beak and legs use a fine Steel #8 / 1.5 mm hook because they are small, detailed pieces. The smaller hook keeps stitches tight so no stuffing shows through.
Can the wings be used as pockets?
Yes, each wing is sewn along the lower and side edges only, leaving the ruffled top edge open. This turns the wing into a small usable pocket on the finished bag.
Is the pattern written in US or UK crochet terms?
The pattern uses US crochet terminology throughout. Abbreviations such as sc and inc follow the US system listed in the pattern notes.