 STITCH ROUND
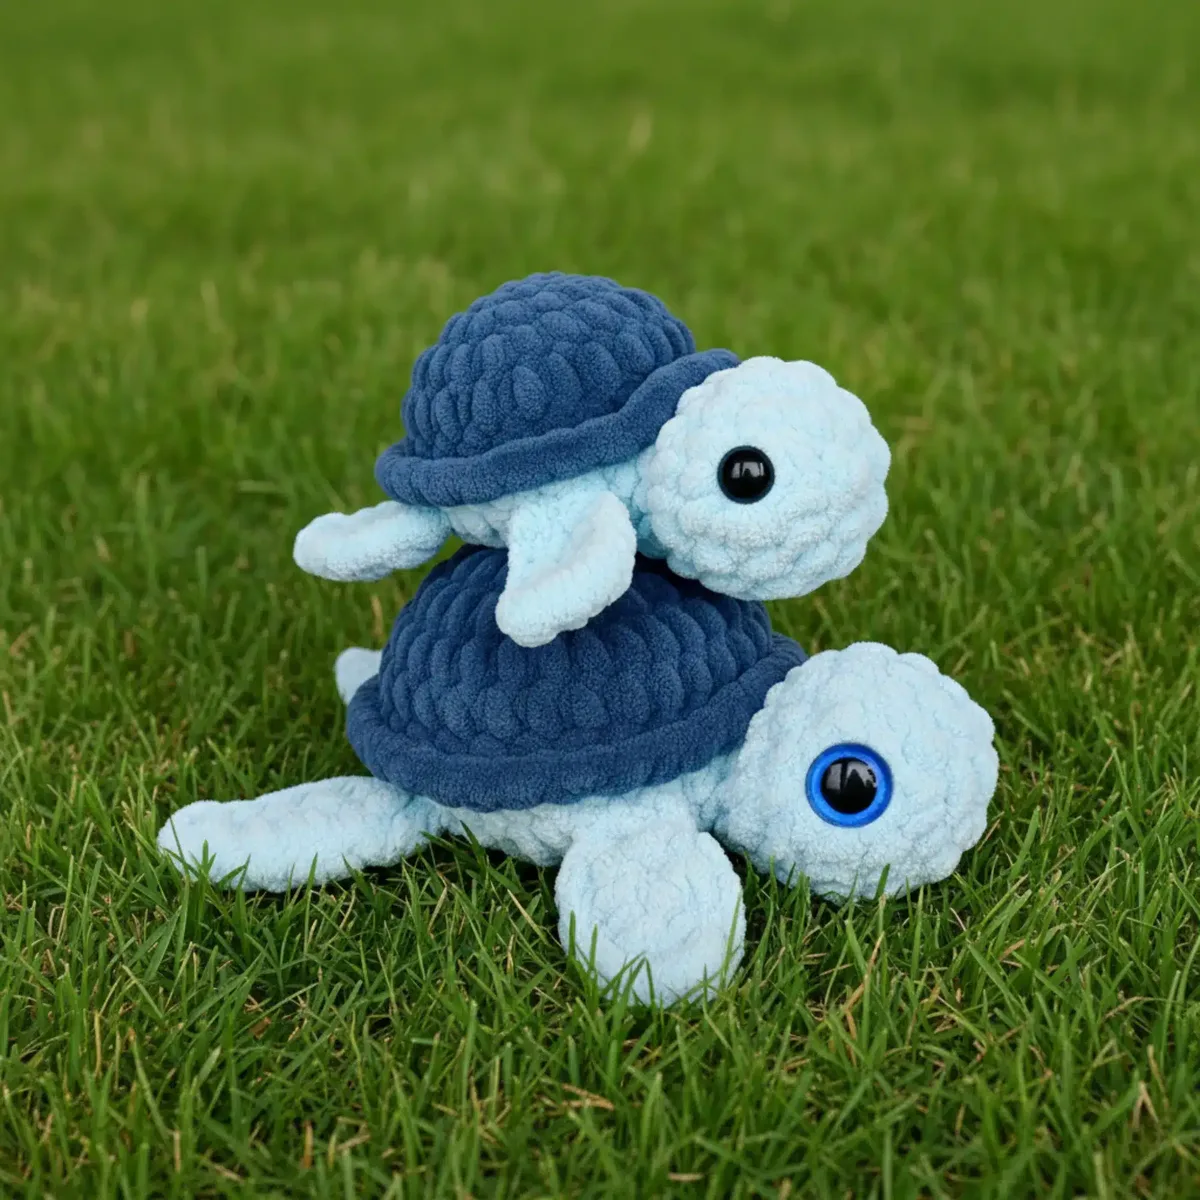
 Crochet baby turtle plush pattern with fins and shell
9 rounds for the shell, 5 for the head, 2 for each fin: a quick crochet baby turtle plush.
- Skill
- Intermediate
- Rounds
- 16 rounds
- Yarn weight
- Worsted
- Hook
- 4.5 mm
- Time
- 4-6 hours

Intermediate
What the original page called it. Nothing here is graded a second time.

16 rounds
Each one gets its own line, with a box beside it to tick as you go.

Worsted
What the sample was made in. Any weight works — the size moves with it.
About this pattern
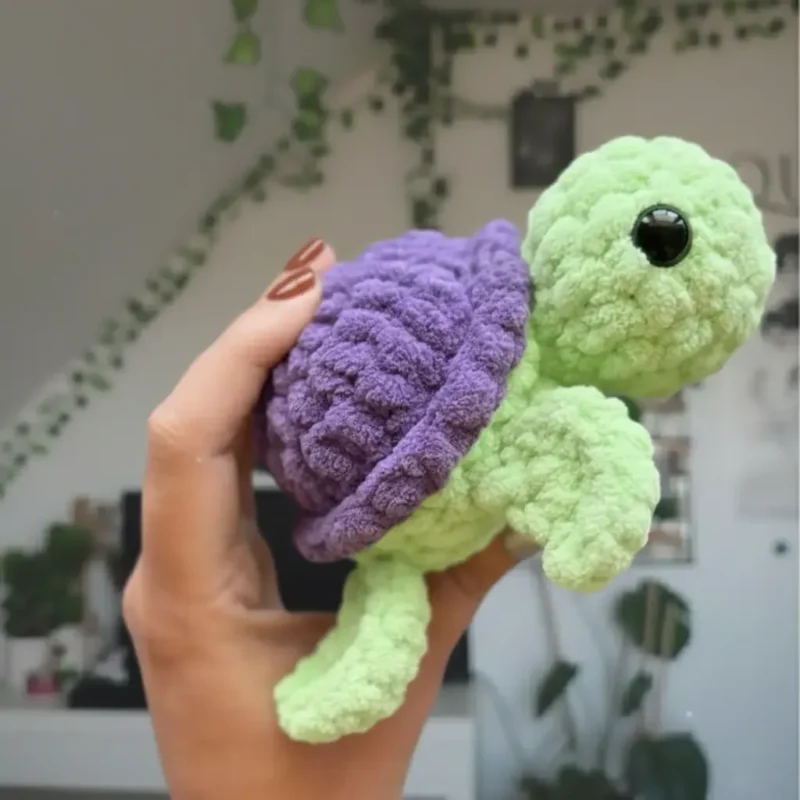
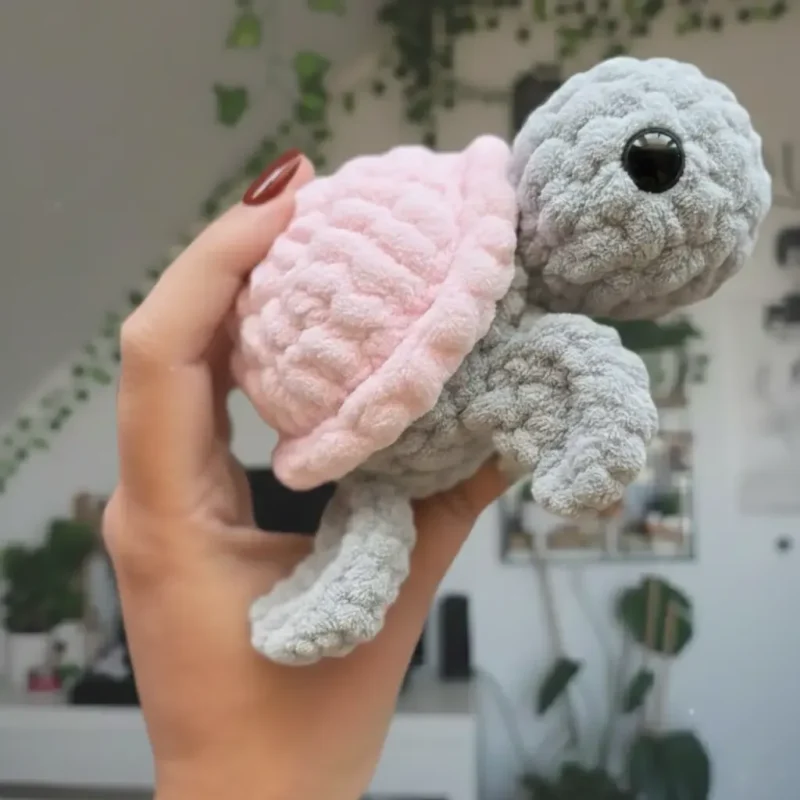
This baby turtle plush breaks into three small pieces: a nine-round shell and body, a five-round head, and four fins worked in just two rounds each. None of the parts run long, so the whole animal ticks off in a single sitting for most crocheters. Blanket yarn and a 4.5mm hook build up the rounds fast, which keeps the piece feeling like quick, steady progress rather than a slow build.
The shaping starts simple with magic circles and single crochet increases, then asks for more attention once the shell begins its wider increase round and the head nears the safety eye placement. Slow down when attaching the safety eyes between rounds 2 and 3 of the head, since spacing them evenly there sets the turtle's whole face. The same care applies when joining the head and fins to the body, where stitch count and placement matter more than speed.
This pattern is designed to work up in about one hour for crocheters already familiar with amigurumi techniques; beginners or anyone working at a relaxed pace may take 2-3 hours instead. It uses a no-sew, attach-as-you-go construction: the fins and head are made separately, then joined directly into the shell and body rounds instead of being sewn on afterward. The finished turtle measures approximately 5-6 inches long with a two-tone shell-and-body design. Because this pattern uses plush blanket yarn, the first round starts with 8 stitches in the magic circle instead of the traditional 6 found in most amigurumi patterns.
- Work the shell and body first, building outward from a magic circle through a steady sequence of increase and plain rounds.
- Crochet the head separately as a small shaped piece, pausing partway through to set the safety eyes.
- Make all four fins in the same quick two-round shape, then set them aside with tails ready for attaching.
- Attach the fins to the body using single crochet as you go around, keeping the flat edge toward the tail.
- Join the top of the head to the body neck with slip stitches, then complete the bottom half with single crochet.
- Stuff the neck and head firmly before closing the last opening so the shape holds.
What goes wrong
- Losing the invisible decrease shape Work into the front loop of each stitch only, both times, before pulling through. Skipping to a regular decrease changes the look of the shaping rounds.
- Misplacing the safety eyes Set the eyes between rounds 2 and 3 of the head, spaced 5-6 stitches apart, before adding more rounds. Once later rounds are added, the eye placement is much harder to judge.
- Attaching the head off-center Flatten the neck opening level with the eyes before picking the top four stitches to slip stitch. The eyes should sit level and on top once the top half is attached.
- Skimping on neck stuffing Pack the neck and head firmly before closing the bottom half with single crochet. A thin neck lets the head flop instead of sitting upright.
Yarn, hook and the rest
Copied from the source pattern's own materials list.
- 12g shell color in blanket yarn
- 30g body color in blanket yarn
- 4.5mm crochet hook (adjust size based on your tension and yarn brand)
- Tapestry needle
- Polyfil or preferred stuffing
- 12mm safety eyes
- Stitch marker
Progress tracker
0 of the 16 rounds on this page are ticked.
The pattern, round by round
Kept in the order and the wording the source used. Tick a round as you finish it; the ticks stay on this device.
Fins (Make 4)
Using body color:
Round 1
In a magic circle, SC 5. DO NOT JOIN
Round 2
Chain 1 and turn. SC INC in each across. Fasten off. (10)Weave the middle tail from making the magic circle to the end with the finished tail on two of the fins. For the other two, weave both ends to the other side. The ends will go inside the turtle as you attach.
Head
Using body color:
Round 1
In a magic circle, SC 8.
Round 2
SC INC in each around. (16)
Rounds 3–5
SC in each around. (16)Attach safety eyes between rounds 2 and 3, about 5-6 stitches apart.
Round 6
INV DEC in each around. (8)Step by step: For the invisible decrease, insert the hook into the front loop of the first stitch, then into the front loop of the second stitch, pull up a loop, yarn over, and pull through both loops on the hook to complete the stitch.
Round 7
SC in each around. (8)Fasten off and weave the end inside. Lightly stuff before you attach it to the body.
Shell/Body
Start with the shell color:
Round 1
In a magic circle, SC 8.
Round 2
SC INC in each around. (16)
Round 3
SC in the first, SC INC in the next. Repeat around. (24)
Rounds 4–5
SC in each around. (24)
Round 6
In the front loop only SC in each around. (24) Change to body color before you begin the next round.Step by step: For the color change, on the last single crochet before changing colors, insert the hook into the stitch, pull up a loop, yarn over with the new color, and pull through both loops on the hook to complete the stitch.
Round 7
In the back loop only, SC in the first 10. Attach the bottom half of the turtles neck with slip stitches in the top 4 stitches. SC in the remaining 10 stitches.Step by step: On round 7 you go through only 4 of the 8 stitches of the turtle's neck. To find these stitches, flatten the opening so that it is level with the eyes; the top four stitches, when attached, should have the eyes level and on top. Use slip stitches to attach these top stitches to the body: put your hook through the first stitch on the turtle and then through the corresponding stitch on the body, pull up and through, and repeat three more times for a total of four.
Round 8
SC in the next two. Attach the first fin through the next two stitches. SC in the next 3. Attach the second fin in the next two stitches. SC in the next. Attach the head going through the bottom 4 stitches using SC. SC in the next. Attach the third fin stitches in the next two. SC in the next 3. Attach the fin in the next two. Finish the round with the last two SC.Step by step: Attach the fins using SC as you go around, using the first two stitches on each fin to attach to the body — each fin takes two stitches on the round. The flat edge of the fin faces the tail end of the turtle, and the rounded SC edge faces forward; the first fin you attach is the right back one. Make sure the single crochets sit underneath the fin, since those stitches are used on the next round — check that the fin is touching the shell as you single crochet, and that you see the SC in an unbroken row beneath the fin. To attach, go through the fin and then the body, pull through both, and single crochet as normal: on the right side attach through the second fin stitch then the first stitch; on the left side attach through the first fin stitch then the second one. The ends go inside the turtle shell, which is why they are woven to the side — this helps keep the top up when attaching. Flip the fin up so the top now touches the shell and the ends are inside: on the right side attach the top stitch first; on the left attach the second stitch from the tails first. Go through the fin and then through the shell, single crochet as normal, and repeat through the second stitch.Step by step: Attach the bottom half of the head with single crochet in each of the four bottom stitches, just like a normal part of the row — this leaves a small opening. Begin to stuff here: before you stuff the body, make sure the head and neck have enough stuffing, and continue to stuff as you close.
Round 9
SC in the first, INV DEC in the next. Repeat around. (16)
Round 10
INV DEC in each around. (8)Sew the remaining hole closed. Fasten off and weave in the ends.
Check your count
- Fins (Make 4) · Round 2: 10 sts
- Head · Round 2: 16 sts
- Head · Rounds 3–5: 16 sts
- Head · Round 6: 8 sts
- Head · Round 7: 8 sts
- Shell/Body · Round 2: 16 sts
Finish
- Weave in the tails left from each magic circle and fastened-off round, including the extra ends from the two fins that were left unwoven for attaching.
- Stuff the shell, body, neck, and head firmly before closing the final opening, paying extra attention to the neck so the head stays supported.
- Close the small opening left after attaching the bottom of the head with single crochet, then secure and trim any remaining yarn ends.
Bigger or smaller
- Smaller
- Drop to a finer yarn and smaller hook for a tighter gauge on the same rounds, which shrinks the finished shell, head, and fins evenly.
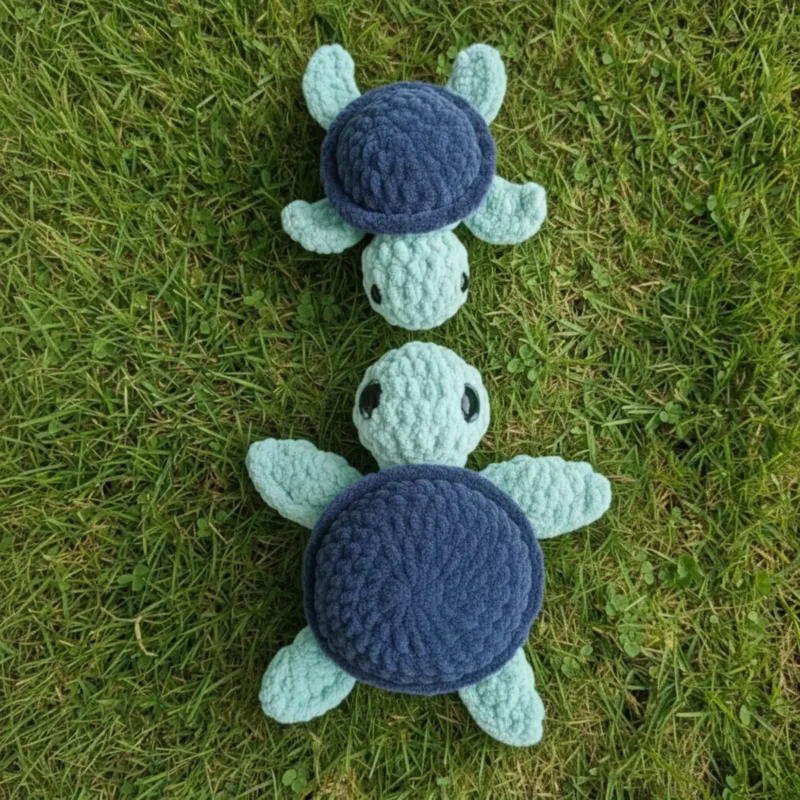
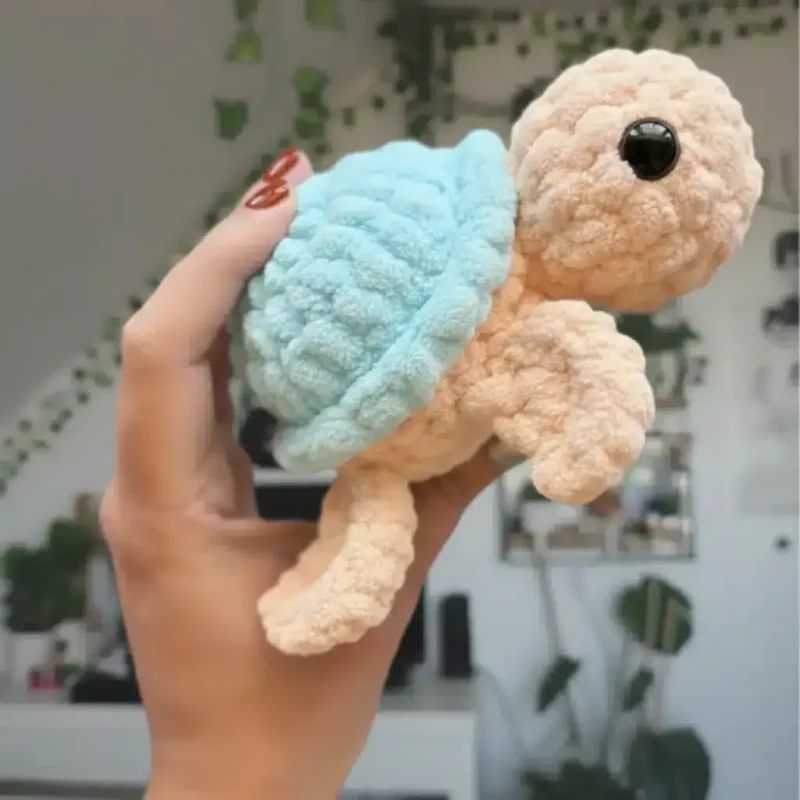
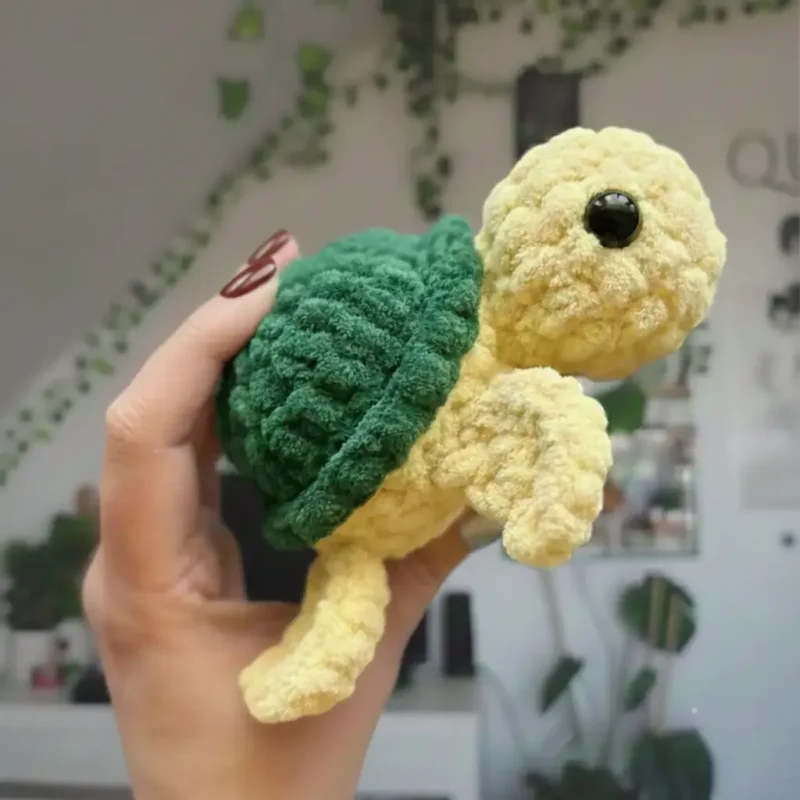
Photographs of this one
Every photograph on this page was taken by whoever published the pattern, and they are printed in the order the source listed them.
FAQs
Asked and answered
These answers came from whoever first published the pattern, kept word for word.
Can the shell and body color be swapped for the head and fins?
Yes, since the shell uses its own shell color while the head, body, and fins all use the body color. Swapping which color goes where changes the look without changing any stitch counts.
What size hook works best for this turtle?
A 4.5mm hook is the starting point, but tension varies by crocheter and yarn brand. Adjust up or down slightly and check that the stitches stay tight enough to hold stuffing without gapping.
How is the head attached without leaving a gap?
The top four neck stitches are joined with slip stitches, then the bottom four are worked in single crochet on the next round, just like a normal row. This method leaves only a small opening, which closes easily once the neck is stuffed.
Do all four fins get made the same way?
Yes, all four fins follow the same two-round shape in body color. The only difference is in finishing: two fins have both tails woven to one side, while the other two keep the middle tail separate for attaching.
Can I use regular worsted weight yarn instead of blanket yarn?
Yes, you can substitute worsted weight yarn, but you'll need to adjust your hook size accordingly (try a 3.5mm or 4mm hook) and the finished turtle will be smaller than the 5-6 inch size specified in the pattern. The stitch count will remain the same.
Why do the fins need different tail placements?
Two fins have tails woven to one side and two to the other because they attach on opposite sides of the turtle's body. This ensures proper orientation when attaching and keeps the tails hidden inside the body for a cleaner finish.
What if I can't finish the turtle in one hour?
The one-hour timeframe is designed for experienced crocheters familiar with amigurumi techniques. If you're a beginner or working at a relaxed pace, the project may take 2-3 hours. The important thing is that there's no sewing required at the end.