 STITCH ROUND
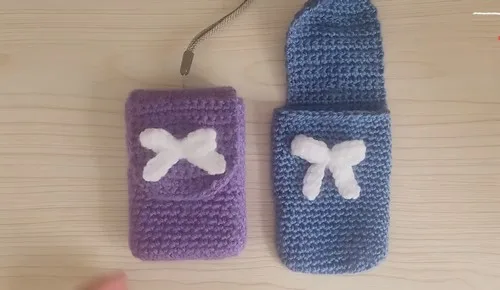
 Crochet camera pouch pattern with a bow trim
12 rounds to tick off for a fitted crochet camera pouch with bow trim.
- Skill
- Intermediate
- Rounds
- 12 rounds
- Yarn weight
- Worsted
- Hook
- 3.5 mm
- Time
- 4-6 hours

Intermediate
What the original page called it. Nothing here is graded a second time.

12 rounds
Each one gets its own line, with a box beside it to tick as you go.

Worsted
What the sample was made in. Any weight works — the size moves with it.
About this pattern
This pouch is built from four parts: a base, a top flap, a body, and a bow, adding up to 12 rounds in total across the piece. The base alone takes 3 rounds to establish the footprint, and the flap makes up the bulk of the work at 6 rounds. It is a compact make suited to an evening or two, with the payoff being a case shaped to fit a specific camera rather than a generic pouch.
The base carries the shaping load, with increases placed at the corners across its 3 rounds to turn a chain into a rounded rectangle. Slow down through the flap's middle rounds, where the stitch count holds steady before the decrease rows begin narrowing it toward the top. The bow is worked flat and separately, so its 2 rounds can be finished at any point before final assembly.
- Measure the camera first so the base is shaped to its footprint before any stitching begins.
- Chain and work the base rounds, increasing at the corners to build a rounded rectangular floor.
- Work the body round directly off the base to raise the sides in one continuous pass.
- Build the top flap in rows, keeping the sides even until the shaping rows narrow it.
- Work the bow as a separate flat strip using its own chain and two rounds.
- Attach the finished bow to the front of the pouch with a needle to complete the piece.
What goes wrong
- Skipping the camera measurement step Measure the camera's height, width, and depth before starting the base so the increases land in the right places. Adjusting later means unpicking rounds that are already increased.
- Losing track of corner increases Mark the stitches where the 3-sc increases happen in the base rounds with a stitch marker. This keeps the rounded rectangle shape even instead of drifting toward one side.
- Uneven edges through the flap rows Count the 13 sc stitches at the end of each flap row before chaining and turning. A stitch dropped early compounds by the time the decrease rows begin.
- Bow attached off-center Fold the pouch front in half to find the true middle before stitching the bow down. Pin it in place with a stitch marker first and check alignment from both sides.
Yarn, hook and the rest
Copied from the source pattern's own materials list.
Yarn
- Blue yarn (8ply)
- White yarn (10ply)
Tools
- Needles
- Scissors
- Stitch markers
- 3.5mm crochet hook
Progress tracker
0 of the 12 rounds on this page are ticked.
The pattern, round by round
Kept in the order and the wording the source used. Tick a round as you finish it; the ticks stay on this device.
Base
Measure: Measure your camera. The tutorial uses a Samsung ES15 with dimensions of 6.3cm height, 9.4cm width, and 2.5cm depth.
Round 1
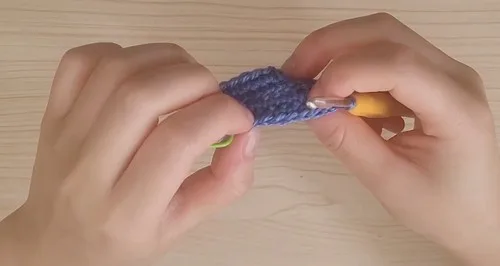
Create a slip knot and chain 10.
Round 2
Single crochet (sc) 8, then 3 sc in the 9th stitch. Continue with 8 sc, and 3 sc in the last stitch. This will give you a total of 22 stitches.
Round 3
Sc 9, then 3 sc in the 10th and 11th stitches. Continue with 9 sc, and 3 sc in the 21st and 22nd stitches. This will result in 30 stitches.
Top Flap
Round 1
Chain 1 and turn. Do 13 sc stitches, making sure the last stitch is one stitch in from the side.
Rounds 4–12
Continue with 13 sc stitches, chain 1, and turn.
Round 13
Do 5 sc stitches, chain 3, and then 5 sc stitches, chain 1, and turn.
Rounds 14–16
Continue with 13 sc stitches, chain 1, and turn.
Round 17
Do 9 sc stitches, then decrease (dec), chain 1, and turn, for a total of 11 stitches.
Round 18
Decrease, do 7 sc stitches, then decrease again, and chain 2, for a total of 9 stitches.Cut the yarn and pull through.
Bow
Round 1
Create a slip knot and chain 30.
Round 2
Do 29 sc stitches, and chain 2. Cut the yarn and pull through.
Body
Rounds 4–25
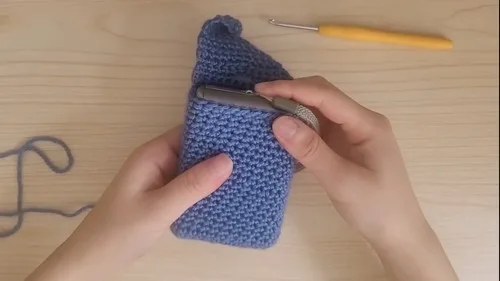
Continue to single crochet with 30 stitches per round. You can check the fit of the pouch with the camera during this stage.
Join
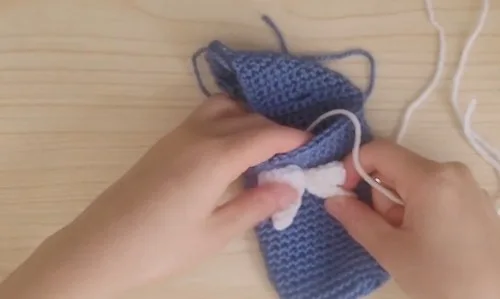
Step 1Use a needle to attach the bow to the front of the pouch.
Finish
- Weave in loose ends from the base, body, flap, and bow separately before joining anything together.
- Fold the top flap down over the body to check it sits centered and even before attaching the bow.
- Thread a needle and stitch the bow securely to the front of the pouch as the final step.
Bigger or smaller
- Smaller
- Drop to a finer yarn with a smaller hook, which tightens the stitches and shrinks the base and body to fit a more compact camera.
Photographs of this one
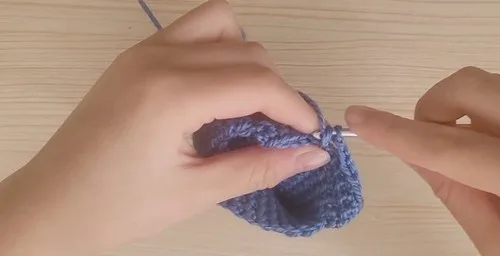
Every photograph on this page was taken by whoever published the pattern, and they are printed in the order the source listed them.
FAQs
Asked and answered
These answers came from whoever first published the pattern, kept word for word.
Will this pouch fit any camera?
The pattern is built around a Samsung ES15 with specific height, width, and depth measurements. Measure the intended camera against those dimensions before starting the base, since the shaping is fitted rather than generic.
What yarn weights does this pattern use?
The pouch calls for blue in an 8ply weight and white in a 10ply weight. Both are worked with the same 3.5mm hook throughout.
Can the bow be left off?
Yes, the bow is worked and attached as a separate final step, not built into the body or flap. Skipping it leaves a plain pouch front with no change to the rest of the construction.
Why does the top flap have decrease rows near the end?
The decrease rows taper the flap so it narrows toward the top rather than staying rectangular. This shaping helps the flap fold down neatly over the body once the pouch is assembled.