 STITCH ROUND
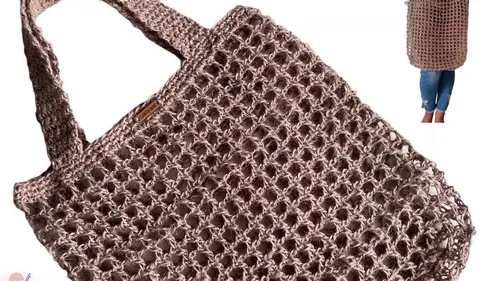
 Crochet market bag pattern with mesh body and sturdy handles
Six rounds shape a jute crochet market bag with mesh body and sturdy handles.
- Skill
- Intermediate
- Rounds
- 11 rounds
- Yarn weight
- Bulky
- Hook
- 6 mm
- Time
- 4-6 hours

Intermediate
What the original page called it. Nothing here is graded a second time.

11 rounds
Each one gets its own line, with a box beside it to tick as you go.

Bulky
What the sample was made in. Any weight works — the size moves with it.
About this pattern
This bag builds from a simple double crochet mesh into a roomy market tote with two handles. The pattern breaks into four parts: the slip knot and starting chains, the body shaping worked in the round, the top edge that finishes the rim, and two matching handles worked separately and attached at the end. Each part ticks off cleanly before moving to the next, so progress is easy to track from a flat strip of mesh to a finished bag.
The real shaping happens where Part 2 turns a flat piece into a round bag, using a chain-5 and marked third chain at the start of every round to keep the corner consistent. Slow down here, since the marker has to move each round to the same spot or the round drifts out of shape. The top edge rounds tighten the mesh into a firm rim, so keep tension even as the single crochets close each chain-2 space.
Made with sturdy jute yarn, the bag is eco-friendly and durable, and it's easy to customize in size and color by adjusting hook size, yarn weight, or yarn color to suit grocery runs, farmers markets, or beach days.
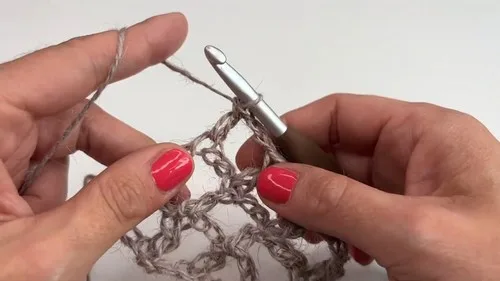
- Chain a multiple of three plus eight, then work the first row of double crochets and chain-2 spaces to set the mesh.
- Turn and repeat the chain-2, skip-2, dc sequence across the second row to lock in the open mesh pattern.
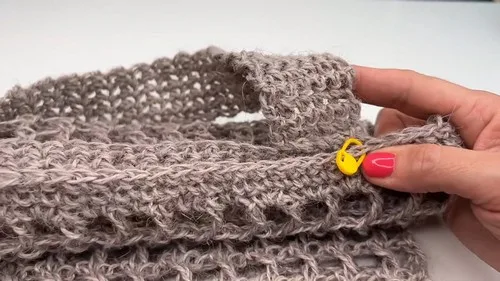
- Chain five, mark the third chain, and start turning the flat mesh into a rounded bag body.
- Repeat the marked chain-five and dc sequence round after round until the bag reaches the desired height.
- Work the top edge rounds in single crochet to close the mesh gaps and firm up the rim.
- Make two handles separately, then attach them once the body and edge are complete.
What goes wrong
- Wrong starting chain count Recount the chain as a multiple of three plus eight before working the first double crochet, since a short chain throws off every row after it.
- Uneven chain-2 mesh spaces Count the skip-2 stitches carefully in every row so each chain-2 space matches the last and the mesh stays even.
- Stitch marker drifting off place Move the marker into the same third chain at the start of every round in Part 2, or the round shape will pull out of line.
- Mismatched handle lengths Work both handles to the same number of rows before attaching so the bag hangs evenly on both sides.
Yarn, hook and the rest
Copied from the source pattern's own materials list.
- 6 mm crochet hook
- Scissors
- Darning needle
- Stitch markers (optional)
- Jute yarn (1.5 skeins)
Progress tracker
0 of the 11 rounds on this page are ticked.
The pattern, round by round
Kept in the order and the wording the source used. Tick a round as you finish it; the ticks stay on this device.
Slip Knot and Chains
Create a slip knot and crochet a chain in a multiple of three, then add eight more stitches.
(Example: 50 chains)
Row 1
In the 8th stitch from the hook, work 1 double crochet (dc) Chain 2, skip 2 stitches, 1 dc in the third stitchRepeat * to end of row
Row 2
Chain 5, turn your work 1 dc in each dc from previous row Chain 2, skip 2 stitches, 1 dc in next dcRepeat to end, finishing with dc in the 5th chain
Rows 3–5
Repeat Row 2 for a total of 5 rows
Body of the Bag
Round 1
Chain 5, place a stitch marker in the 3rd chain 1 dc into first dc from previous rowChain 2, 1 dc in next dc Work into the sides to begin forming the round shape
Rounds 2–20
Chain 5, dc into dc from previous round Replace marker in third chain Repeat pattern around to desired height
Top Edge
Round 1
Chain 1 Work 2 single crochets (sc) in each chain-2 space (skip dc) Slip stitch to join
Rounds 2–3
Chain 1 Work 1 sc in each stitch around Slip stitch to join each round
Handles
First Handle
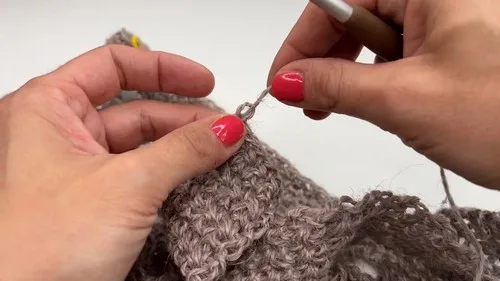
Mark handle placement on both sides of the bag Start with a standing sc at the marked stitch Crochet 6 sc across for the first row
Handle Length
Chain 1, turn Work 6 sc per row Repeat until the handle measures approx. 50 rows or desired length
Attach Handle
Use darning needle to sew handle to opposite side Ensure it lays flat and isn't twisted
Second Handle
Repeat steps for the second handle, aligning it with the first
Join
Step 1Weave in all loose ends with darning needle
Step 2Block if desired for shaping
Finish
- Weave in all loose ends with the darning needle before attaching anything else.
- Attach both handles securely to the top edge once the mesh rim is complete.
- Block the finished bag if desired to even out the mesh and set its shape.
Bigger or smaller
- Taller
- Repeat the Part 2 round sequence more times before starting the top edge, which adds height to the bag body without changing the base.
Photographs of this one
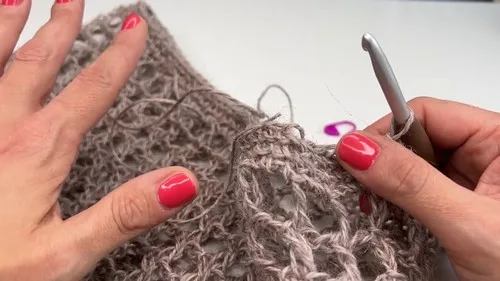
Every photograph on this page was taken by whoever published the pattern, and they are printed in the order the source listed them.
FAQs
Asked and answered
These answers came from whoever first published the pattern, kept word for word.
Can other yarn substitute for jute?
Yes, though jute gives the bag its sturdy, structured feel. A different fiber changes drape and stiffness, so expect a softer result with cotton or acrylic.
How is the round shape formed from a flat strip?
Part 2 starts each round with a chain-5 and a marked third chain, which pulls the flat mesh into a rounded bag shape. Repeating that sequence builds the body upward.
What keeps the mesh from stretching out of shape?
Even chain-2 spacing and consistent skip-2 stitches throughout the mesh rows keep the pattern from warping. The top edge rounds also tighten the mesh once the body is complete.
When should the handles be attached?
Make both handles after the body and top edge are finished, then attach them as part of the finishing steps. Weaving in ends before attaching keeps the join tidy.