 STITCH ROUND
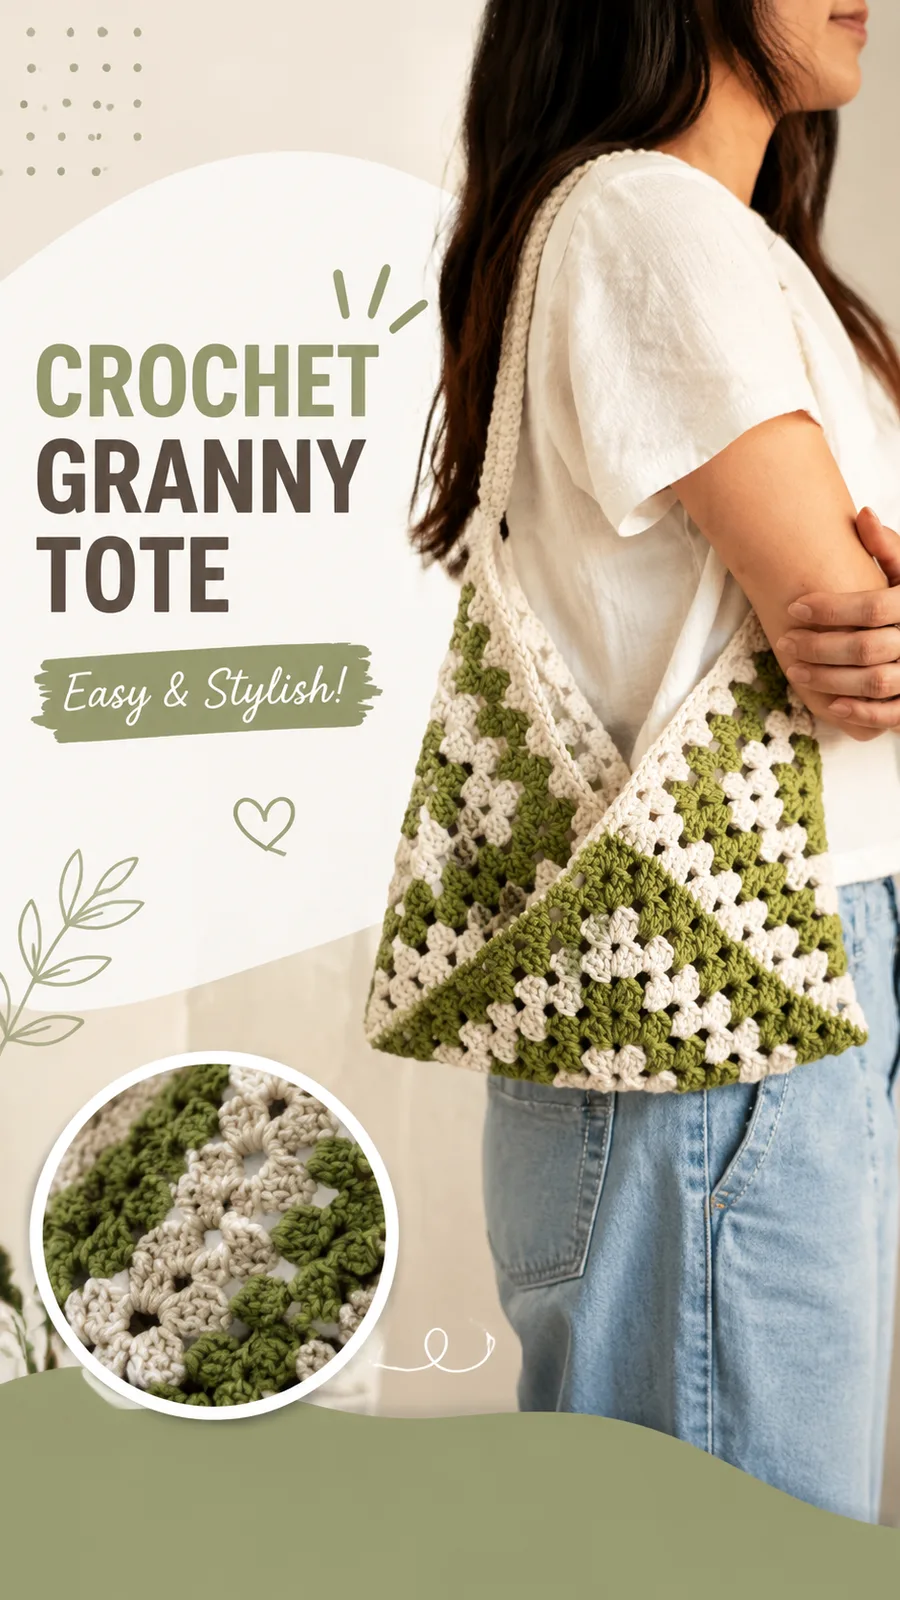
Green granny square tote bag crochet pattern
Four rounds per square build this green and cream granny square tote bag.
- Skill
- Intermediate
- Rounds
- 7 rounds
- Yarn weight
- Worsted
- Hook
- 5 mm
- Time
- 4-6 hours

Intermediate
What the original page called it. Nothing here is graded a second time.

7 rounds
Each one gets its own line, with a box beside it to tick as you go.

Worsted
What the sample was made in. Any weight works — the size moves with it.
About this pattern
Four rounds per square build this green and cream granny square tote bag.
- Work each granny square motif through four rounds, changing from cream to green partway through
- Make thirteen squares in total, blocking every one to the same finished size before joining
- Lay out six squares for the front panel and six for the back, three across and two down
- Set aside one extra square to reinforce the bottom of the bag
- Whip stitch the squares together through matching loops for a neat, raised seam
- Single crochet around the top edge, then chain and work the straps directly onto the bag
What goes wrong
- Squares end up slightly different sizes Block every motif to the same measurement before joining, since even small differences will show once six squares sit side by side.
- Color change looks uneven at corners Join the green yarn right at the start of a corner space rather than mid-side, so the color break lines up cleanly with the next round's corner cluster.
- Side chain spaces get miscounted Keep a stitch marker in the first corner space of each round to confirm the chain-1 side spaces line up before closing the round.
- Whip stitch seam pulls the panel out of shape Hold squares wrong sides together and sew through matching loops with even tension, checking that corners stay square as the seam is worked.
Yarn, hook and the rest
Copied from the source pattern's own materials list.
- Approximately 700 yards (640 meters) sage green worsted weight cotton yarn
- Approximately 200 yards (183 meters) cream worsted weight cotton yarn
- 5 mm crochet hook (US H-8)
- Yarn needle for weaving ends
- Scissors
- Stitch markers
- Blocking mat and pins
Progress tracker
0 of the 7 rounds on this page are ticked.
The pattern, round by round
Kept in the order and the wording the source used. Tick a round as you finish it; the ticks stay on this device.
Main Pattern
Round 1
With cream yarn, ch 4. Join with sl st to form a ring. Ch 3 (counts as first dc). Work 2 dc into ring, ch 2, *3 dc into ring, ch 2*. Repeat from * two more times. Join with sl st to top of beginning ch-3. (12 dc, 4 corner spaces)
Round 2
Sl st into corner space. Ch 3, 2 dc, ch 2, 3 dc in same corner space. Ch 1. In next corner space work 3 dc, ch 2, 3 dc, ch 1. Repeat around. Join with sl st. (24 dc, 4 corners)
Round 3
Join green yarn. Sl st into corner space. Ch 3, 2 dc, ch 2, 3 dc in same corner space. Ch 1, 3 dc in next side space, ch 1. Repeat around with 3 dc, ch 2, 3 dc in each corner. Join. (36 dc)
Round 4
Continue with green yarn. Sl st to corner space. Work corner cluster, then 3 dc in each side space separated by ch 1. Work corner clusters in each corner. Join and fasten off. (48 dc)Weave in ends and block each square to the same measurements.
Bag Assembly
Arrange motifs as follows
Front panel: 6 squares arranged 3 across and 2 down Back panel: 6 squares arranged 3 across and 2 down Side base section: 1 square used as the bottom reinforcement
Join squares using a whip stitch seam with matching yarn. Place wrong sides together and sew through both loops of corresponding stitches for a neat raised seam.
Top Edge and Handles
Attach green yarn at the top edge. Work one round of single crochet evenly around the opening. Join with a sl st.
For each handle
Attach yarn at the first handle position.
Ch 55 for a shoulder strap length.
Round 1
Sc into the opposite handle position.
Round 2
Work 3 rows of single crochet over the chain loop, turning after each row.Repeat for the second handle.Fasten off and weave in all remaining ends securely.
Customization and Size Adjustment Guidance
Round 3
This crochet granny square bag can easily be adapted for different styles. To create a larger tote, increase the number of granny squares and maintain a balanced front and back layout. For a smaller bag, make fewer motifs or reduce each square by removing one granny square round.
Join
Step 1Blocking is an important step for this crochet granny square bag because it helps each motif become evenly shaped before assembly. Gently wet the squares, reshape them to matching dimensions, and allow them to dry completely.
Step 2For care, hand washing in cool water is recommended for handmade crochet accessories. Avoid heavy twisting or stretching. Lay the bag flat to dry and reshape the handles if needed.
Check your count
- Main Pattern · Round 3: 36 sts
- Main Pattern · Round 4: 48 sts
Finish
- Weave in every loose end left over from color changes and from joining the squares.
- Work the single crochet border around the top edge, then add the handles by chaining across and working single crochet rows over each loop.
- Give the finished bag a light block so the border and strap edges sit flat against the paneled front and back.
Bigger or smaller
- Larger
- Add more granny squares to each panel while keeping the front and back layout balanced, which increases the overall width and height of the tote.
- Smaller
- Make fewer motifs, or remove one granny square round from each motif, which shrinks both the square size and the finished bag.
FAQs
Asked and answered
These answers came from whoever first published the pattern, kept word for word.
Why does the pattern use cotton yarn instead of wool?
Cotton or a cotton-blend holds the square shape well and resists stretching under the weight of items carried in the bag. It also shows off the textured double crochet clusters more clearly than a fuzzier fiber.
How many squares are needed in total?
The project calls for thirteen squares: six for the front panel, six for the back, and one used as bottom reinforcement. Each square is blocked to match before the panels are joined.
Can the two-color sequence be swapped for something bolder?
Yes, contrasting colors in place of the cream and sage green combination will give the same motif a bolder, more geometric look. The round-by-round structure stays the same regardless of color choice.
Does the bag need a lining?
A lining is not required to finish the pattern, but adding a fabric lining will give the finished tote extra structure and durability. This is worth considering if the bag will carry heavier daily items.