 STITCH ROUND
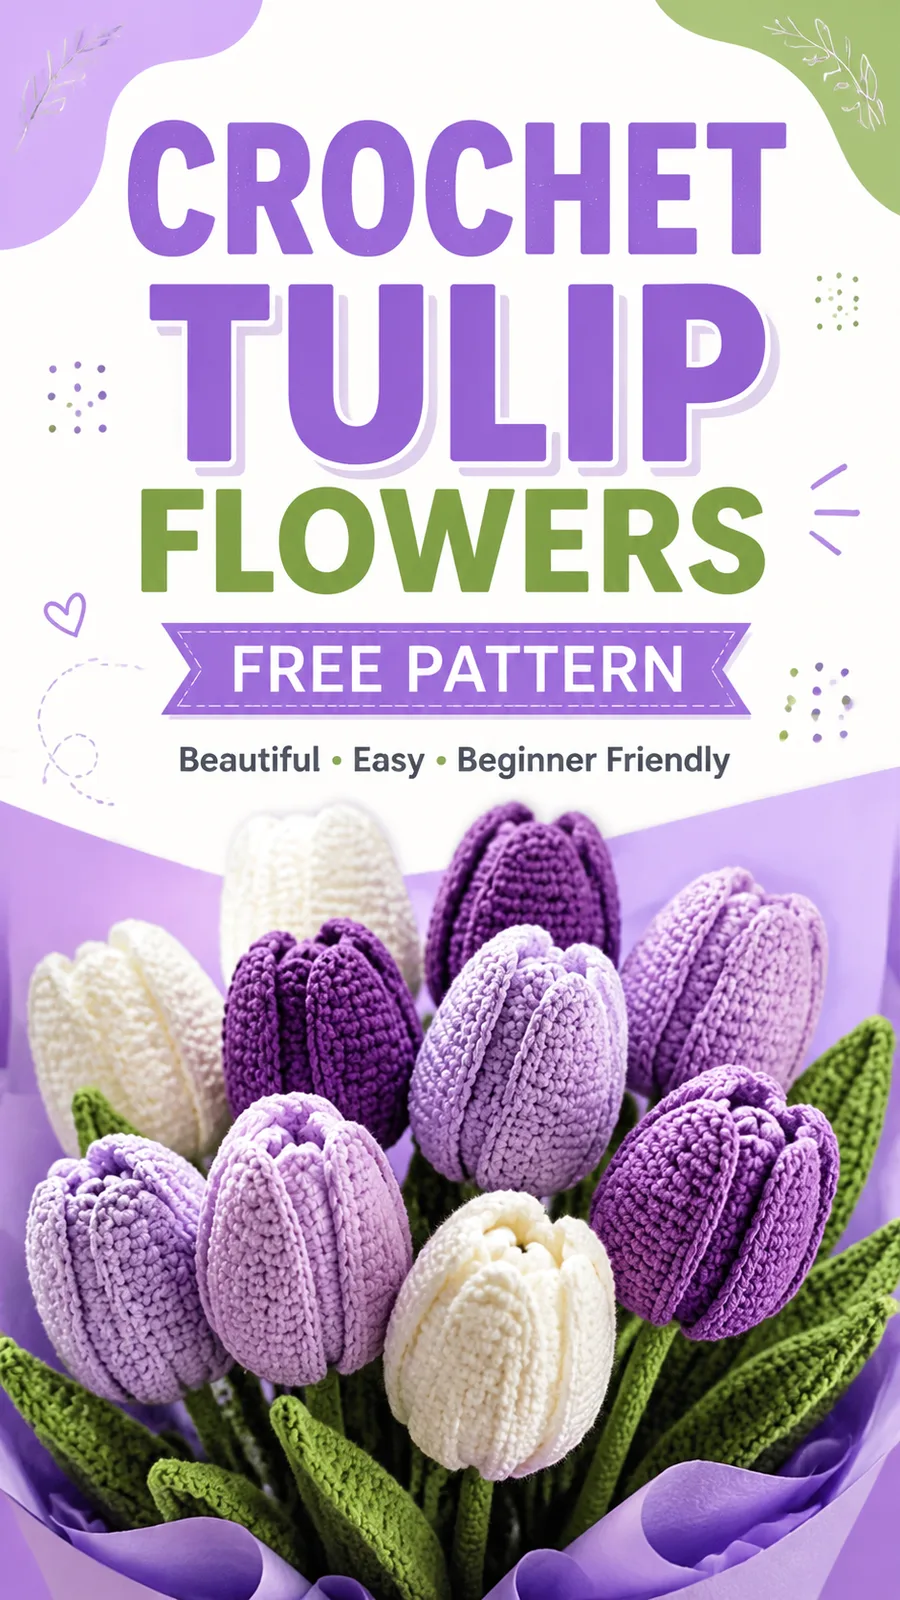
Crochet tulip flower pattern with stem and leaves
Eight rounds shape the tulip head, plus a separate stem and leaf, for a soft 3D bloom.
- Skill
- Easy
- Rounds
- 15 rounds
- Yarn weight
- Worsted
- Hook
- 3.25 mm
- Time
- 2-3 hours

Easy
What the original page called it. Nothing here is graded a second time.

15 rounds
Each one gets its own line, with a box beside it to tick as you go.

Worsted
What the sample was made in. Any weight works — the size moves with it.
About this pattern
This tulip comes together from three separate pieces: a shaped flower head, a stem, and a leaf. The flower head ticks off in eight rounds of continuous single crochet, starting from a magic ring and building outward into a rounded base before leveling off into a smooth, closed bloom shape. The stem and leaf are quick companion pieces that round out the set before assembly.
The shaping happens early, in the increase rounds that flare the base of the flower head into its rounded curve. Slow down there, since even increases keep the bloom symmetrical. The leaf's paired decreases at the tip deserve the same care, as skipped or uneven decreases will pull the point off-center.
- Begin the flower head with a magic ring, then work increase rounds to shape the rounded tulip base.
- Continue in plain single crochet rounds to build the smooth, curved body of the closed tulip bloom.
- Lightly stuff the flower head before closing it off, keeping the shape soft rather than tightly packed.
- Crochet the stem separately in continuous rounds, inserting floral wire if extra support is wanted.
- Shape the leaf with straight rows and paired decreases that taper it to a pointed tip.
- Join the head, stem, and leaf with a yarn needle to finish the assembled tulip.
What goes wrong
- Overstuffing the flower head Add fiberfill a little at a time and stop once the head feels soft with slight give. Overfilling flattens the rounded curve and makes the closed tulip shape look stiff instead of natural.
- Skipping the stitch marker Since the flower head and stem work in continuous rounds with no joining slip stitch, it is easy to lose track of where a round starts. Place a marker at the first stitch and move it up each round.
- Working single crochet too loosely Loose stitches leave gaps and let stuffing show through, undermining the clean texture the pattern relies on. Keep tension tight and snug throughout the flower head and stem.
- Uneven decreases on the leaf Mismatched sc2tog placement on either side of the leaf pulls the tip off-center. Count stitches after each decrease row before moving on to the next one.
Yarn, hook and the rest
Copied from the source pattern's own materials list.
- Worsted weight yarn in flower color
- Green worsted weight yarn for stem and leaves
- 3.25 mm (US D-3) crochet hook
- Fiberfill stuffing
- Yarn needle
- Stitch marker
- Scissors
- Optional floral wire for stem support
Progress tracker
0 of the 15 rounds on this page are ticked.
The pattern, round by round
Kept in the order and the wording the source used. Tick a round as you finish it; the ticks stay on this device.
Main Pattern
Round 1
Make a magic ring. Work 6 sc into the ring. (6 sts)
Round 2
Inc in each stitch around. (12 sts)
Round 3
(Sc 1, inc) repeat around. (18 sts)
Round 4
(Sc 2, inc) repeat around. (24 sts)
Rounds 5–8
Sc around. (24 sts)
Round 9
(Sc 2, dec) repeat around. (18 sts)
Round 10
(Sc 1, dec) repeat around. (12 sts) Begin stuffing the flower lightly.
Round 11
Dec around. (6 sts) Fasten off, leaving a long yarn tail. Thread the tail through remaining stitches and pull closed.
Main Pattern
Round 1
Work 6 sc into the ring. (6 sts)
Rounds 2–22
Sc around. (6 sts) Fasten off and leave a long tail for sewing. If using floral wire, insert it into the stem before attaching the flower head. Cover the wire completely with stuffing or yarn for a clean finish.
Main Pattern
Round 1
Sc in the second chain from hook and across. Turn. (9 sts)
Round 2
Ch 1, sc across. Turn. (9 sts)
Round 3
Sc2tog, sc across until 2 stitches remain, sc2tog. Turn. (7 sts)
Round 4
Ch 1, sc across. Turn. (7 sts)
Round 5
Sc2tog, sc across, sc2tog. (5 sts) Fasten off and weave in ends.
Join
Step 1Handmade crochet flowers need very little maintenance. Keep them away from excessive moisture and dust them gently with a soft cloth or small brush.
Step 2For long-lasting results, store finished tulips in a dry location. If the leaves become misshapen, reshape them with your fingers or lightly steam them from a distance.
Check your count
- Main Pattern · Round 2: 12 sts
- Main Pattern · Round 4: 24 sts
- Main Pattern · Round 9: 18 sts
- Main Pattern · Round 1: 6 sts
- Main Pattern · Round 1: 9 sts
- Main Pattern · Round 2: 9 sts
Finish
- Weave in all loose ends from the flower head, stem, and leaf before starting assembly.
- Fill the flower head gently with fiberfill, leaving it soft so the petals keep a natural curve rather than a stiff, overfilled dome.
- Sew the stem into the base of the flower head, then attach the leaf along the stem using a yarn needle.
Bigger or smaller
- Smaller
- Use thinner yarn with a smaller hook across all three pieces. The flower head, stem, and leaf scale down together without changing any stitch counts.
FAQs
Asked and answered
These answers came from whoever first published the pattern, kept word for word.
Is a stitch marker really necessary for this tulip?
Yes. The flower head and stem are worked in continuous rounds with no joining slip stitch, so a marker is the only way to track where each round starts. Move it up one stitch at the start of every round.
Does the stem need floral wire inside it?
No, floral wire is optional. The stem holds its shape with stuffing or yarn packed inside, while wire simply adds extra sturdiness for a more upright display.
How can the petals be kept rounded instead of stiff?
Stuff the flower head gently and check for a little give before closing it. A softer fill keeps the rounded shaping from the increase rounds looking like a natural petal rather than a hard ball.