 STITCH ROUND
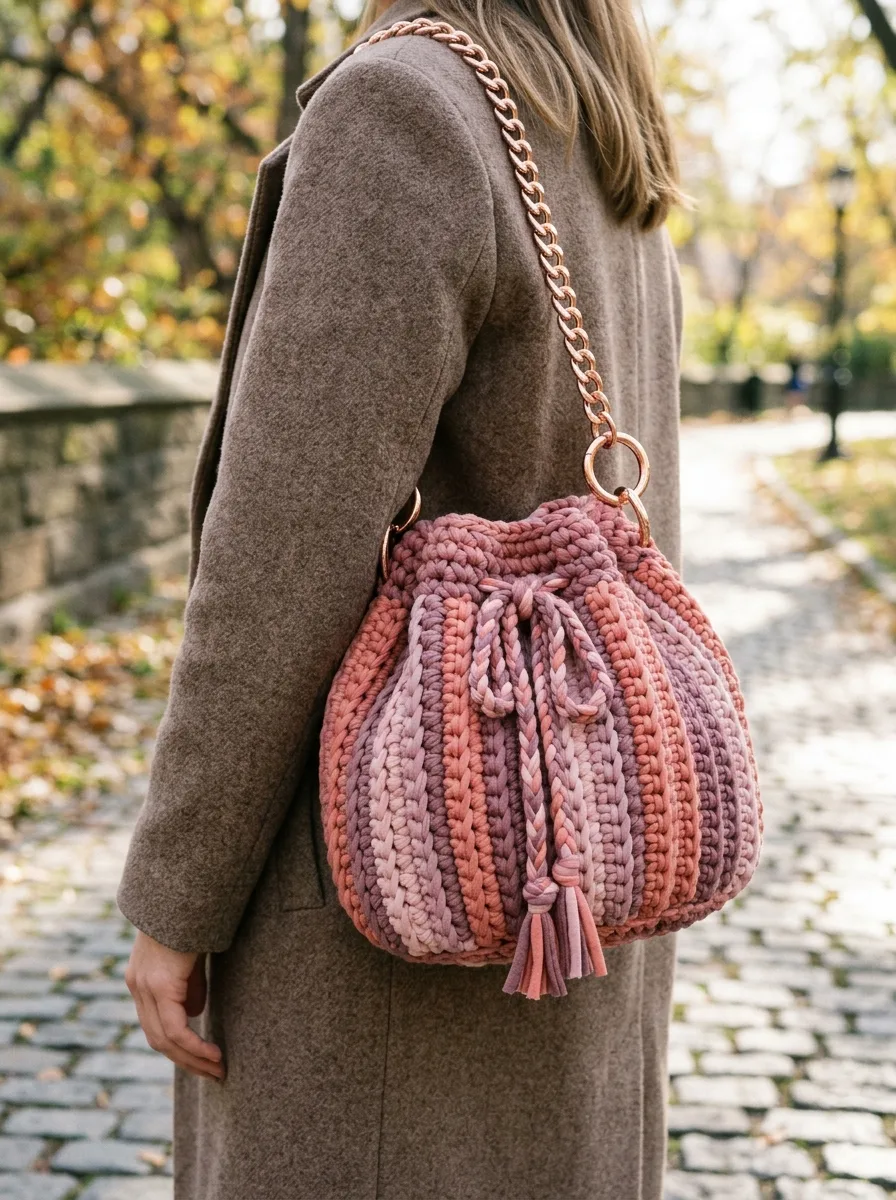
Dusty rose drawstring bucket bag crochet pattern
14 rounds to tick off, from circular base to drawstring channel, build this two-tone bucket bag.
- Skill
- Intermediate
- Rounds
- 14 rounds
- Yarn weight
- Super Bulky
- Hook
- 10 mm
- Time
- 3-5 hours

Intermediate
What the original page called it. Nothing here is graded a second time.

14 rounds
Each one gets its own line, with a box beside it to tick as you go.

Super Bulky
What the sample was made in. Any weight works — the size moves with it.
About this pattern
This bucket bag works up in fourteen rounds total, moving from a flat circular base through straight sides into a drawstring channel at the top. Chunky t-shirt yarn makes quick work of each round, so the body of the bag comes together fast even though the hook is a hefty 10mm. Tick off eight rounds for the base, three for the sides, and three more for the channel before turning to the cord, tassel, and hardware.
- Start with a magic ring in dusty coral pink and increase every round to flatten the circular base.
- Introduce the soft mauve yarn in vertical sections to build the two-tone striped effect.
- Work a round of chain spaces to form the channel the drawstring will run through.
- Twist or braid a cord from the t-shirt yarn and finish the ends with tassels.
- Attach the O-rings and lobster clasps so a chain or strap can click onto the bag.
What goes wrong
- Losing count during the base increases Count stitches after every round through the base rounds; an undetected gain or loss makes the base ripple instead of lying flat.
- Skipping the back loop only instruction Working into both loops on the side rounds erases the ribbed look entirely. Check the loop before every stitch until the BLO habit sets in.
- Tangled or uneven color changes Loose or twisted yarn between the pink and mauve sections creates lumps under the stripe. Keep the working yarn flat against the fabric and weave tails in as soon as a section ends.
- Overtightening t-shirt yarn stitches T-shirt yarn stretches, so overly tight stitches cramp hands and shrink the bag unevenly. Aim for medium, even tension and check the base lies flat before adding sides.
Yarn, hook and the rest
Copied from the source pattern's own materials list.
Yarn
- T-shirt yarn or chunky trapillo yarn, approximately 200 yards total
Color A
- Dusty coral pink, 120 yards
Color B
- Soft mauve or dusty lavender, 80 yards
Hook
- 10mm (US N/15) crochet hook
- You may need to adjust based on your tension
Hardware
- 2 metal O-rings, approximately 1 inch diameter (gold or rose gold finish)
- 2 lobster clasps or swivel hooks to attach chain to O-rings
Notions
- Tapestry needle with large eye
- Stitch marker
- Scissors
- Measuring tape
Optional
- Fabric for lining the interior
- Magnetic snap closure
Progress tracker
0 of the 14 rounds on this page are ticked.
The pattern, round by round
Kept in the order and the wording the source used. Tick a round as you finish it; the ticks stay on this device.
Part 1: The Circular Base
We are starting with Color A (dusty coral pink). The base is worked in a spiral without joining rounds, so use a stitch marker to track where each round begins.
Round 1
Make a magic ring. Work 6 sc into the ring. Pull tight to close. (6 sts) *Not comfortable with magic rings? Chain 2 and work 6 sc into the second chain from hook instead.*
Round 2
Inc in each stitch around. (12 sts)
Round 3
*Sc 1, inc in next stitch* repeat around. (18 sts)
Round 4
*Sc 2, inc in next stitch* repeat around. (24 sts)
Round 5
*Sc 3, inc in next stitch* repeat around. (30 sts)
Round 6
*Sc 4, inc in next stitch* repeat around. (36 sts)
Round 7
*Sc 5, inc in next stitch* repeat around. (42 sts)
Round 8
*Sc 6, inc in next stitch* repeat around. (48 sts) Your base should measure approximately 7 inches across. If it is significantly smaller or larger, adjust your hook size and try again. The base needs to be flat without cupping or ruffling.
Part 2: Building the Sides
Now we transition from flat to three-dimensional. This is where the magic happens.
Round 9
Working in back loop only for this entire round, sc in each stitch around. Do not increase. (48 sts)This single round of BLO creates a sharp edge that helps the base sit flat and the sides stand up.
Round 10
through 12: Continue working sc-BLO in each stitch around. (48 sts) Now we introduce Color B for the striped effect. Here is the good news: you do not actually need to carry both colors or do complicated colorwork. The stripes you see in the finished bag are created by working vertical sections and changing colors every few stitches as you go.
Creating the Vertical Stripes:
Round 13
through 28: Continue working sc-BLO, but alternate colors every 4 stitches. Work 4 stitches in Color A, then 4 stitches in Color B. Repeat this pattern around for each round. (48 sts per round)*Tip: Carry the unused color loosely along the inside of your work, or use separate bobbins for each color section. I find carrying the yarn easier with chunky t-shirt yarn since the floats are hidden by the thick fabric.*When you reach the end of Round 28, your bag sides should measure approximately 7 to 8 inches tall.
Part 3: Creating the Drawstring Channel
The drawstring needs a channel to run through. We create this by making a row of chain spaces.
Round 29
*Sc-BLO in next 2 stitches, ch 2, skip 2 stitches* repeat around. End with sl st to first sc to join. (24 sc, 12 ch-2 spaces)
Round 30
Sc in each stitch and ch-2 space around, working 2 sc into each ch-2 space. (48 sts)
Round 31
through 33: Sc-BLO in each stitch around. (48 sts) Fasten off and weave in ends.
Part 4: Making the Drawstring Cord
The drawstring is a simple twisted or braided cord. I prefer braiding because it matches the texture of the bag beautifully.
Braided Cord Method:
Cut 6 strands of yarn, each approximately 60 inches long. Use 3 strands of Color A and 3 strands of Color B.
Knot all strands together at one end. Separate into 3 groups of 2 strands each (mix the colors as you like). Braid tightly until you have a cord approximately 36 inches long. Knot the other end.
Thread the braided cord through the chain spaces you created in Round 29, weaving in and out. Both ends should emerge from the same spot.
Part 5: Making the Tassel
Cut 20 strands of yarn, each approximately 8 inches long, using both colors. Fold them in half over a short piece of yarn. Wrap another piece tightly around the top, about half an inch down from the fold. Secure with a knot. Trim the ends evenly.
Attach one tassel to each end of your drawstring cord by threading the cord end through the top of the tassel and knotting securely.
Part 6: Attaching the Hardware
This is where your bag goes from homemade to high-end.
Attaching the O-rings:
Locate two points on opposite sides of your bag, just below the drawstring channel. Cut a short piece of matching yarn, approximately 12 inches.
Thread the yarn through the O-ring. Insert your hook through the bag fabric from inside to outside. Pull both yarn ends through to the inside. Tie securely with a double knot. Weave in ends.
Repeat on the opposite side.
Attaching the Chain Strap:
Use lobster clasps or swivel hooks to connect your chain strap to the O-rings. This makes the strap removable, which is great for storage or switching out for a different strap later.
Check your count
- Part 1: The Circular Base · Round 3: 18 sts
- Part 1: The Circular Base · Round 5: 30 sts
- Part 1: The Circular Base · Round 7: 42 sts
- Part 2: Building the Sides · Round 9: 48 sts
- Part 2: Building the Sides · Round 13: 48 sts
- Part 3: Creating the Drawstring Channel · Round 30: 48 sts
Finish
- Weave in every yarn tail from the color changes along the stripe sections before moving on.
- Cut and stitch a fabric liner to fit the interior, then set the magnetic snap closure in place.
- Thread the drawstring cord through the channel and knot on the tassels at each end.
Bigger or smaller
- Smaller
- Stop the circular base early instead of completing all its rounds, which shrinks the bag's diameter and overall capacity.
- Larger
- Work extra plain BLO rounds into the sides before starting the drawstring channel, which adds height without changing the base width.
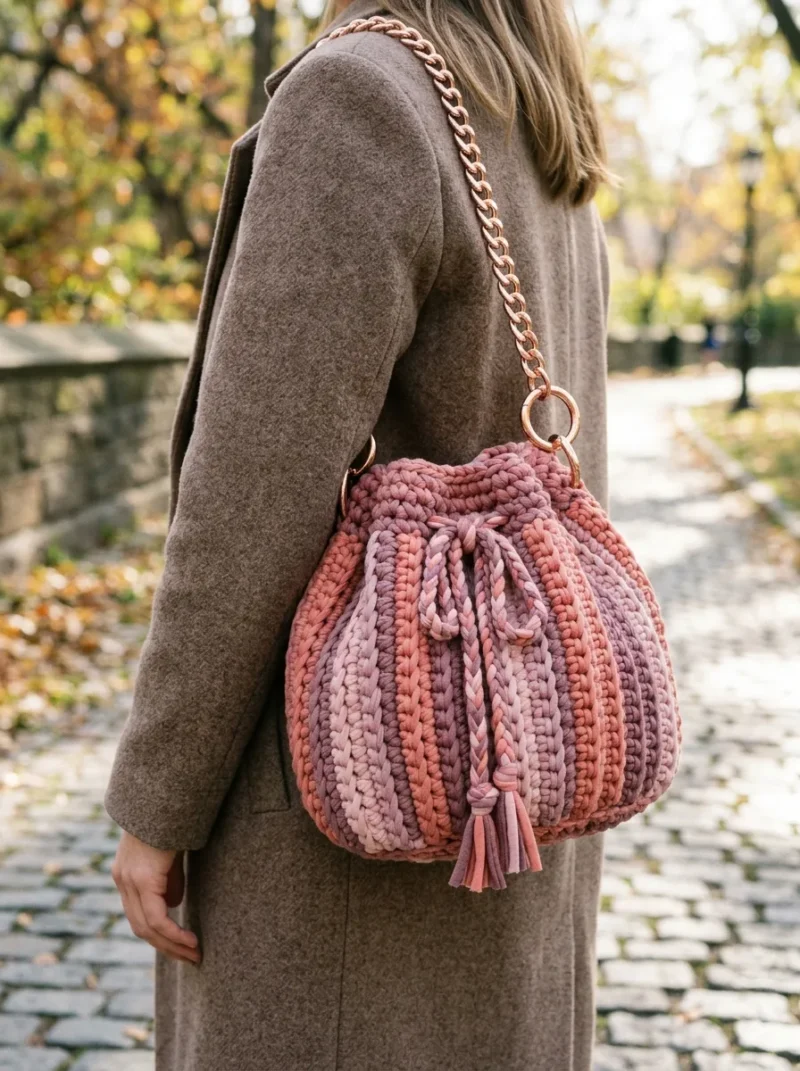
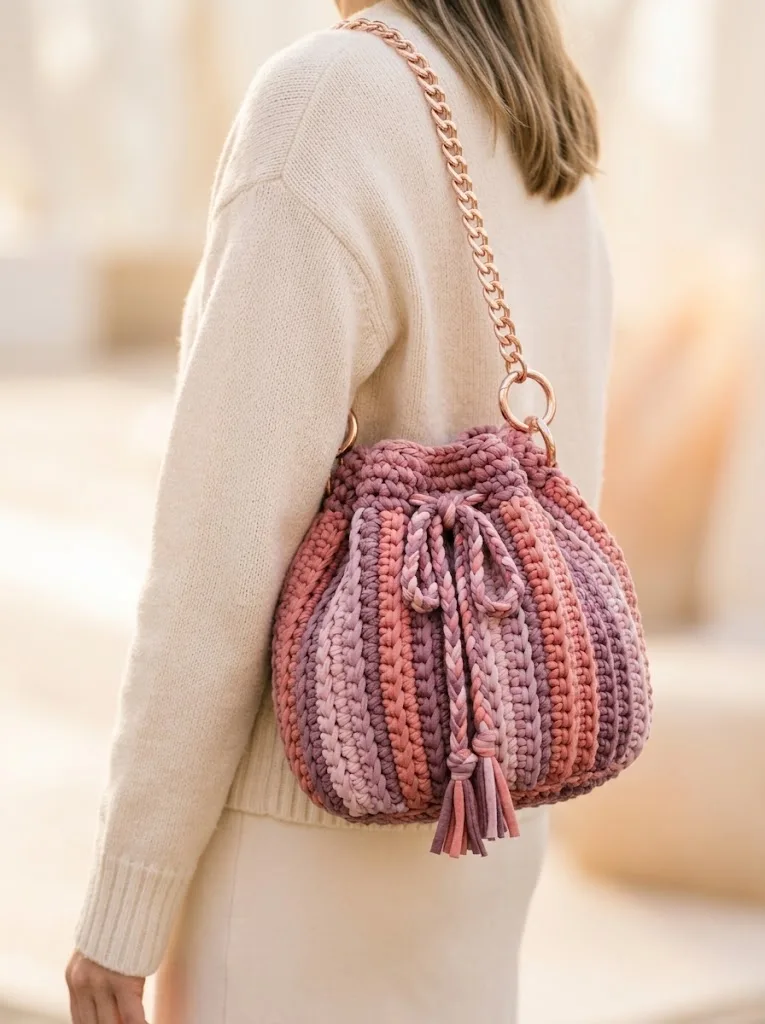
Photographs of this one
Every photograph on this page was taken by whoever published the pattern, and they are printed in the order the source listed them.
FAQs
Asked and answered
These answers came from whoever first published the pattern, kept word for word.
Why work in back loop only for the sides?
BLO rounds leave the front loop showing as a ridge, which builds the vertical ribbed texture seen on the finished bag. Skipping it on any side round flattens that detail.
Does the bag need a lining?
T-shirt yarn leaves small gaps between stitches, so a fabric liner keeps smaller items from slipping through. It also gives the inside a cleaner, finished look.
What if the base cups instead of lying flat?
Wet block the base by dampening it and pinning it flat to dry. This corrects cupping or ruffling before the sides are added.