 STITCH ROUND
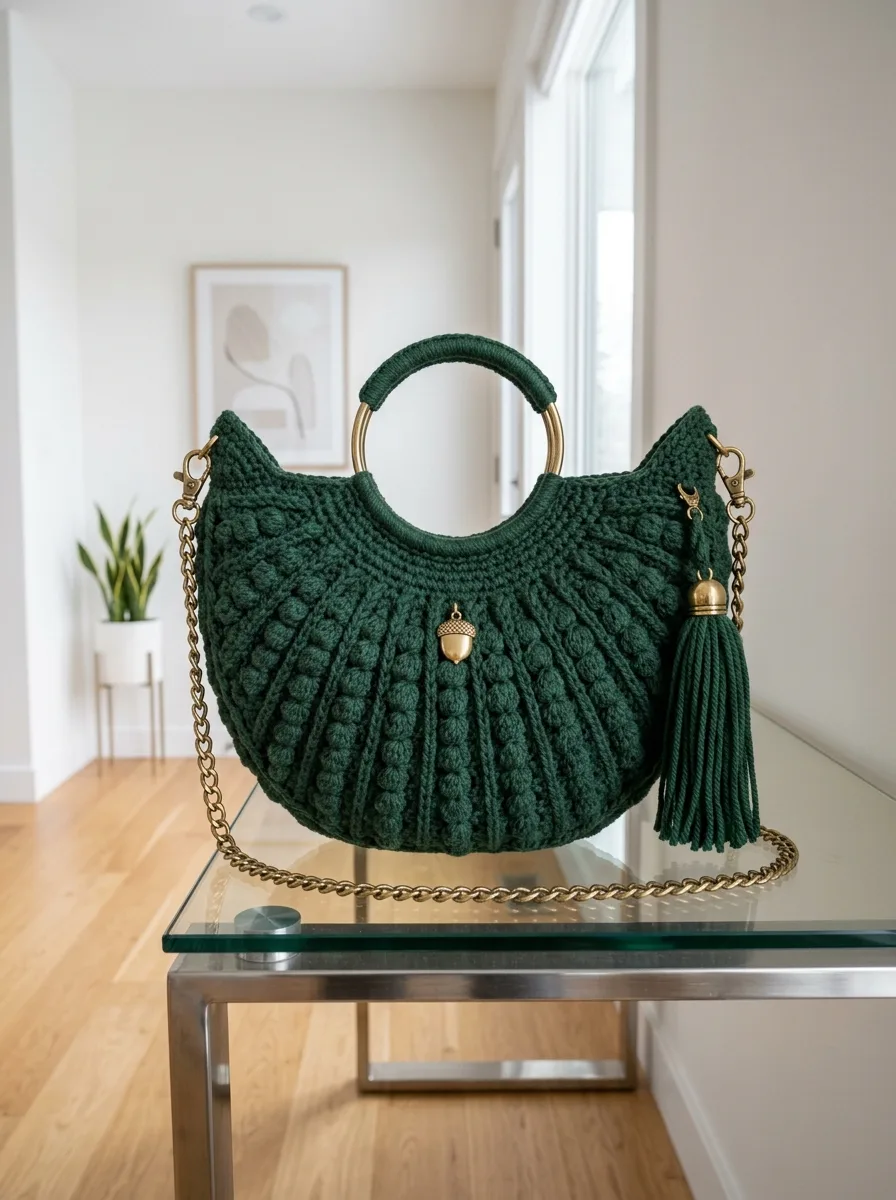
 Crescent moon bobble stitch purse with chain handle
8 rounds per panel plus a 3-round edging build this bobble stitch crescent moon purse.
- Skill
- Intermediate
- Rounds
- 11 rounds
- Yarn weight
- Worsted
- Hook
- 5.0 mm
- Time
- 4-6 hours

Intermediate
What the original page called it. Nothing here is graded a second time.

11 rounds
Each one gets its own line, with a box beside it to tick as you go.

Worsted
What the sample was made in. Any weight works — the size moves with it.
About this pattern
This crescent moon purse comes down to two panels of 8 rounds each, followed by a 3-round edging that finishes the top opening. Each panel builds up in single crochet rows dotted with bobble stitches, so the bulk of the work is straightforward rows punctuated by short bursts of texture. Cotton yarn keeps the finished panels sturdy enough to hold their shape without a separate structured lining.
The shaping comes from the curved bottom edge worked into the panel rows, which is what gives the finished bag its crescent silhouette rather than a flat rectangle. Slow down on the bobble rows, since each bobble needs five incomplete double crochets closed together in the same stitch, and rushed tension there shows. The edging round that closes the top through both layers is also worth taking carefully, since it joins the panels and finishes the opening in a single pass.
- Crochet two identical crescent panels row by row, working single crochet with columns of bobble stitches.
- Place bobbles deliberately on right-side rows so they pop forward on the outside of the finished bag.
- Set the two finished panels wrong sides together, lining up the curved bottom edges.
- Seam the curved edge closed with a yarn needle, leaving the straight top edge open for the opening.
- Work the edging directly around the top opening, joining both layers together at the sides as you go.
- Finish with a reverse single crochet round for a rope-like edge, then attach the chain handle and clasps.
What goes wrong
- Tight bobble stitches Keep tension relaxed while working the five incomplete double crochets. Cinching each loop too tight leaves the bobble flat and hard to see instead of raised and rounded.
- Bobbles popping to the wrong side Remember the right side alternates every row when working back and forth in rows, not rounds. Check which row is facing out before placing each bobble stitch.
- Uneven curved seam Match stitch for stitch along the curved bottom edge before whip stitching or mattress stitching. A rushed seam pulls the crescent shape off-center.
- Sloppy edging join through both layers Work the first edging round slowly where it closes both panel layers together at the sides. Skipped stitches there leave gaps at the top opening.
Yarn, hook and the rest
Copied from the source pattern's own materials list.
Weight
- Worsted weight (medium, category 4)
Fiber
- 100% cotton or cotton blend recommended for structure. Acrylic works but may stretch over time.
Amount
- Approximately 350 to 400 yards in forest green
Suggested brands
- Lion Brand 24/7 Cotton, Paintbox Yarns Cotton Aran, or similar
- Cotton gives this bag the body and stiffness it needs to hold its shape beautifully.
Size
- 5.0 mm (US H/8)
- Adjust if needed to match gauge
- 1 decorative charm (acorn shown, optional)
- 2 swivel lobster clasps, antique gold
- 1 chain strap, approximately 45 to 50 inches, antique gold
- Tassel cap and materials for handmade tassel (optional)
- Yarn needle
- Stitch markers
- Scissors
- Fabric for lining (optional but recommended)
- Sewing needle and thread if lining
- 1 pair of half-circle metal bag handles with ring attachments (approximately 5 to 6 inches wide), antique gold or brass finish
Progress tracker
0 of the 11 rounds on this page are ticked.
The pattern, round by round
Kept in the order and the wording the source used. Tick a round as you finish it; the ticks stay on this device.
Panel One (Make 2)
You’ll make two identical crescent panels that get sewn together.
Foundation Row: Ch 61.
Row 1
(RS): Sc in 2nd ch from hook and in each ch across. Turn. (60 sts)
Row 2
Ch 1, sc in each st across. Turn. (60 sts)
Row 3
Ch 1, sc in first 4 sts, *bob in next st, sc in next 4 sts*, repeat from * to * across. Turn. (60 sts, 12 bobbles)
Row 4
Ch 1, sc in each st across. Turn. (60 sts)
Row 5
Ch 1, sc in first 4 sts, *bob in next st, sc in next 4 sts*, repeat from * to * across. Turn. (60 sts, 12 bobbles)Continue alternating Rows 4 and 5 for the bobble pattern. Work a total of 24 rows in this manner.
Now we begin shaping the crescent curve.
Shaping Section:
Row 25
Ch 1, sc2tog over first 2 sts, sc in next 2 sts, *bob in next st, sc in next 4 sts*, repeat from * to * until 4 sts remain, sc in next 2 sts, sc2tog over last 2 sts. Turn. (58 sts)
Row 26
Ch 1, sc in each st across. Turn. (58 sts)
Row 27
Ch 1, sc2tog, work in pattern to last 2 sts, sc2tog. Turn. (56 sts)Continue decreasing 2 stitches every other row (one at each end) while maintaining the bobble column pattern as established. Adjust bobble placement as stitch count decreases to keep columns aligned.Continue until you have 20 sts remaining (approximately 20 more rows of shaping).Final Rows: Last Row: Ch 1, sc2tog across entire row. (10 sts)Fasten off, leaving a long tail for seaming.
Edging
Join yarn at one corner of the top opening.
Round 1
Ch 1, sc evenly around the entire top opening, working through both layers at the sides to close them. Join with sl st to first sc.
Round 2
Ch 1, sc in each st around. Join with sl st.
Round 3
Ch 1, working from left to right (reverse single crochet), work 1 reverse sc in each st around for a decorative rope-like edge. Join and fasten off.
This creates that polished top edge visible in the finished purse.
Join
Step 11. Place both panels with wrong sides together, matching the curved bottom edges perfectly.
Step 22. Using a yarn needle and long tail, whip stitch or mattress stitch along the entire curved edge, leaving the top straight edge open.
Step 33. Weave in ends securely.
Check your count
- Panel One (Make 2) · Row 2: 60 sts
- Panel One (Make 2) · Row 25: 58 sts
- Panel One (Make 2) · Row 27: 56 sts
Finish
- Weave in every yarn end from the panels and the edging rounds before seaming, so no tails get trapped inside the seam.
- Whip stitch or mattress stitch the curved bottom edge with a long tail, keeping stitches even so the crescent shape stays smooth rather than puckered.
- Attach the chain strap to the panels with the swivel lobster clasps, add the optional charm, and sew in a fabric lining if using one.
Bigger or smaller
- Smaller
- Drop down to a thinner yarn weight and smaller hook so the same number of rounds produces a more compact panel. The bobble columns will sit closer together, giving the bag a tighter, denser texture.
- Finished dimensions
- Width: approximately 14 inches across the widest point. Height: approximately 9 inches from bottom curve to top edge, not including handles. Depth: approximately 2 inches.
- Gauge
- 18 stitches and 10 rows = 4 inches in single crochet worked flat. Gauge matters here because you want your purse to match the finished dimensions. Too loose and it gets floppy, too tight and you’ll run out of yarn. Take five minutes to swatch.
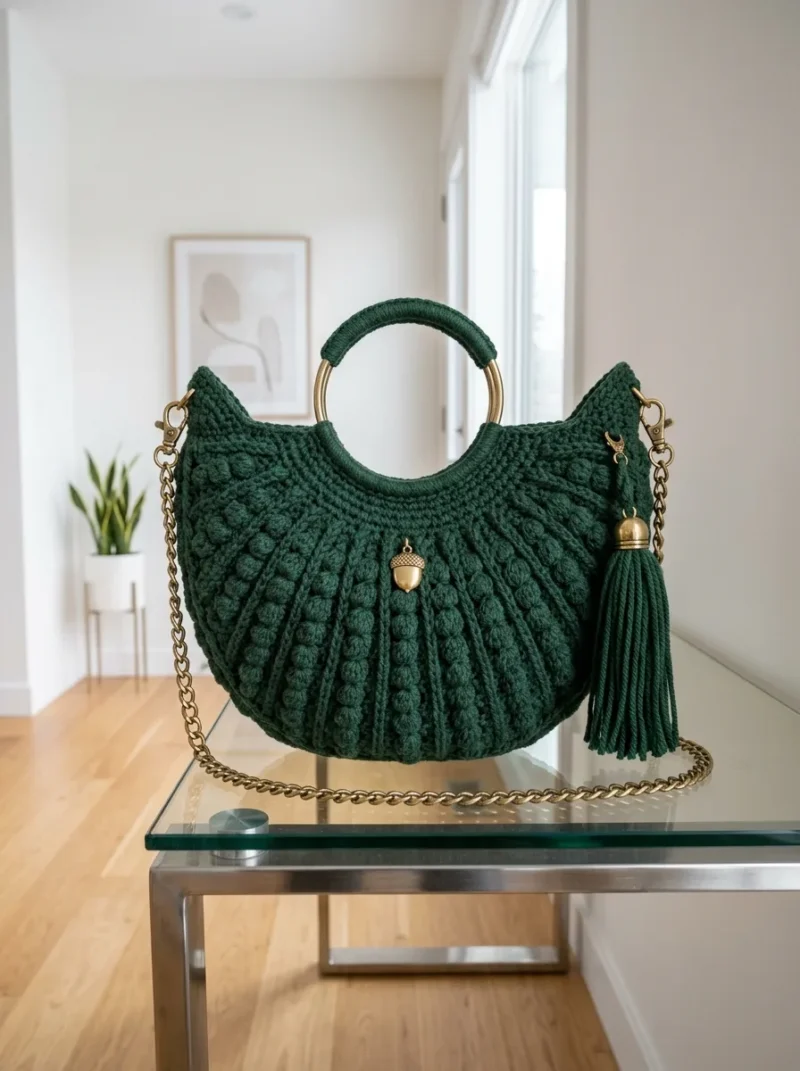
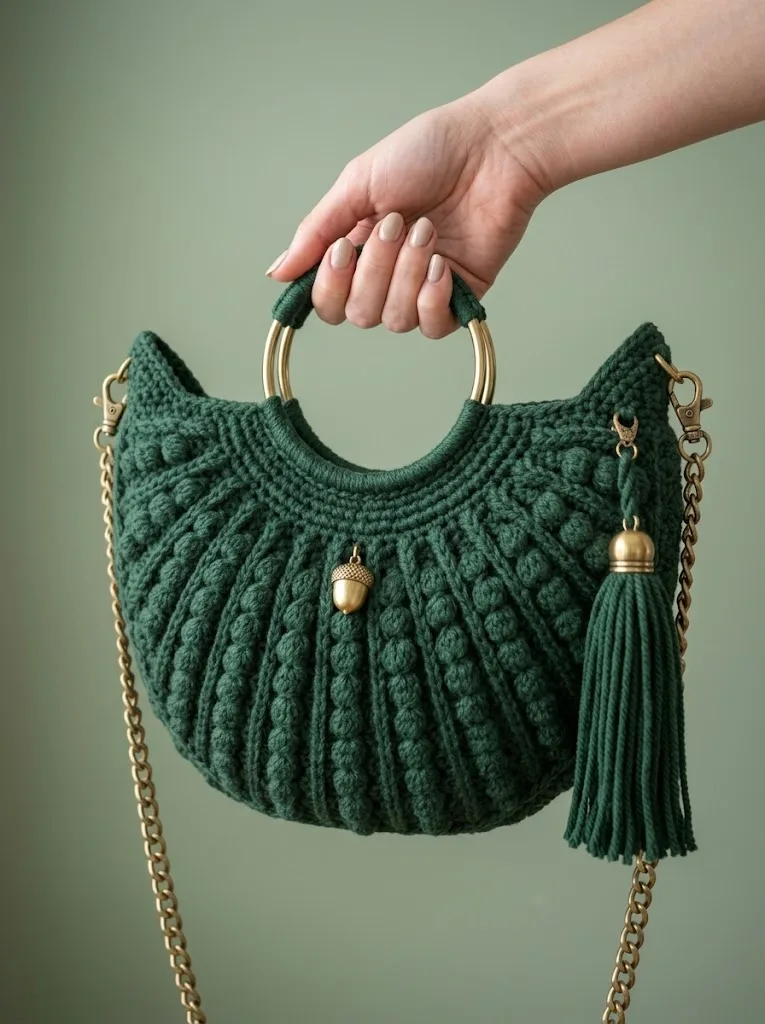
Photographs of this one
Every photograph on this page was taken by whoever published the pattern, and they are printed in the order the source listed them.
FAQs
Asked and answered
These answers came from whoever first published the pattern, kept word for word.
Can acrylic yarn be used instead of cotton?
Acrylic works but tends to stretch over time, which can soften the crescent shape this bag relies on. Cotton or a cotton blend gives the panels the stiffness needed to hold their form without a rigid lining.
Is a fabric lining required?
No, the lining is optional but recommended if items are likely to poke through the stitch gaps. Cotton yarn alone gives enough structure to stand up as a bag even without one.
Which side should the bobble stitches face?
Bobbles naturally pop toward whichever side is facing forward as they are worked. Track the right side row by row so all the bobbles end up on the outside of the finished panel.
What is the edging round actually doing?
The first edging round closes the top opening by working through both panel layers at the sides, joining them without a separate seam. The final reverse single crochet round adds the decorative rope-like finish around the opening.