 STITCH ROUND
 Plush whale amigurumi pattern for a soft baby gift
Tick off a 10-round belly panel and 7-round fins to crochet this soft plush whale amigurumi.
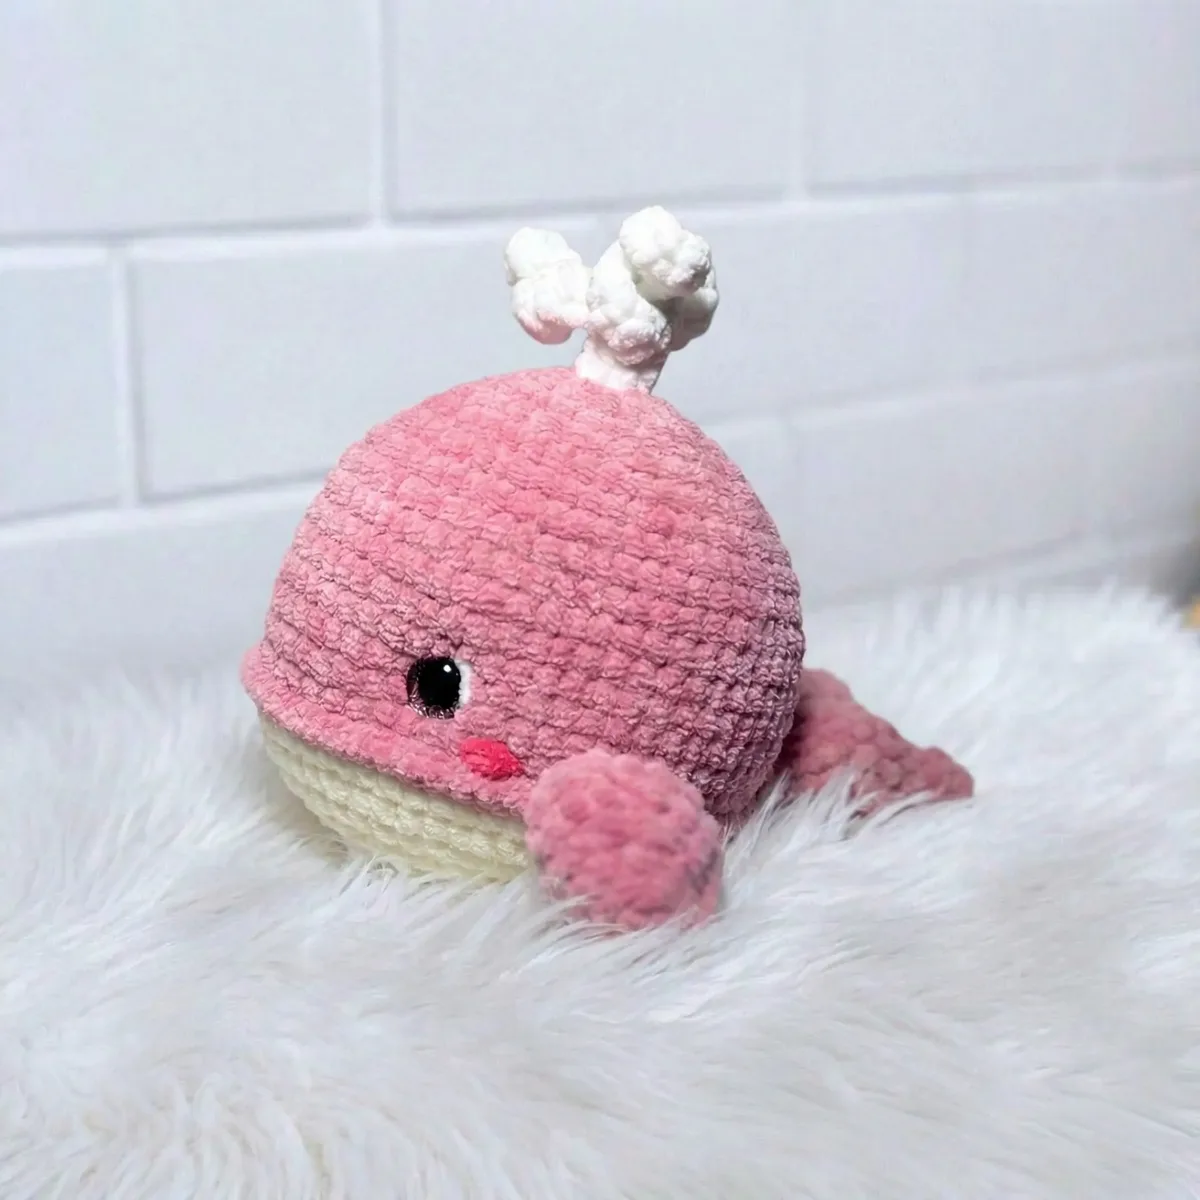
- Skill
- Intermediate
- Rounds
- 39 rounds
- Yarn weight
- Bulky
- Hook
- 4 mm
- Time
- 4-6 hours

Intermediate
What the original page called it. Nothing here is graded a second time.

39 rounds
Each one gets its own line, with a box beside it to tick as you go.

Bulky
What the sample was made in. Any weight works — the size moves with it.
About this pattern
This whale is built from four separate pieces: two fins, a two-piece tail, and a pair of flat panels for the belly and back. Each fin ticks off in 7 rounds, the belly panel in 10, and the back panel matches it stitch for stitch. Every piece starts from a magic ring, so the whole make breaks into short, checkable sessions rather than one long unbroken round.
The panels grow by increasing steadily outward from the center, turning the magic ring into a flat circular disc by the final round. Fins and tail follow the same widening logic on a smaller scale before being folded flat. Slow down partway through the back panel, where the safety eyes go in between two specific rounds and need even spacing before the panel is finished.
Finished size is about 15 cm tall, with a 19 cm fountain spout and a 15 cm diameter body. The pattern works up at approximately 10 sc × 11 rows = 5 cm using plush yarn and a 4 mm hook — exact gauge isn't critical for amigurumi, but matching it keeps the finished size close to these numbers.
- Crochet two matching fins in continuous spiral rounds, then set them aside for later.
- Work two identical tail pieces using the same spiral shaping as the fins.
- Build the belly panel outward from a magic ring, increasing steadily until it forms a flat disc.
- Work the back panel the same way, pausing partway through to insert the safety eyes with even spacing.
- Hold the belly and back panels wrong sides together and single crochet around the edge, adding the fins and tail as the seam closes.
- Stuff the body firmly while the last stretch of the seam is still open.
What goes wrong
- Loose magic ring at the start Pull the starting tail tight before closing Round 1 on each piece. A loose ring leaves a visible hole at the center of the fins, tail, and both panels.
- Eyes placed without a stitch marker Mark both eye positions before pressing the safety eyes in between Rounds 15 and 16. Without a marker, the spacing between the eyes is easy to misjudge on a plain disc.
- Joining panels right sides together Hold the belly and back panels wrong sides together before single crocheting the edge. Joining them the wrong way turns the seam to the outside of the finished whale.
- Attaching fins and tail unfolded Flatten each fin and tail piece before stitching it into the seam. Attaching them unfolded makes them stand off the body instead of lying smooth against it.
Yarn, hook and the rest
Copied from the source pattern's own materials list.
- Plush yarn (main color, bulky weight) — enough for body, fins, and tail
- White plush yarn — for the fountain spout pieces
- Crochet hook: 4 mm
- Safety eyes: 14 mm (x2)
- Polyfill stuffing
- Stitch markers
- Scissors
- Yarn needle for weaving in ends and embroidery
- Embroidery thread — white (for eye whites) and any color (for cheeks)
Progress tracker
0 of the 39 rounds on this page are ticked.
The pattern, round by round
Kept in the order and the wording the source used. Tick a round as you finish it; the ticks stay on this device.
Fins — Make 2
Round 1
6 sc in mr (6)Step by step: 6 sc (6).
Round 2
(2 sc, inc) × 2 (8)
Round 3
(1 sc, inc) × 4 (12)
Round 4
(2 sc, inc) × 4 (16)Step by step: 16 sc (16).
Round 5
(6 sc, dec) × 2 (14)
Round 6
(5 sc, dec) × 2 (12)
Round 7
(1 sc, dec) × 4 (8)Add a very small amount of stuffing to each fin. Fold the piece flat and sc 4 stitches through both layers to close. Do not cut yarn — leave a tail for joining.
Tail — Make 2 Identical Pieces
Round 1
6 sc in mr (6)
Round 2
6 sc (6)
Round 3
(2 sc, inc) × 2 (8)
Round 4
(1 sc, inc) × 4 (12)
Round 5
(2 sc, inc) × 4 (16)
Round 6
16 sc (16)
Round 7
(6 sc, dec) × 2 (14)
Round 8
(5 sc, dec) × 2 (12)
Round 9
(1 sc, dec) × 4 (8)Work 1 additional dec. Add a very small amount of stuffing to each tail piece. Fold flat and sc 3 stitches through both layers to close. Do not cut yarn — leave a tail for joining.
Belly (Bottom Panel)
Round 1
7 sc in mr (7)
Round 2
7 inc (14)
Round 3
(1 sc, inc) × 7 (21)
Round 4
(2 sc, inc) × 7 (28)
Round 5
1 sc, inc, (3 sc, inc) × 6, 2 sc (35)
Round 6
(4 sc, inc) × 7 (42)
Round 7
2 sc, inc, (5 sc, inc) × 6, 3 sc (49)
Round 8
(6 sc, inc) × 7 (56)
Round 9
3 sc, inc, (7 sc, inc) × 6, 4 sc (63)
Round 10
63 sc (63)Work 1 sl st. Cut yarn and fasten off. Weave in end.
Back (Top Panel)
Round 1
7 sc in mr (7)
Round 2
7 inc (14)
Round 3
(1 sc, inc) × 7 (21)
Round 4
(2 sc, inc) × 7 (28)
Round 5
1 sc, inc, (3 sc, inc) × 6, 2 sc (35)
Round 6
(4 sc, inc) × 7 (42)
Round 7
2 sc, inc, (5 sc, inc) × 6, 3 sc (49)
Round 8
(6 sc, inc) × 7 (56)
Round 9
(13 sc, inc) × 4 (60)
Round 10
60 sc (60)
Round 11
(19 sc, inc) × 3 (63)
Rounds 12–16
63 sc each round (5 rounds) (63)The next round incorporates the fins and tail.
Round 17
2 sc, [6 sc worked together with tail piece], 10 sc, [4 sc worked together with first fin], 29 sc, [4 sc worked together with second fin], 8 sc (63)Work 1 sl st. Do not cut yarn — you will use this yarn to join the belly and back panels together.
Join
Step 1Attach safety eyes between Rounds 15 and 16 of the back panel, with 17 stitches between the eyes.
Step 2Join the panels: Hold the belly and back panels with wrong sides together. Using the working yarn still attached to the back panel, sc through both layers around the entire edge to join them together. Work around the perimeter, joining stitch by stitch.
Step 3Stuff as you go: Before closing the opening completely, stuff the body firmly and evenly with polyfill. Continue joining until fully closed.
Step 4Embroider the eye whites using white embroidery thread, stitching a small highlight onto each safety eye.
Step 5Embroider the cheeks below the eyes using any color embroidery thread, making small rounded blush marks.
Step 6Fountain spout — Make 3 pieces in white yarn:
Step 7Ch 12. Starting in the second chain from the hook: 6 inc, 4 sc, 1 sl st.
Step 8Fasten off, leaving a long sewing tail.
Step 9Attach all three fountain spout pieces to the center of the back panel, fanning them outward to create a water spout effect.
Check your count
- Fins — Make 2 · Round 2: 8 sts
- Fins — Make 2 · Round 4: 16 sts
- Fins — Make 2 · Round 6: 12 sts
- Fins — Make 2 · Round 7: 8 sts
- Tail — Make 2 Identical Pieces · Round 3: 8 sts
- Tail — Make 2 Identical Pieces · Round 6: 16 sts
Finish
- Weave in every yarn tail from the fins, tail pieces, and both panels before starting the join.
- Stuff the body firmly and evenly with polyfill as the panels are joined, working small amounts into the head and tail ends so no gaps or lumps show.
- Close the remaining seam with single crochet through both layers, fasten off, and pull the tail through to hide it inside the body.
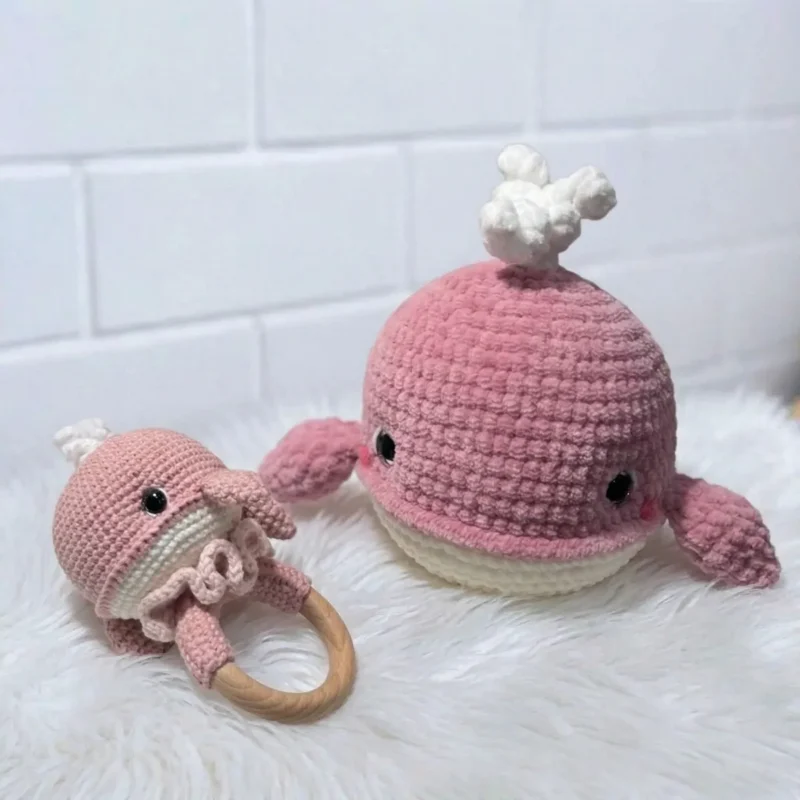
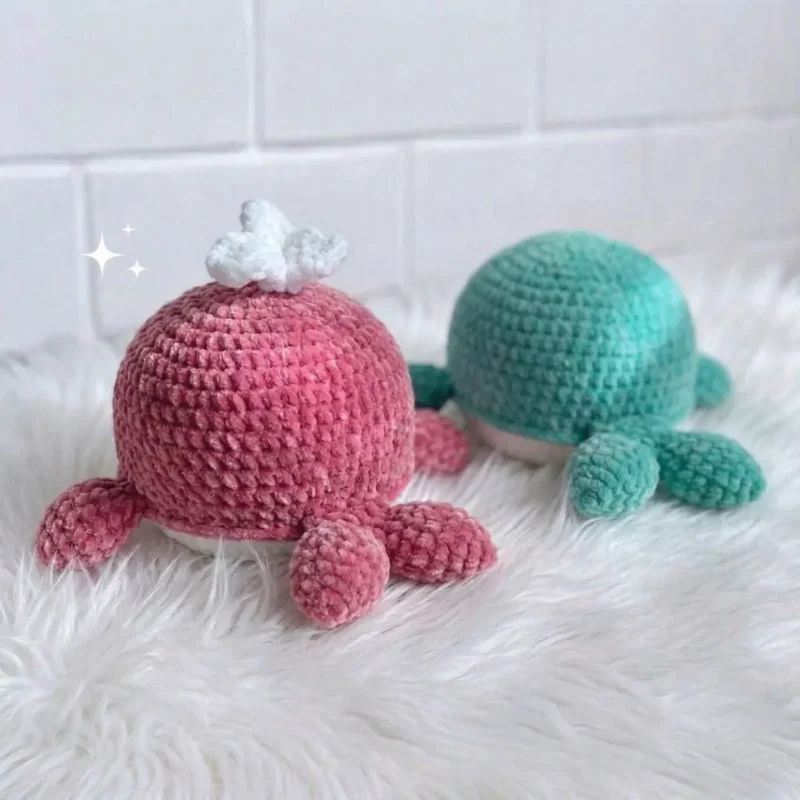
Photographs of this one
Every photograph on this page was taken by whoever published the pattern, and they are printed in the order the source listed them.
FAQs
Asked and answered
These answers came from whoever first published the pattern, kept word for word.
What size safety eyes does this whale use?
The pattern calls for 14 mm safety eyes, set between Rounds 15 and 16 of the back panel with 17 stitches between them. A stitch marker helps keep that spacing even while inserting each eye.
Can regular yarn replace the plush yarn?
Plush yarn gives the whale its soft, fuzzy finish, but any bulky weight yarn works with the same 4 mm hook. Expect a firmer, less fluffy texture with a standard yarn.
Are the fins and tail made the same way?
Both pieces are worked in continuous spiral rounds from a magic ring, then folded flat before joining. The tail is made as two identical pieces rather than one shape.
Is this pattern written in US or UK terms?
US crochet terminology is used throughout, so sc refers to the stitch familiar to US-pattern readers. Check the abbreviations before starting if UK terms are the usual habit.